

February 1, 2023
Refrigerator Repair
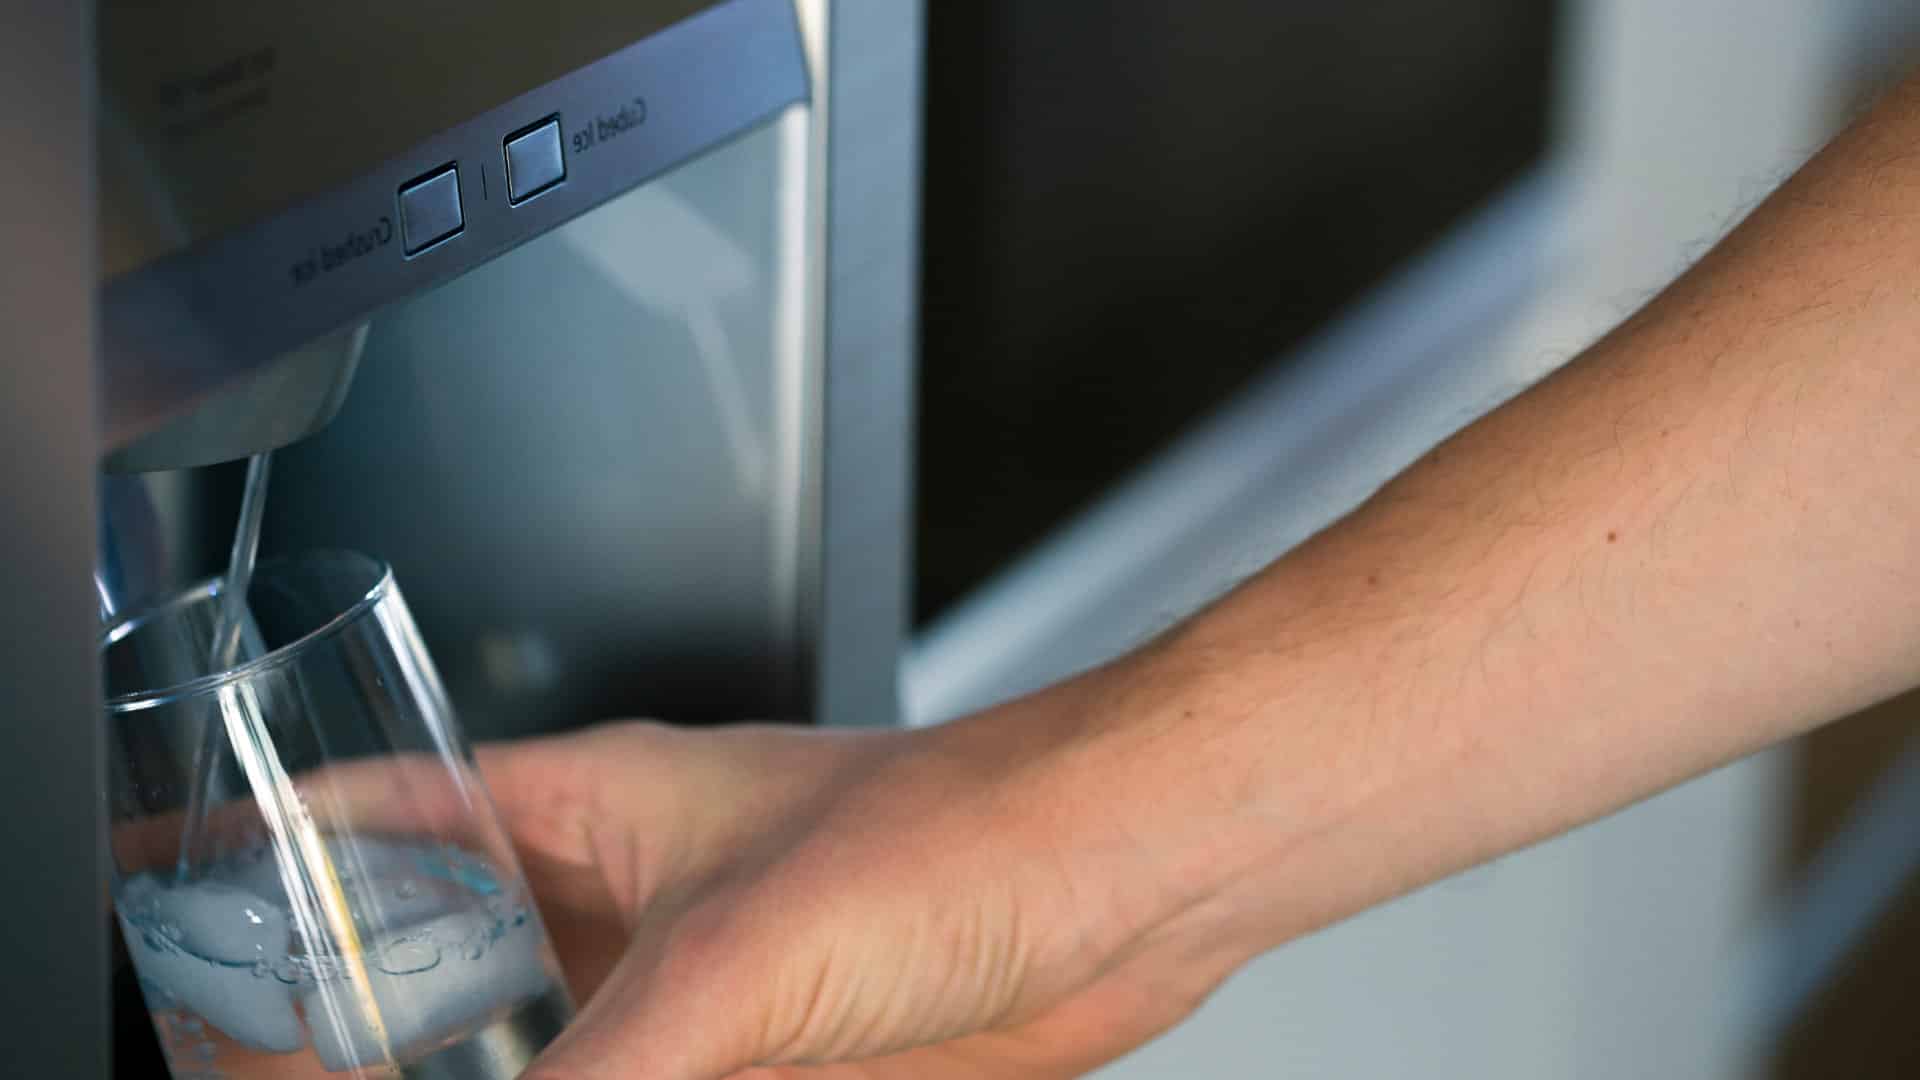
Your Kenmore refrigerator has a water filter to remove contaminants from your water. This ensures you get clean and safe water and ice. However, it’s important to replace the filter regularly to keep it functioning correctly. Thankfully, this is a very simple task to carry out.
Before replacing the water filter, you need to know if your filter is inside your appliance or located on the bottom of it. There are slightly different instructions for each type which we will outline below. You also need to ensure you have purchased the correct replacement filter.
This guide covers all major Kenmore refrigerator models, including:
106.51102110
106.51103110
106.52603100
106.54606300
106.56532400
106.59422801
253.57388601
253.65802508
253.68802015
253.71822104
363.39400990
363.39401990
363.39408990
363.39409990
363.39450990
363.39452990
596.52673200
596.73503200
596.73503201
795.77543600
795.77563600
Steps to Replace an Interior Kenmore Water Filter
- Make sure you have the correct replacement filter. Every Kenmore refrigerator will have a specific type of filter. Before replacing the filter, you will need to purchase the correct one from your local hardware or appliance store. Many online retailers stock them too.
- Locate the water filter compartment. The water filter compartment can be found inside your fridge. The compartment in most Kenmore smart fridges can be found in the top left corner. In double-door fridges, the compartment is in the lowest compartment. In side-by-side fridge/freezer models, the compartment can be found in the top right corner. If you’re not sure, check your user manual.
- Open the water filter compartment. Once you’ve found the water filter compartment, push or pull the tab on it. This should open the compartment up.
- Remove the water filter. Once you successfully open the water filter compartment, the next step is to remove the old filter. This can be done by grabbing the main part of the filter and turning it counterclockwise until it becomes loose. You should then be able to pull it out. In some models, you may need to push it in and rotate it to loosen it. Once removed, throw the old water filter away.
- Prepare the new water filter. Get the new filter out of its packaging. Remove the cap from the end of the filter. This should expose the port that connects to your fridge. Some water filters have an additional piece of foil that covers the port, too, which needs to be removed.
- Install the new water filter. You can now install the new water filter. This can be done by placing the filter in position and then screwing it clockwise until it’s firmly in place. Ensure you get it lined up correctly so it stays on the threading. Some filters may require you to push them in and then turn them to secure them. Once the new filter is attached, you can close the filter compartment.
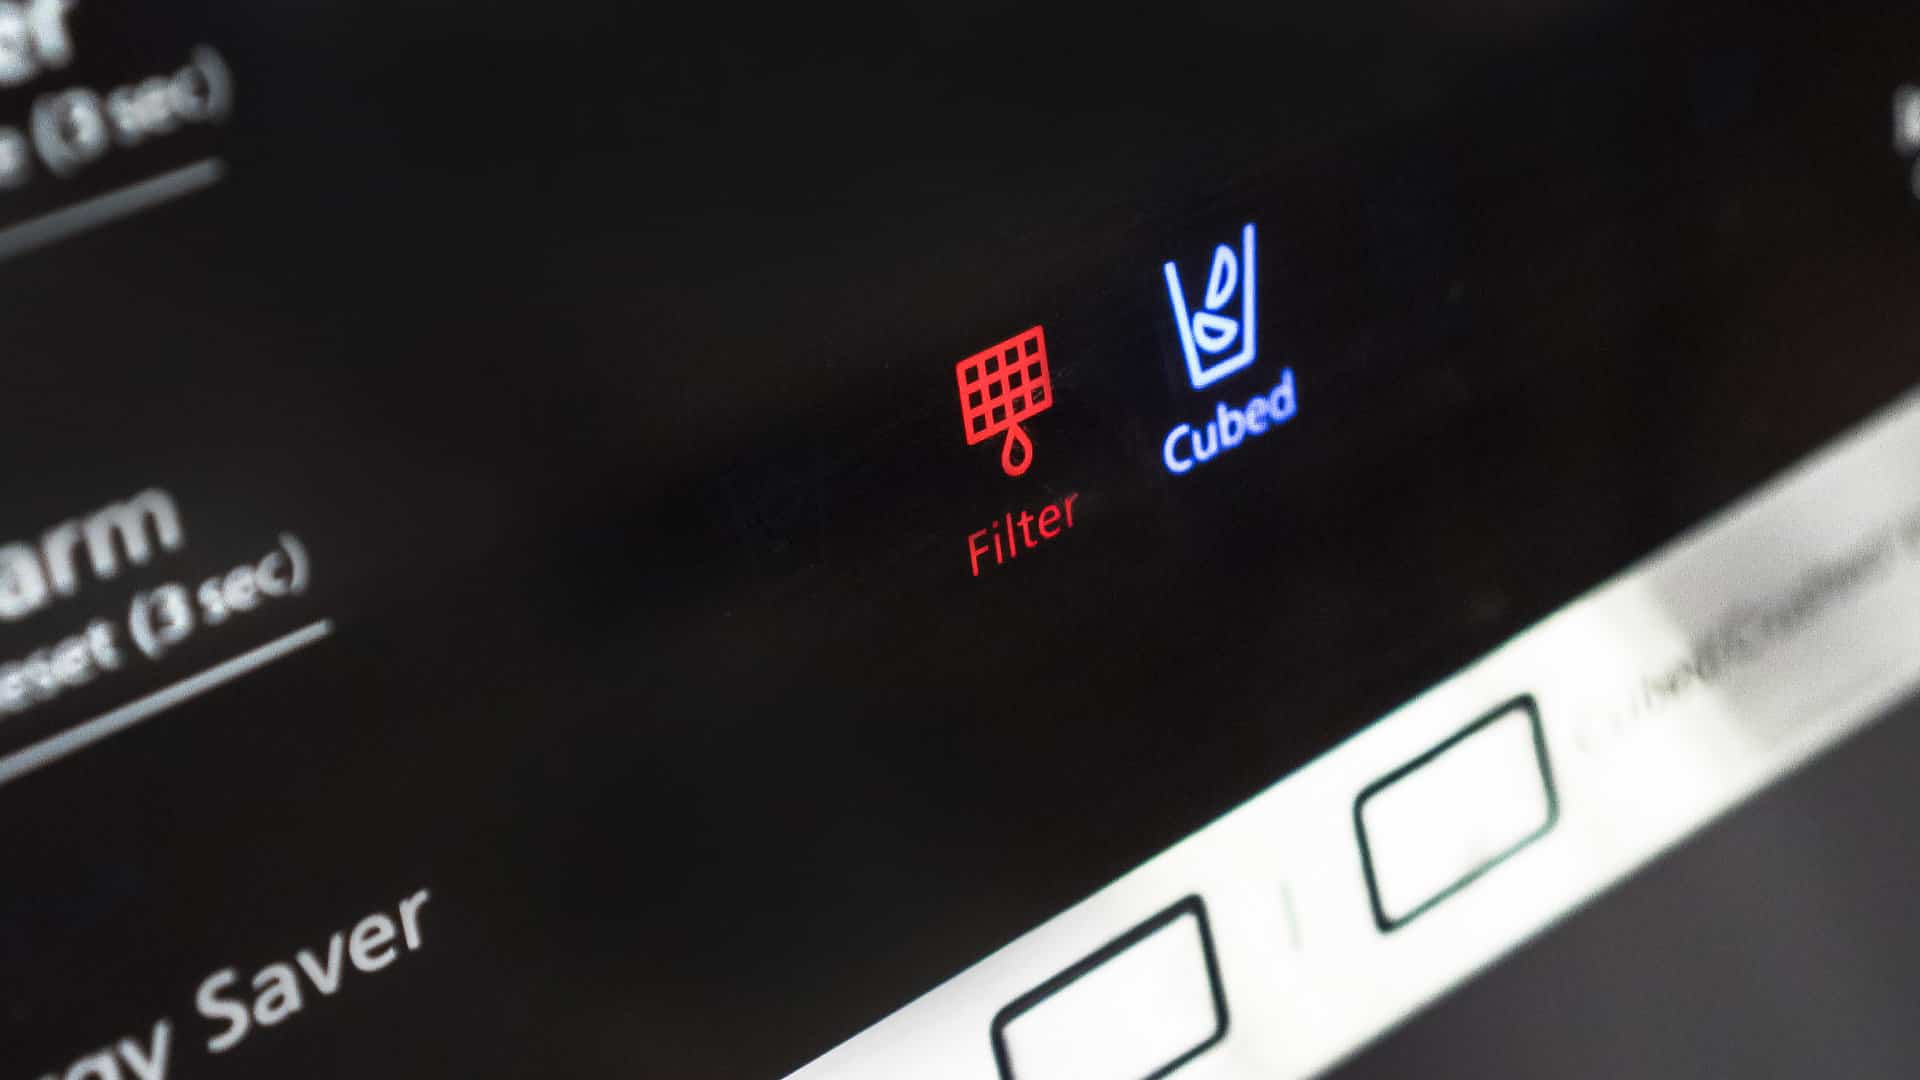
- Reset the filter. The final step is to reset the filter. This can be done by pressing the “filter reset” button for 3 seconds. The light above should change color or turn off when the reset is complete. If that doesn’t happen, you will need to check the filter is properly connected and then try the reset again.
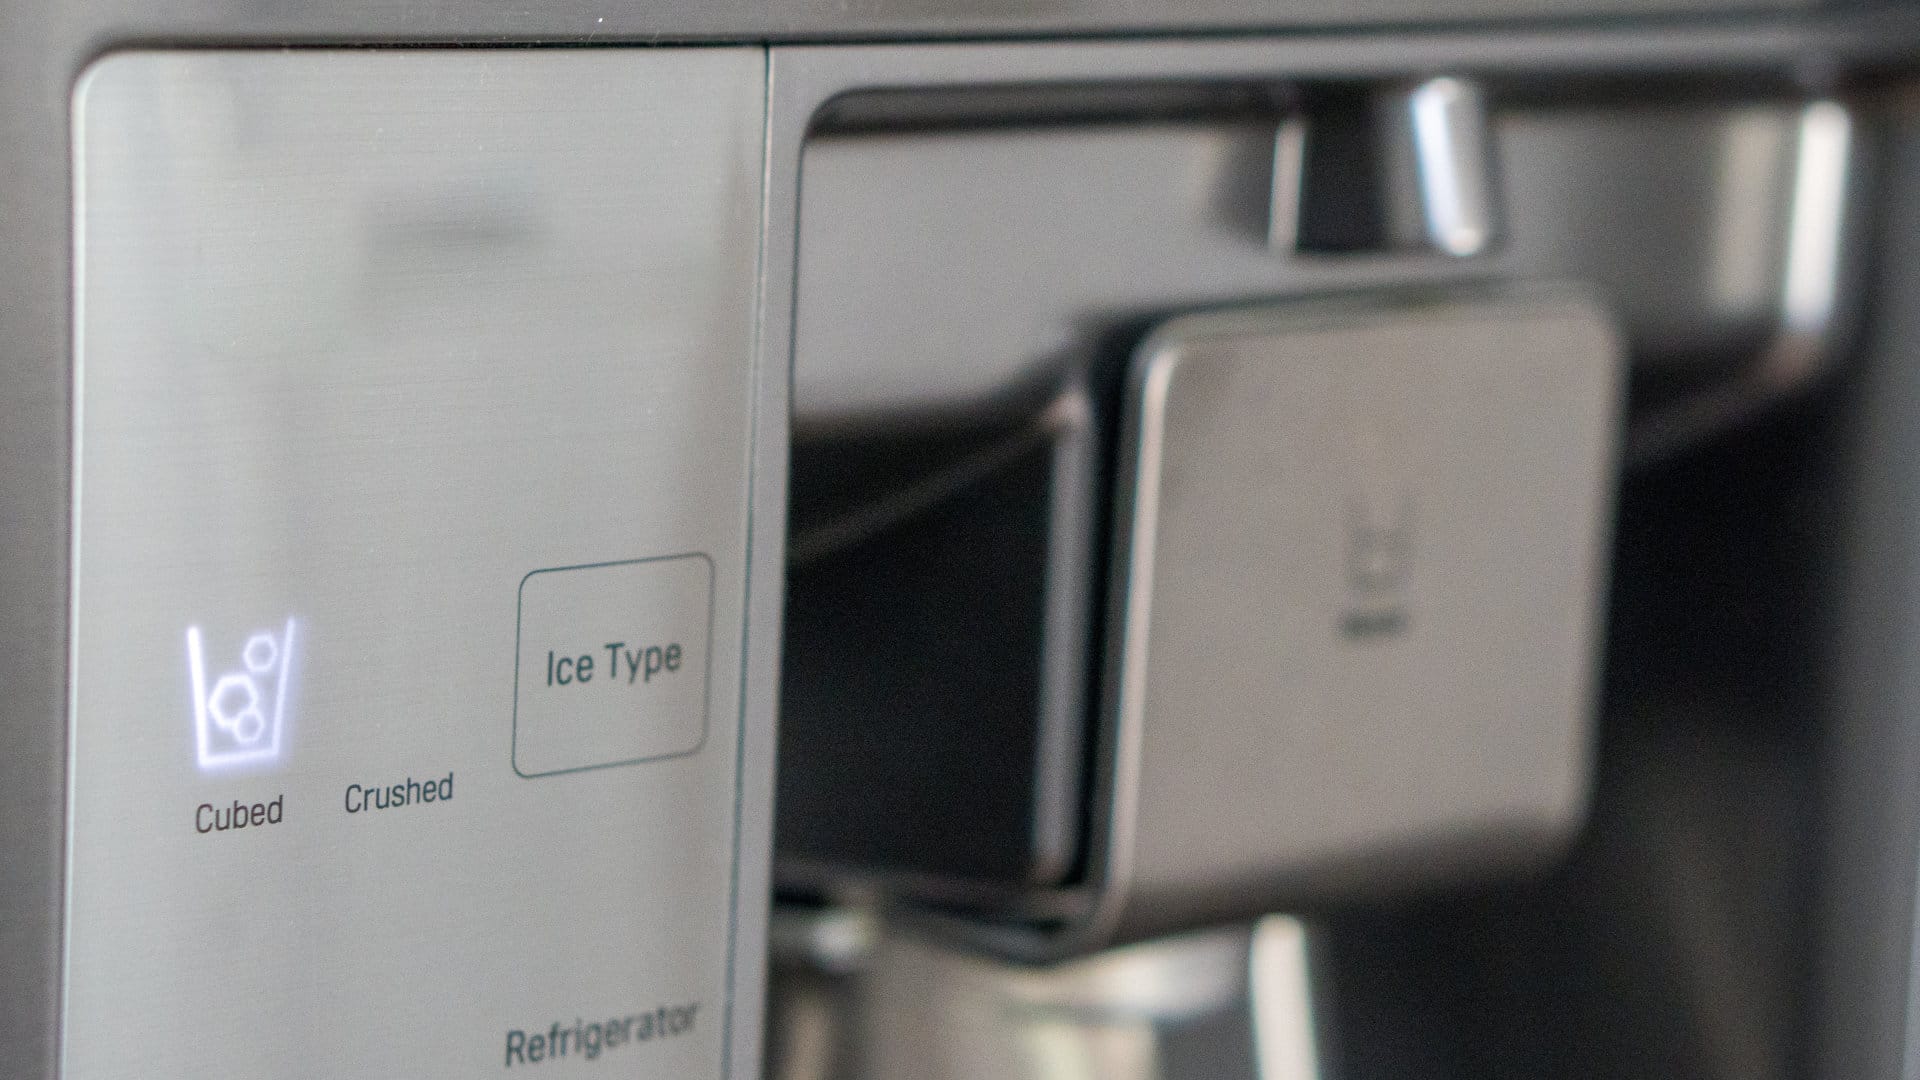
- Start using your water tap and ice maker again. Now that the new filter is in place, you can start using the water tap and ice maker again.
Steps to Replace a Bottom Kenmore Water Filter
- Make sure you have the correct replacement filter. Every Kenmore refrigerator will have a specific type of filter. Before you can replace the filter, you will need to purchase the correct filter from your local hardware or appliance store. Many online retailers stock them too.
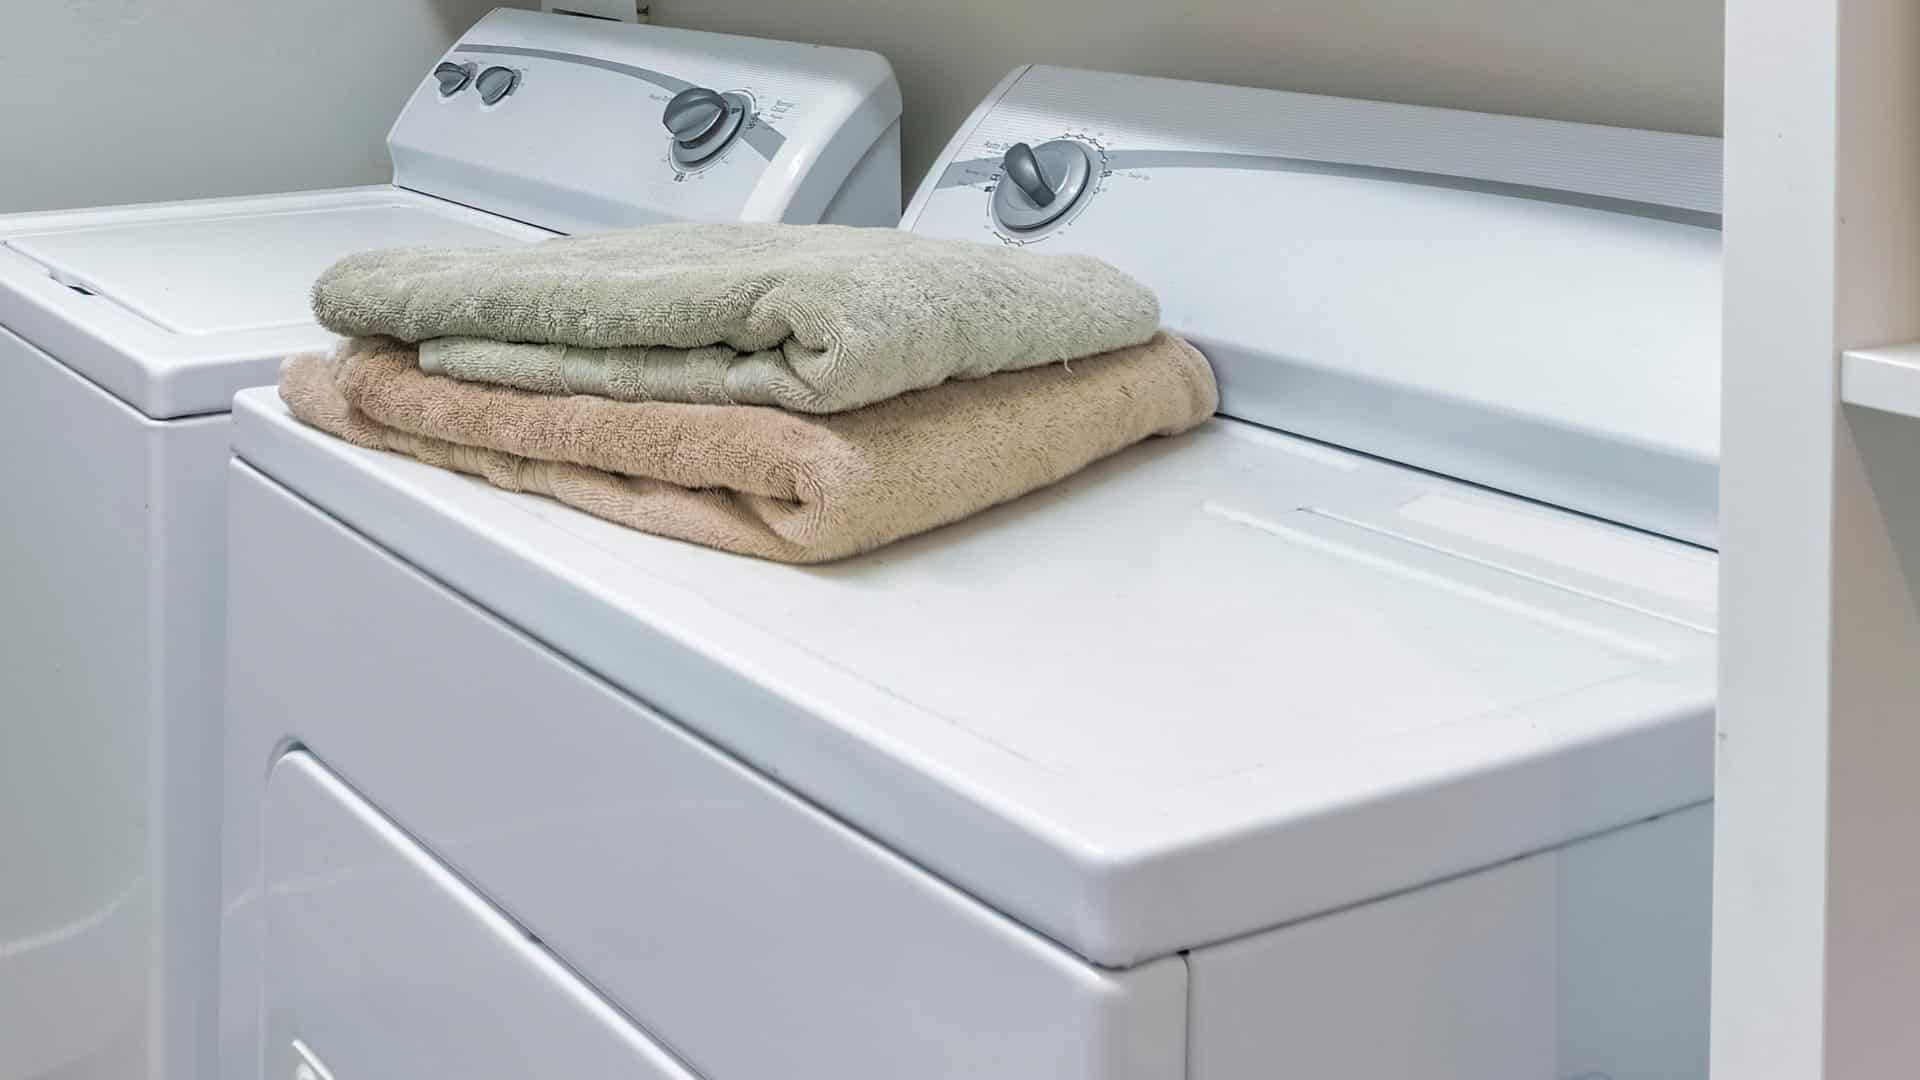
- Lay a towel down. When removing the water filter, lay a towel down on the ground under the door to stop water from leaking.
- Remove the filter. The next step is to remove the old filter. This can be done by locating the dial on the bottom of your fridge. Once located, turn the dial counterclockwise. While turning it, pull it out of the filter housing. For some specific Kenmore refrigerator models, you will need to push the filter in and twist it to remove it.
- Prepare the new filter. To prepare the new filter, you must remove the old one from the dial. This can be done by pushing or pulling (depending on the model) the dial to detach the filter. You can then place the new filter onto the dial and slide it into position. Your old filter can then be thrown out.
- Install the new filter. Now that the new filter is ready, you can install it into your appliance. This can be done by placing the filter into position and then turning it clockwise. You can then push the filter into the housing until it clicks into place.
- Reset the filter. The final step is to reset the filter. This can be done by pressing the “filter reset” button for 3 seconds. The light above should change color or turn off when the reset is complete. If that doesn’t happen, you will need to ensure the filter is properly connected and then try the reset again.
- Start using your water tap and ice maker again. Now that the new filter is in place, you can use the water tap and ice maker again.
Apr. 09, 2024
GE Dishwasher With No Power or Lights? Try This Fix
Apr. 09, 2024
Understanding SC Code on Samsung Washer
Apr. 09, 2024
Resolving LG Dryer D80 Error Code
Mar. 06, 2024
Understanding GE Refrigerator Error Codes: A Guide
Mar. 06, 2024
Amana Dryer Not Heating? Try These 5 Fixes
Mar. 06, 2024
Samsung Ice Maker Issues? Here are 5 Fixes
Feb. 05, 2024
Samsung Dryer Not Heating with No Error Code? Here’s Why
Feb. 05, 2024
GE Profile Dishwasher Not Draining? Here’s Why
Feb. 05, 2024
How to Replace the Filter on a Samsung Refrigerator
Jan. 03, 2024