

January 10, 2023
Refrigerator Repair
If your LG refrigerator isn’t making ice, you’re probably wondering what to do. Luckily, you can try a few things to fix the problem. In this blog post, we’ll share tips on getting your LG fridge back to making ice again.
First, check that your refrigerator is not displaying any error codes. These codes can help pinpoint the problem and indicate an error with an internal component that requires the help of a professional to replace it.
If no error codes are displayed, then here are some common solutions as to why your LG refrigerator is not producing ice.
Check to see if the ice maker is turned on
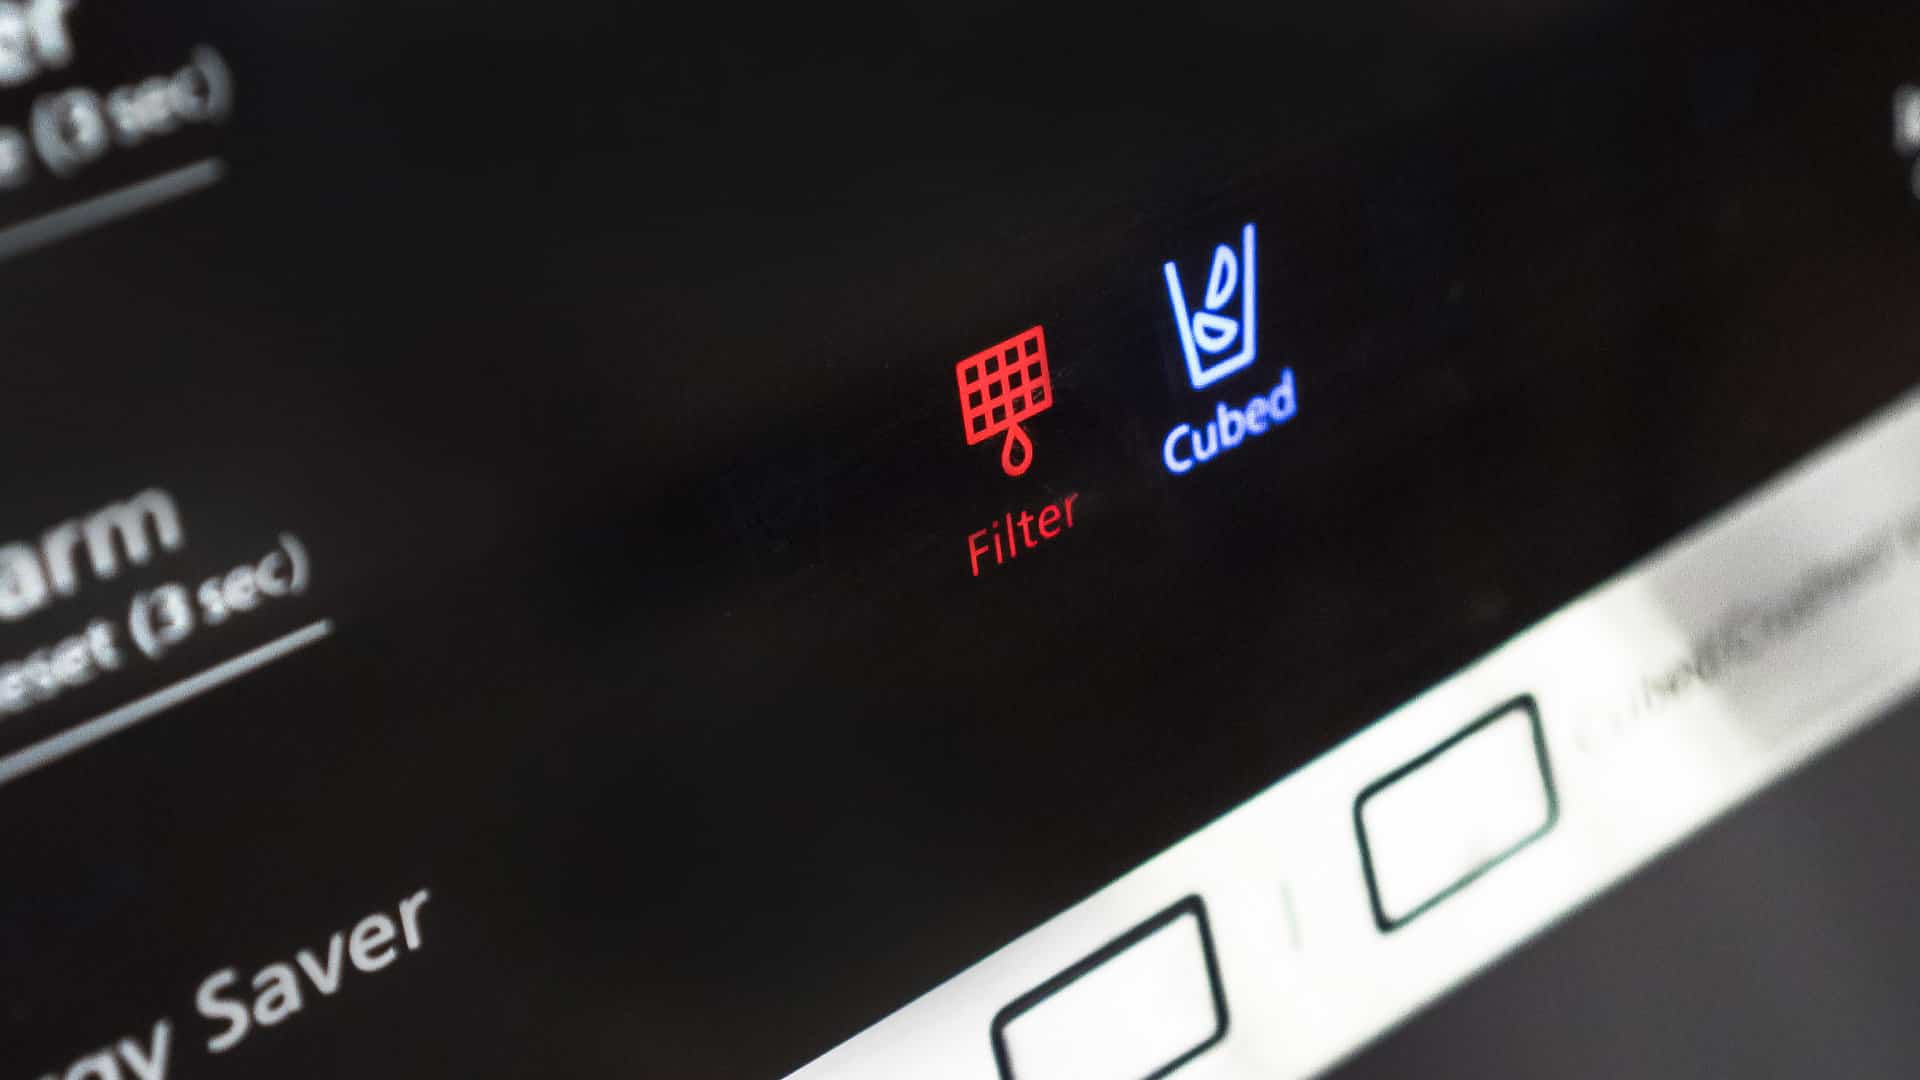
If your refrigerator’s ice maker is not making any ice, the first thing to check is that the ice maker has been switched on. It’s an easy task that takes only a few seconds – check the display of your refrigerator to see if the ICE ON icon (a hexagon with a small snowflake beside it) is lit.
If the Icon is dark, your ice maker is off.
To turn the ice maker back on, open up the freezer door and look for a switch near the left side of the ice maker. If it’s not in the ‘on’ position, flip it and give it some time –it can take your refrigerator up to 24 hours to start making ice again.
Check that the freezer temperature is low enough
If the freezer temperature is not kept in the correct range, it can prevent your ice maker from making ice. The freezer itself should be between 0- and 5-degrees Fahrenheit to form ice cubes properly. Any warmer, and it will make ice cubes more slowly.
By keeping your freezer within this range, you can keep your ice maker operating effectively so you always have a steady supply of cubes!
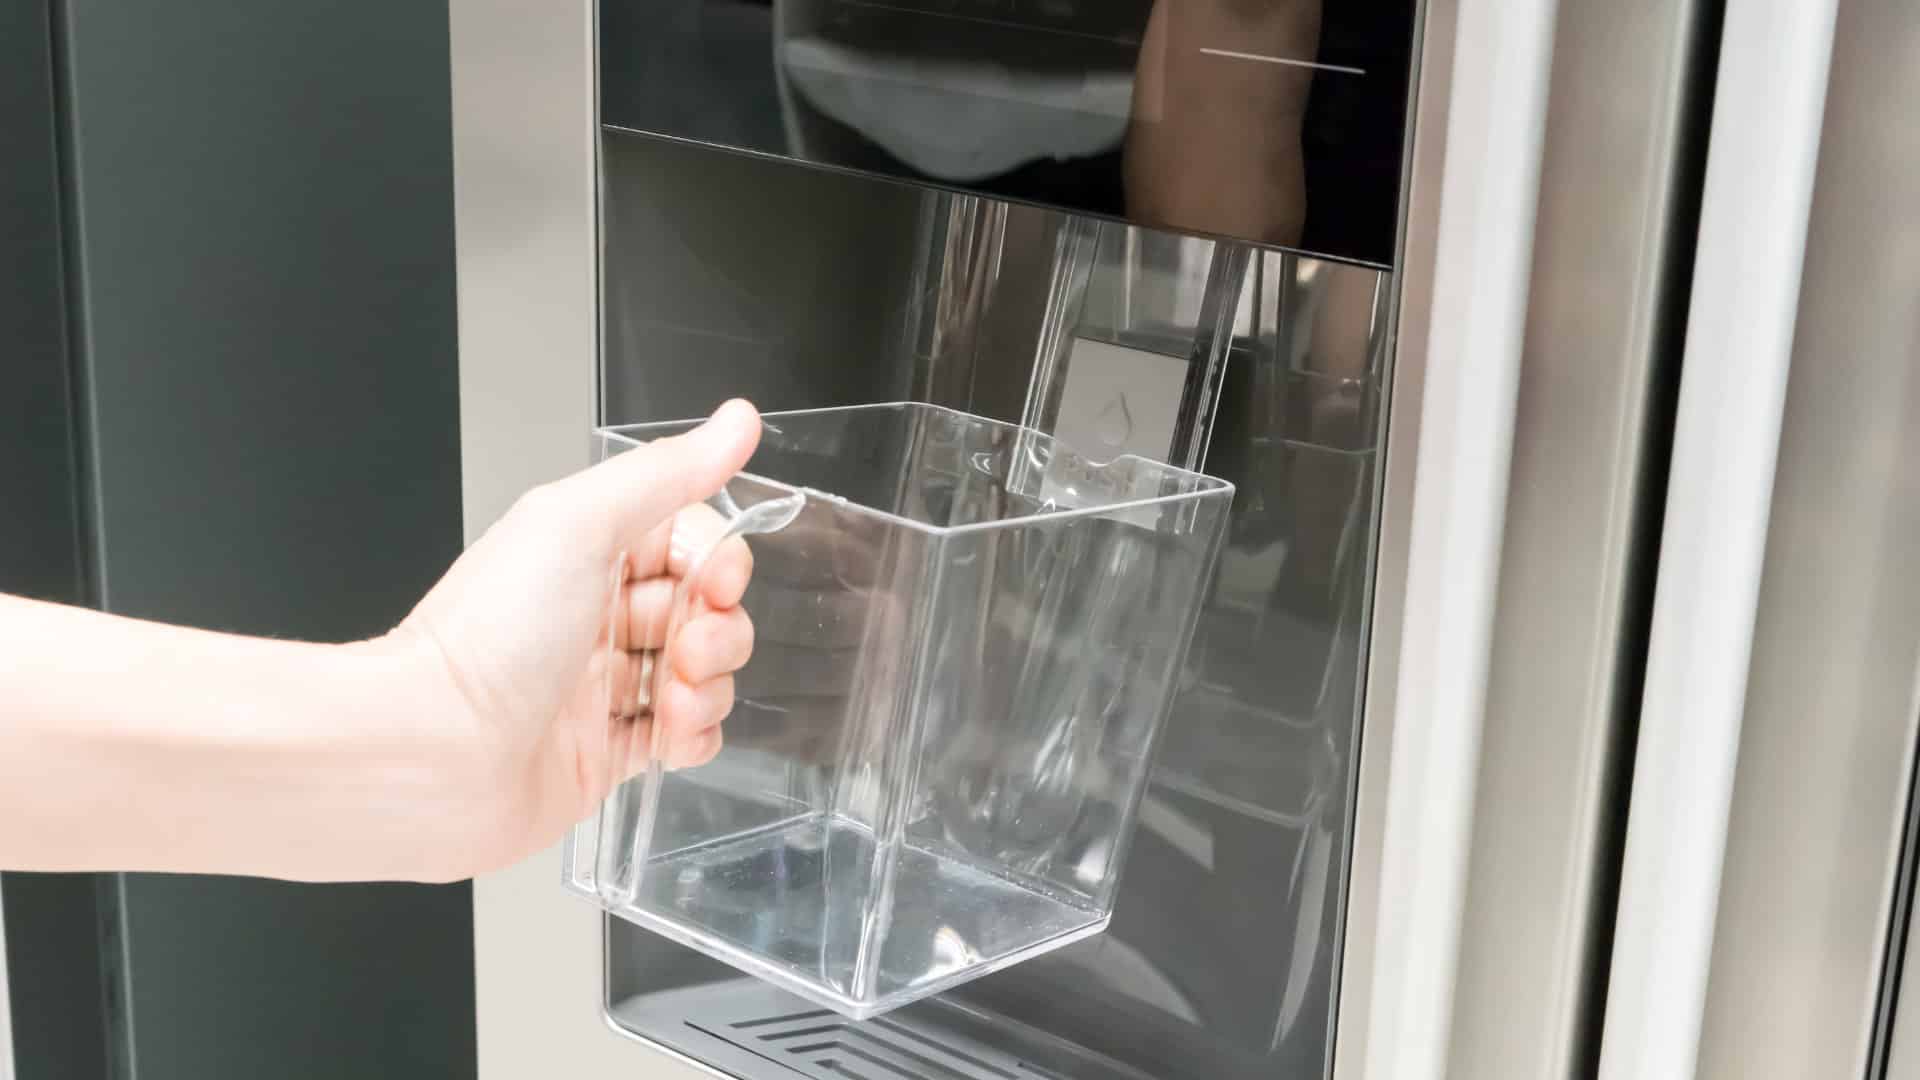
Check the water line
Your refrigerator cannot make ice without a constant water supply. Over time, your refrigerator’s water line can become damaged, kinked, or even disconnected.
To check for any errors, first, test the flow of the water line by dispensing a glass of water. If everything flows properly, then there are no issues. If not, then there could be a blockage or kink somewhere.
To inspect the line, start by checking the back of your refrigerator. You will need to check that all connections are secure and that the line itself is undamaged and free from kinks or grabbed material.
A damaged water line will need to be replaced to ensure uninterrupted access to cold water and help get your ice maker back up and running.
If you require assistance replacing the water line, contact a professional.
Reset the ice maker
If the ice maker is turned on but not producing ice, the next step will be to reset it. The instructions for this will vary depending on your particular model.
For a Twist/Flex tray model ice maker:
- Open the ice door.
- Ensure the ice maker switch is in the ‘ON’ position.
- Remove the ice bucket.
- Place a towel beneath the ice maker to catch any water or ice that falls out.
- There is a ‘Test’ button on the underside of the ice maker’s housing – press and hold the Test button for 3 seconds.
- The ice maker should begin to turn and release its contents (either ice or water).
If the ice maker releases water, the temperature of the freezer is too high (see the above section for details). If the ice maker releases too much ice, or a solid block of ice, or is frozen, the temperature is too low, and the ice maker has frozen (see the below section for defrosting tips).
If the ice maker does not release any ice or water, there may be an issue with the water supply (see the above section on checking the water line).
If the ice maker does not turn at all, there is an issue with the ice maker’s motor. You should call a professional to help with this issue.
For a Heater/Custom Cube model ice maker:
- Remove the ice bucket.
- Place a towel beneath the ice maker to catch any water or ice that falls out.
- The test button is within a small, recessed hole in the middle of the ice maker housing.
- Press the ‘Test’ button using a small piece of wire, such as a paper clip.
- Hold the button for 3 seconds until the arms begin to turn.
If the ice maker releases water, the temperature of the freezer is too high (see the above section for details). If the ice maker releases too much ice, or a solid block of ice, or is frozen, the temperature is too low, and the ice maker has frozen (see the below section for defrosting tips).
If no ice or water is released, there may be an issue with the water supply (see the above section on checking the water line). Finally, if the ice maker does not turn at all, there is an issue with the ice maker’s motor and you should call a professional to help.
For the Early Twist/Flex Tray model ice maker:
- Your model may be one of either mentioned above.
- If your ice maker has an ‘ON’ switch and an ice tray, use the steps for the Flex Tray model.
- If not, follow the steps for the Heater/Custom Cube model.
Defrost the ice maker
Over time, a layer of frost begins forming on the ice maker, making it harder for the machine to make ice and affecting its performance.
The best way to get rid of this layer of frost is to use a warm, wet cloth and carefully wipe each side of the ice maker until you notice the frost begin to melt.
Be sure not to scrub too hard or you risk damaging your machine. Be cautious when wiping, and take your time; eventually, the frosty coating will disappear.
Summary
Most ice maker issues can be easily fixed by following the troubleshooting tips we’ve provided.
First, check to see if your freezer is set to the right temperature—it should be between 0- and 5-degrees Fahrenheit. If that doesn’t solve the problem, make sure the water line is secure and in good shape; a kinked or frozen water line will prevent water from getting to your ice maker. Finally, reset your ice maker according to the instructions provided here; this will often fix any errors that may have occurred.
By following these simple steps, you should be able to get your ice maker working properly again in no time at all!
Apr. 09, 2024
GE Dishwasher With No Power or Lights? Try This Fix
Apr. 09, 2024
Understanding SC Code on Samsung Washer
Apr. 09, 2024
Resolving LG Dryer D80 Error Code
Mar. 06, 2024
Understanding GE Refrigerator Error Codes: A Guide
Mar. 06, 2024
Amana Dryer Not Heating? Try These 5 Fixes
Mar. 06, 2024
Samsung Ice Maker Issues? Here are 5 Fixes
Feb. 05, 2024
Samsung Dryer Not Heating with No Error Code? Here’s Why
Feb. 05, 2024
GE Profile Dishwasher Not Draining? Here’s Why

Feb. 05, 2024
How to Replace the Filter on a Samsung Refrigerator
Jan. 03, 2024