

June 13, 2023
Dishwasher Repair
A dishwasher is an appliance that we depend on to make our lives a little easier and more efficient. It saves us from manually washing up after every meal, but we often take it for granted until something goes wrong!
One of the most common issues that a dishwasher can have is a faulty heating element. This is the part responsible for heating the water that cleans the dishes. If your dishwasher is not heating up or taking longer than usual to complete a dishwashing cycle, it may be time to replace the heating element.
In this blog post, we will guide you through the steps to replace a dishwasher heating element to help you get your machine up and running again.
What You Will Need
Before diving into any repair job, it’s important to gather all the necessary supplies ahead of time. Don’t let a missing tool or replacement part derail your efforts in the middle of the project!
If your dishwasher needs a new element, take a moment to look up your model number and order the correct replacement online.
You will also want to have the following:
- work gloves
- a towel
- a nut driver set
- channel lock pliers
- a bottle of rinse aid to help lubricate the new heating element!
By taking the time to gather your supplies, you’ll be able to tackle the repair with confidence and efficiency.
Step 1: Safety first! Turn off the water and power supply to the dishwasher
Before starting any repair work, it’s essential to turn off the water and power supply to the dishwasher. Locate the power source and turn off the breaker or unplug the machine from the wall outlet.
Next, find the water shutoff valve that supplies water to the dishwasher and turn it off. If you are not sure where the valve is, turn off the main water supply to your house to be safe.
After the power and water have been turned off, disconnect the power cord or connection and the drainage and fill hoses at both ends.
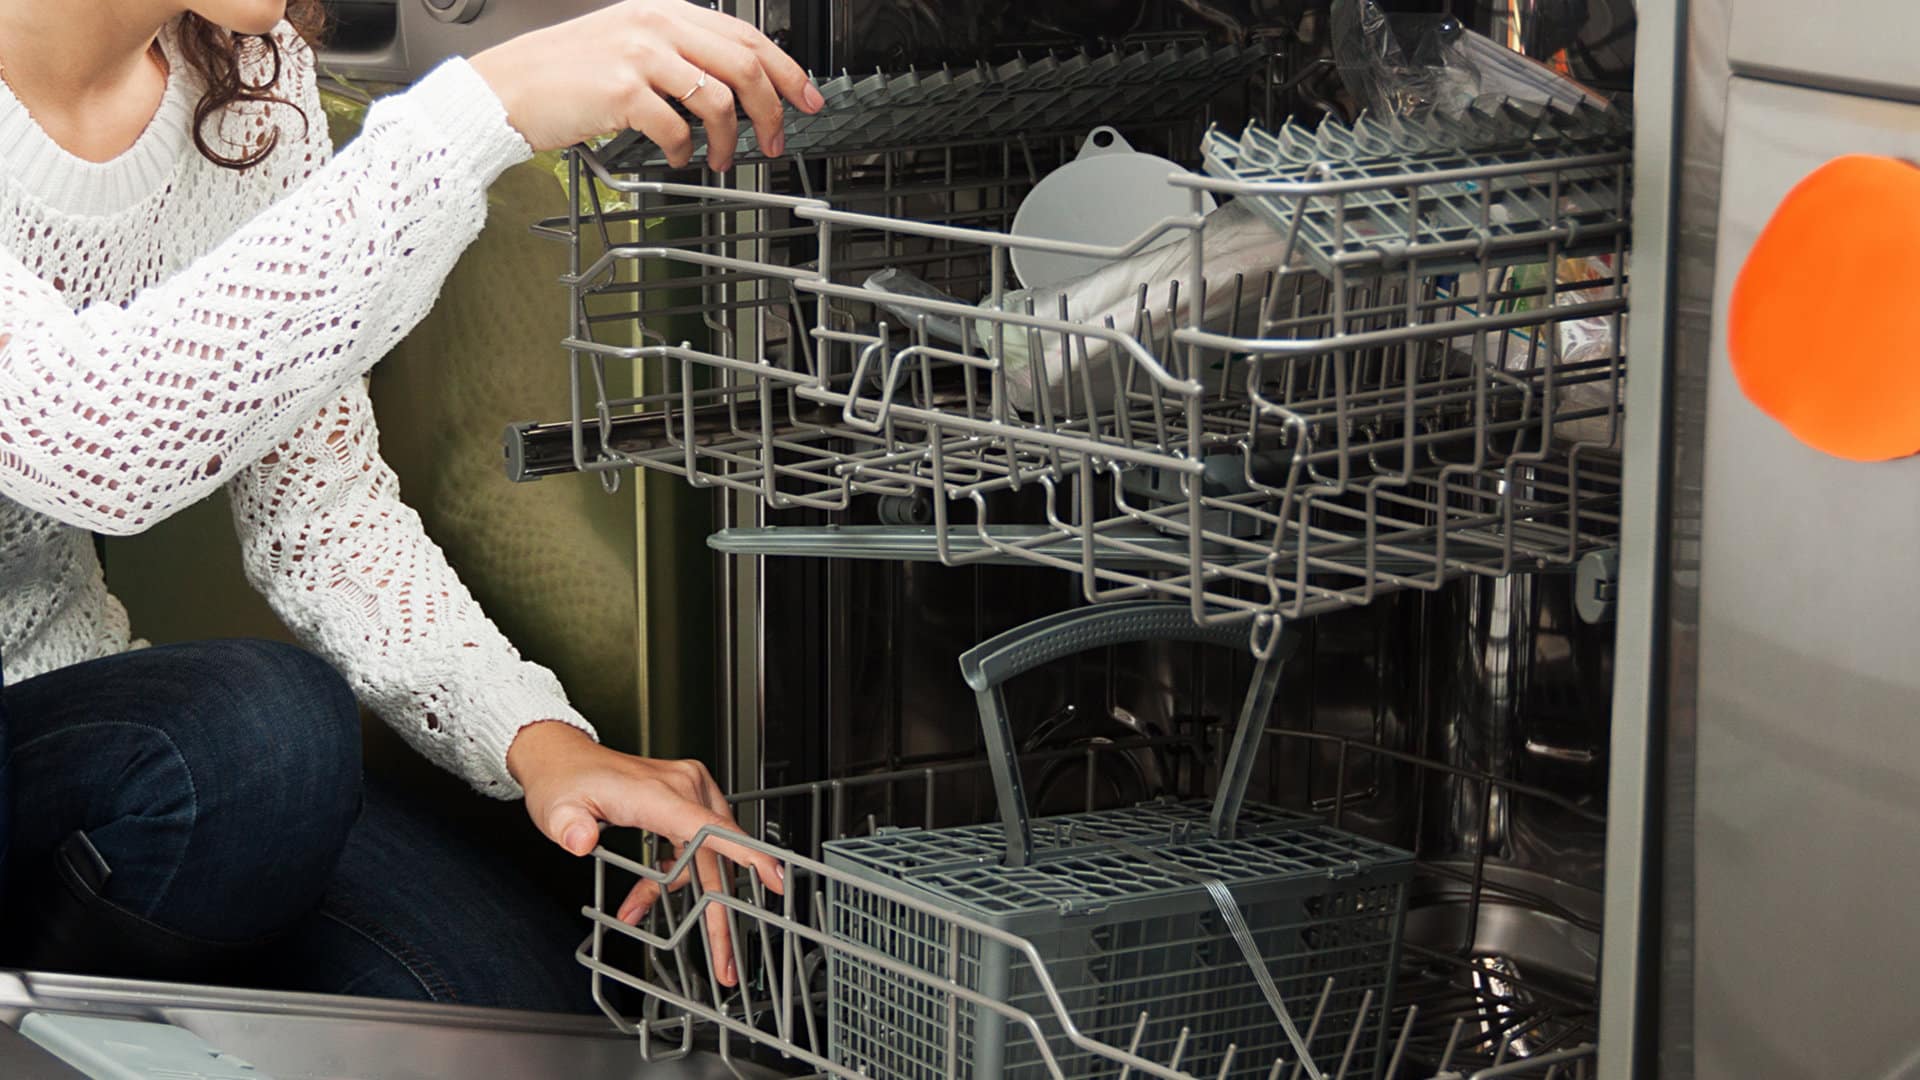
Remove the dish racks and the bottom spray arm. Depending on your dishwasher model, they will either snap off or unscrew. Check your manual to confirm which type of spray arm you have.
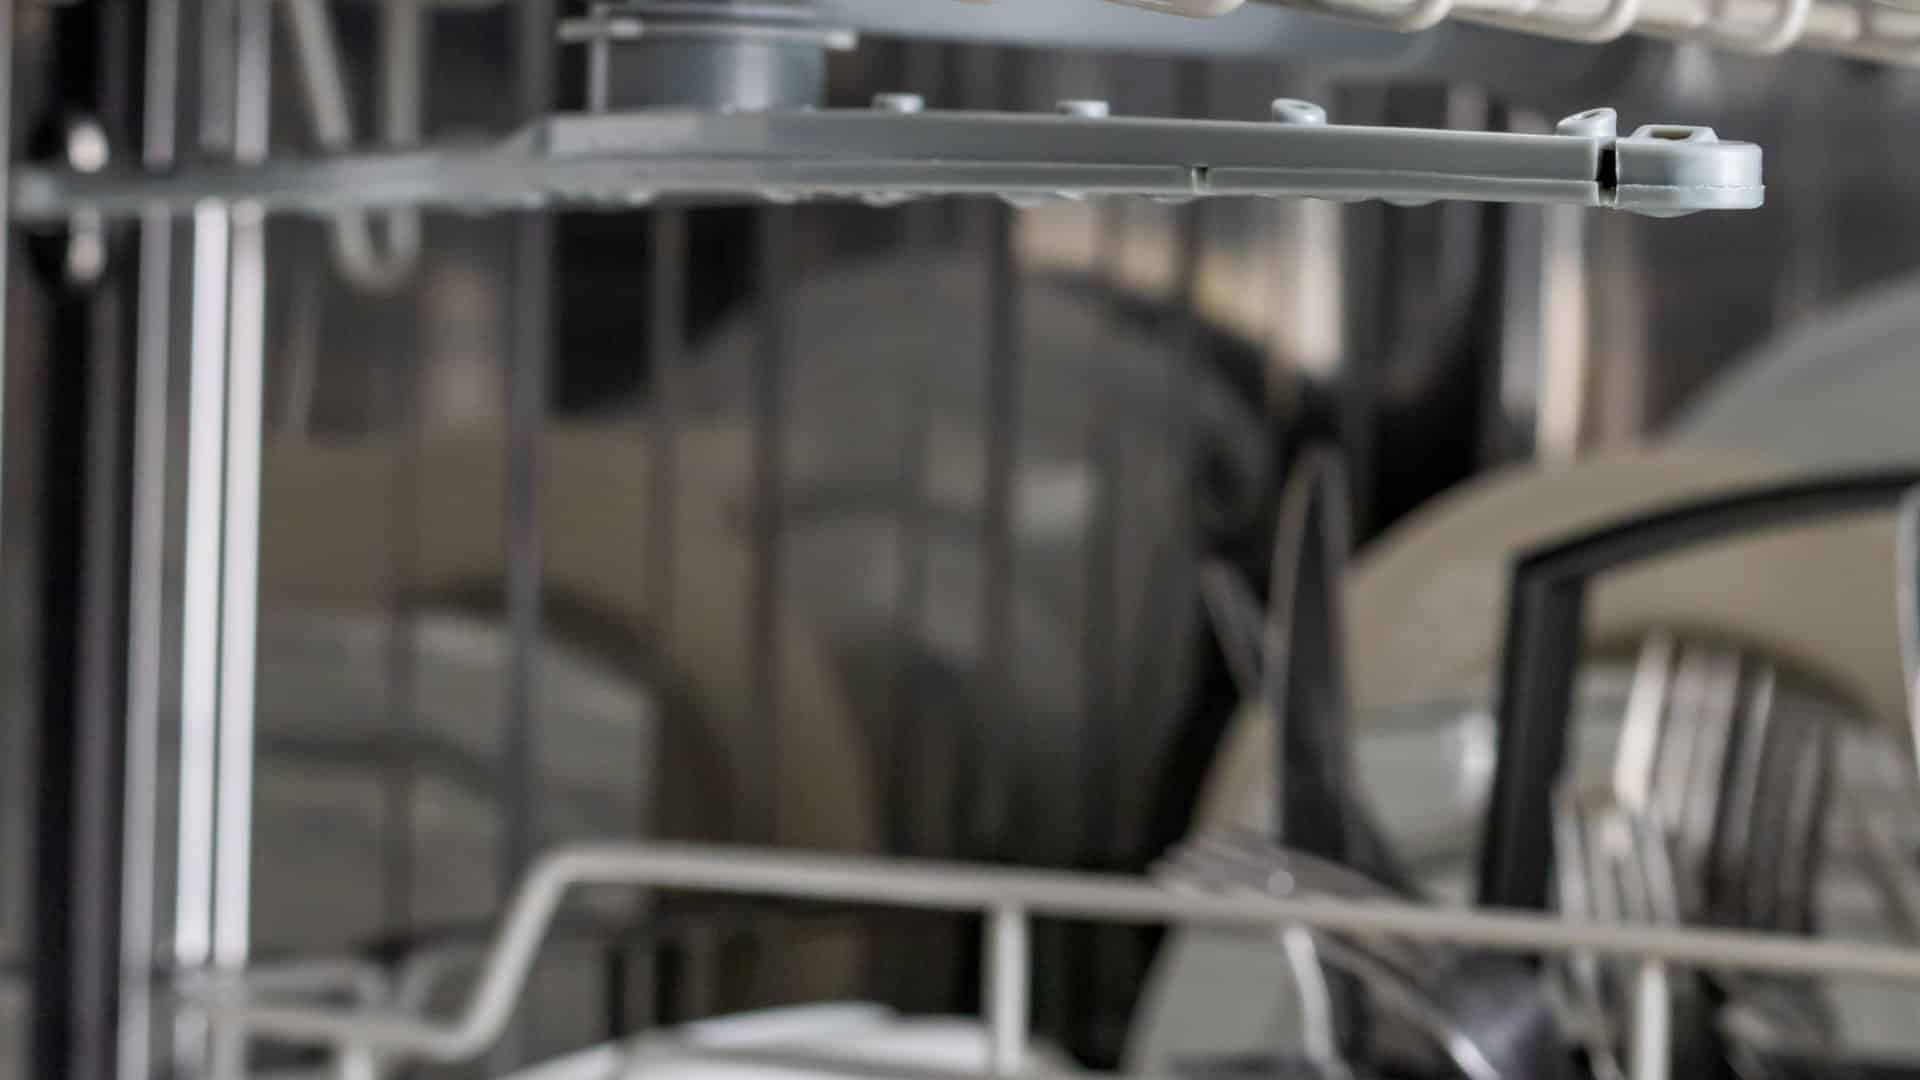
Step 2: Remove dishwasher access panel
To access the heating element, you need to remove the access panel at the bottom front of the dishwasher. You may need to use a screwdriver to remove any screws holding it in place.
Once you remove it, you should see the footplate that secures the bottom of the washer to the counters on either side. Remove the screws holding the footplate to the counters and set the footplate, access plate, and screws aside.
Step 3: Remove the mounting brackets
Using a screwdriver on the underside of the counter above the dishwasher, unscrew the mounting brackets holding the dishwasher to the countertop.
Set the brackets and screws aside.
Step 4: Pull the dishwasher out from under the counters and away from the wall
Gently—being careful—pull the dishwasher out and away from the wall.
Once the dishwasher is clear, lay it on its back so that you can clearly access the bottom of the dishwasher.
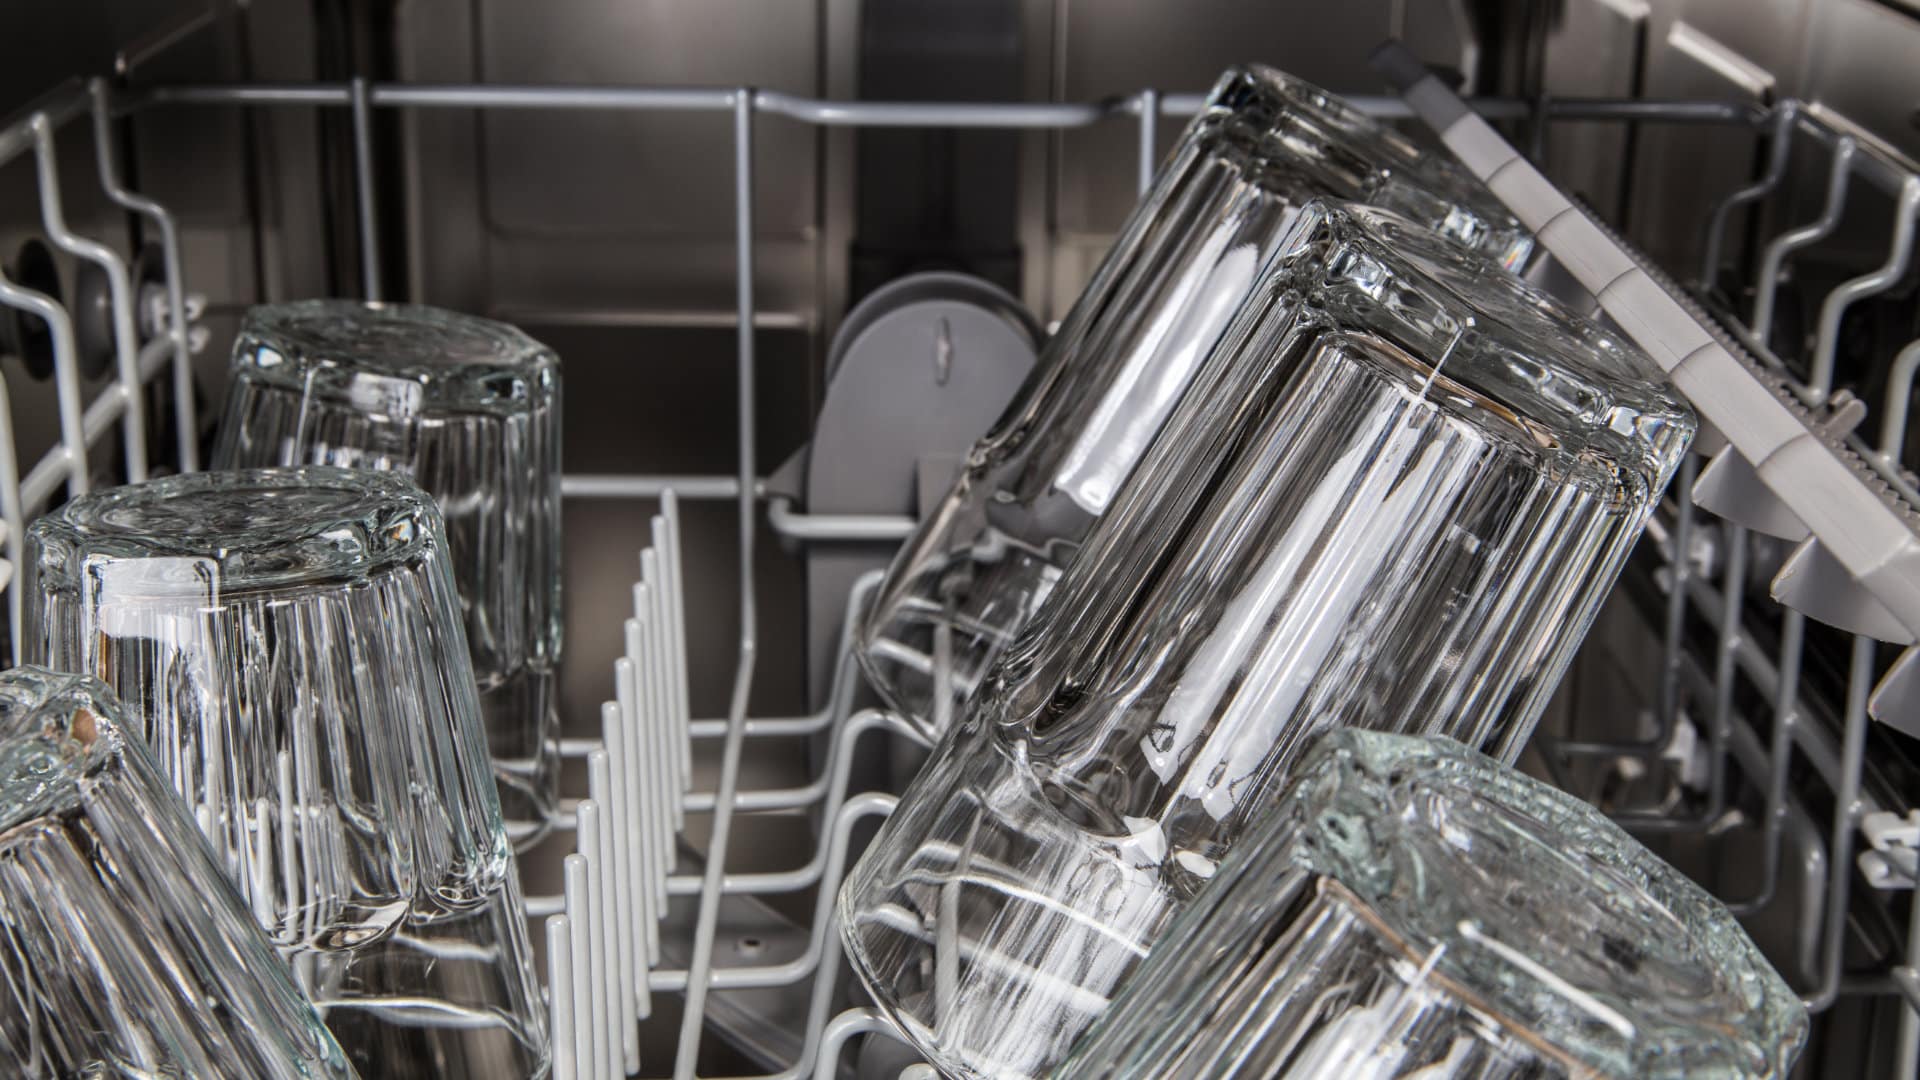
Step 5: Disconnect wires and remove the heating element
The heating element is connected to the dishwasher via two mounting nuts. To locate the nuts, simply open the door of the dishwasher and locate the base of the heating element. The mounting nuts will be on the corresponding side of the bottom of the dishwasher.
There will be two wires connecting to the mounting nuts. It may be helpful to take a picture or use tape to differentiate them so they are easier to reinstall.
Gently pull the wires away to disconnect them, and use a crescent wrench to remove the mounting nuts. Once you remove the nuts, you can slide the heating element out of its housing.
Open the dishwasher door, and remove the heating element from the base of the dishwasher by sliding it out of its sockets.
Step 6: Install and connect new heating element
Now that you have removed the old heating element, it’s time to install the new one. Be sure to gently grease the leads of the new heating element using rinse aid.
Carefully slide the new heating element into the housing until it clicks into place. Reinstall the nuts bracket and take care to make sure the nuts are tight to prevent any leaks.
Reconnect the two wires, ensuring they are secure. Be sure to connect the wires correctly following the guide (either the picture you took or the tape to differentiate) you put in place earlier.
Maneuver the dishwasher so that it is right side up.
Pour a small amount of water into the tub and check for any leaks at the bottom. If there are leaks, you will need to tighten the heating element’s mounting nuts so that the rubber seals are tight.
When the dishwasher is leak-free, you can proceed to reassemble everything.
Step 7: Put the dishwasher back into position
With the dishwasher back upright, maneuver it back into its proper position under the counter.
Reinstall the mounting brackets along the top of the dishwasher. Reinstall the footplate and access panel along the bottom of the dishwasher.
Step 8: Reattach water hoses and restore power and water supply
Be sure to reattach both the drain and fill hoses to their correct sockets.
Next, turn on the water supply and restore the power by switching the breaker or plugging in the dishwasher.
Replace the dish racks and spray arms.
Run a test dishwashing cycle to ensure that the heating element is working correctly.
If it is not, you can follow the steps above to reattempt the process and ensure that the heating element is installed correctly. Alternatively, you can call a professional dishwasher repair service to further inspect the problem.
Replacing a dishwasher heating element can be an easy and inexpensive DIY project that can save you from costly repairs or having to replace the entire machine. With this step-by-step guide, you can tackle the repair job with confidence, knowing what to do every step of the way.
Remember to always read the manufacturer’s instructions and consult a professional if you encounter any issues. Happy fixing!
Apr. 09, 2024
GE Dishwasher With No Power or Lights? Try This Fix
Apr. 09, 2024
Understanding SC Code on Samsung Washer
Apr. 09, 2024
Resolving LG Dryer D80 Error Code
Mar. 06, 2024
Understanding GE Refrigerator Error Codes: A Guide
Mar. 06, 2024
Amana Dryer Not Heating? Try These 5 Fixes
Mar. 06, 2024
Samsung Ice Maker Issues? Here are 5 Fixes
Feb. 05, 2024
Samsung Dryer Not Heating with No Error Code? Here’s Why
Feb. 05, 2024
GE Profile Dishwasher Not Draining? Here’s Why
Feb. 05, 2024
How to Replace the Filter on a Samsung Refrigerator
Jan. 03, 2024