

November 2, 2022
Dryer Repair
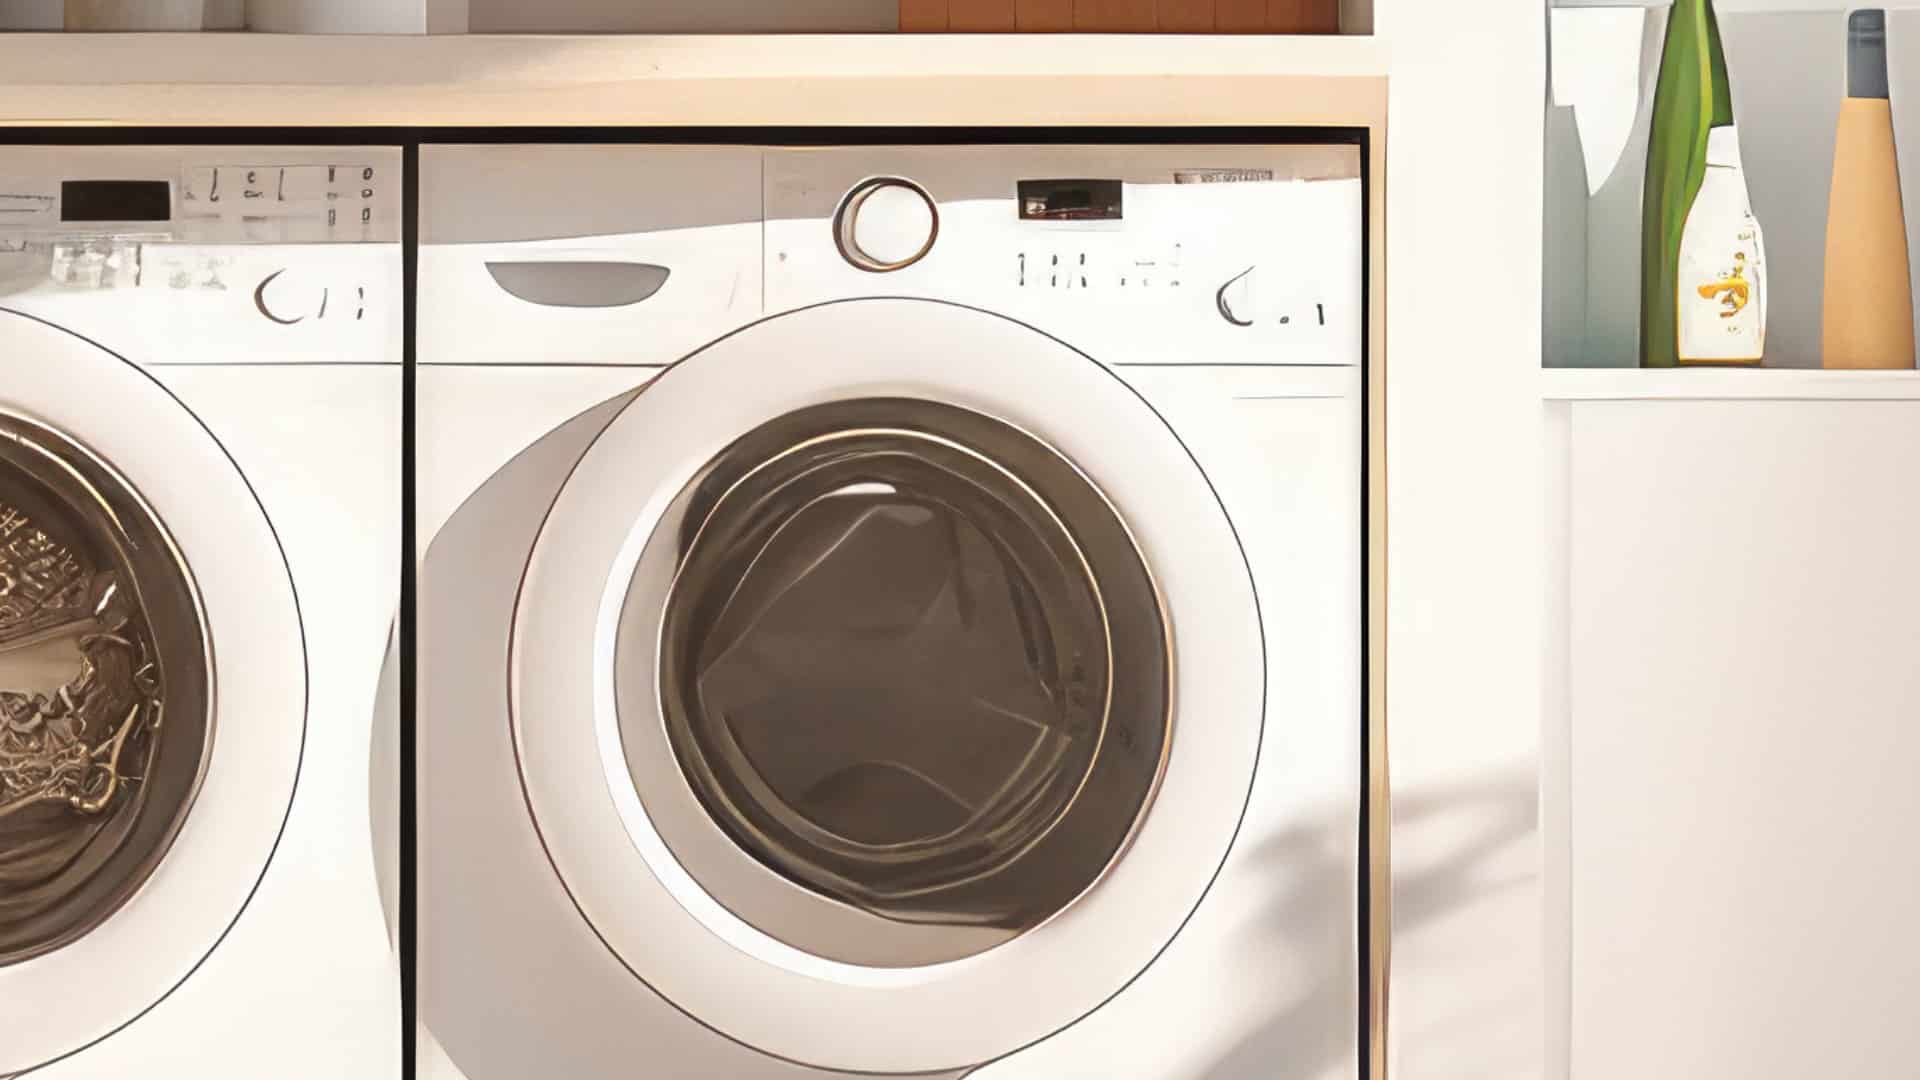
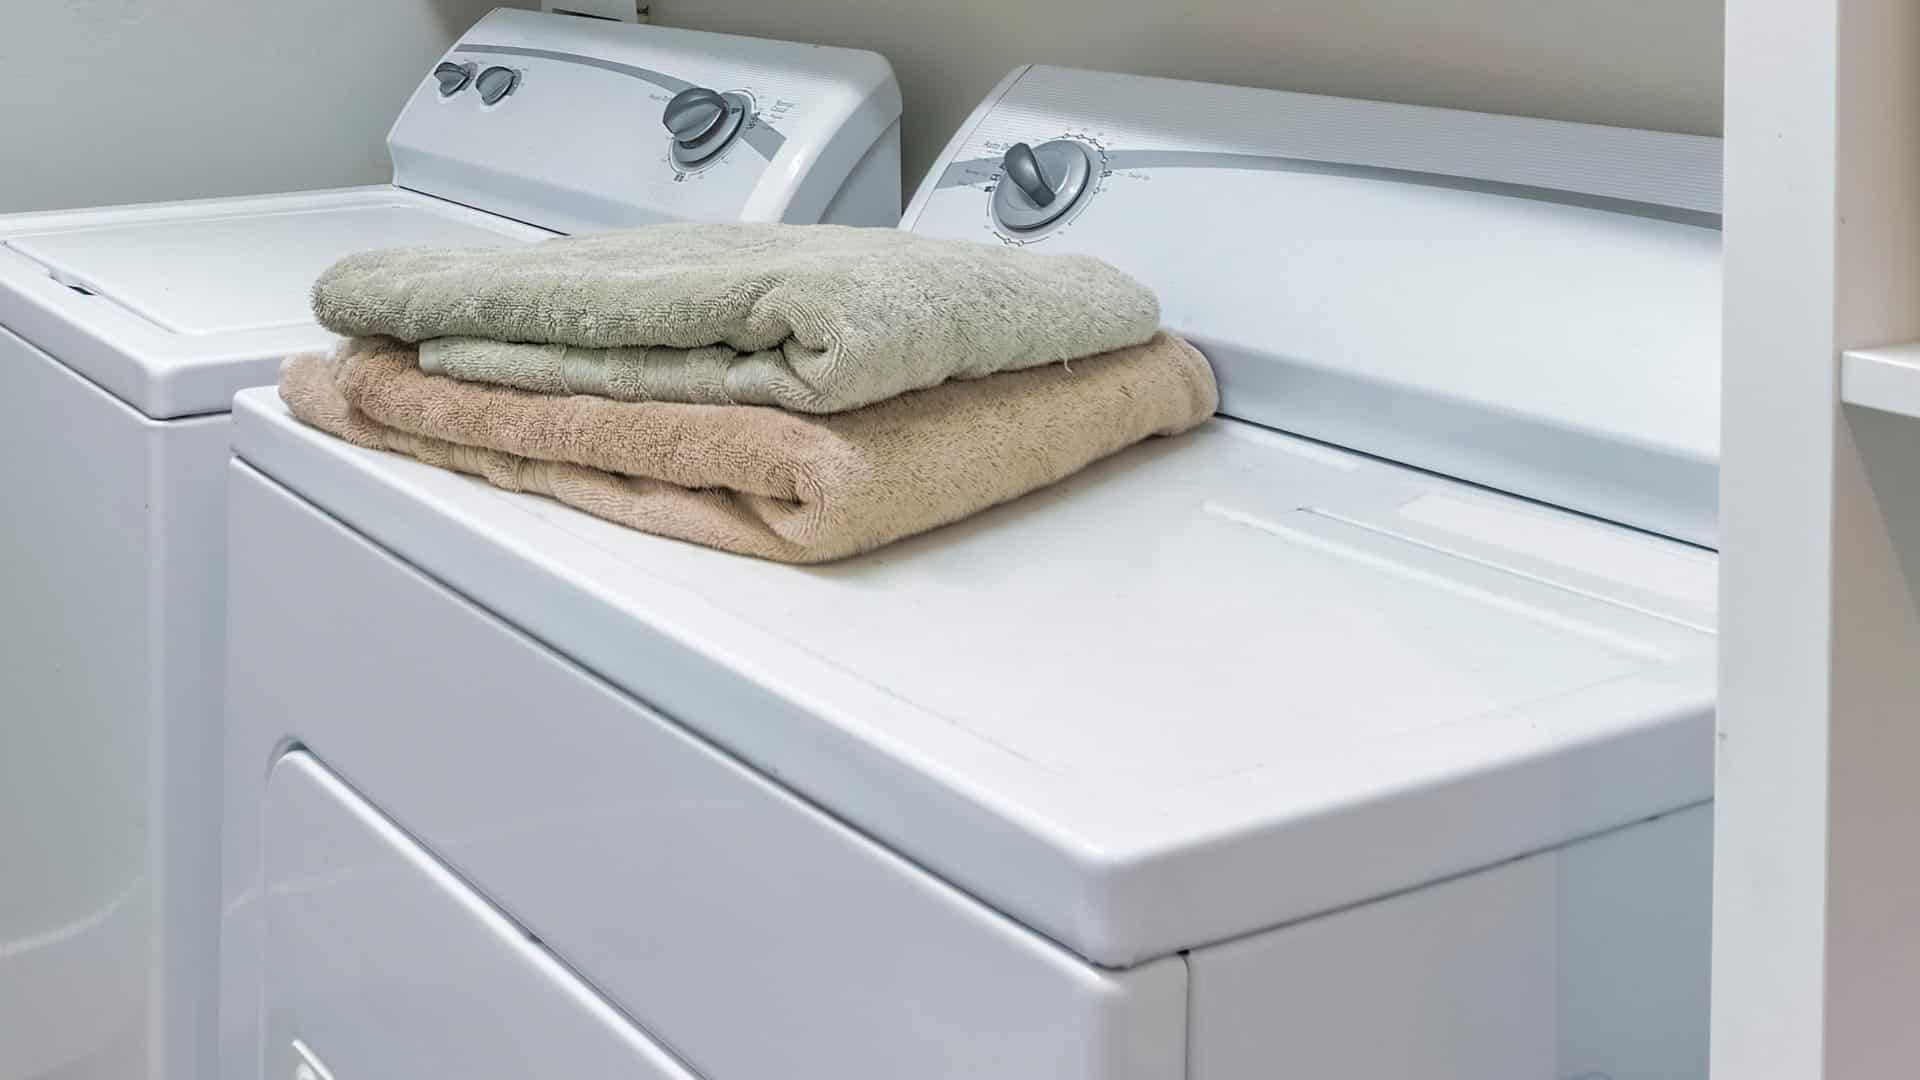
A dryer is one of the most frequently used household appliances, and it can be very frustrating when it is not working correctly. Luckily, when a dryer is not drying clothes, the solution is often a simple one. Read on to find out why your dryer isn’t doing its job and what you can do about it.
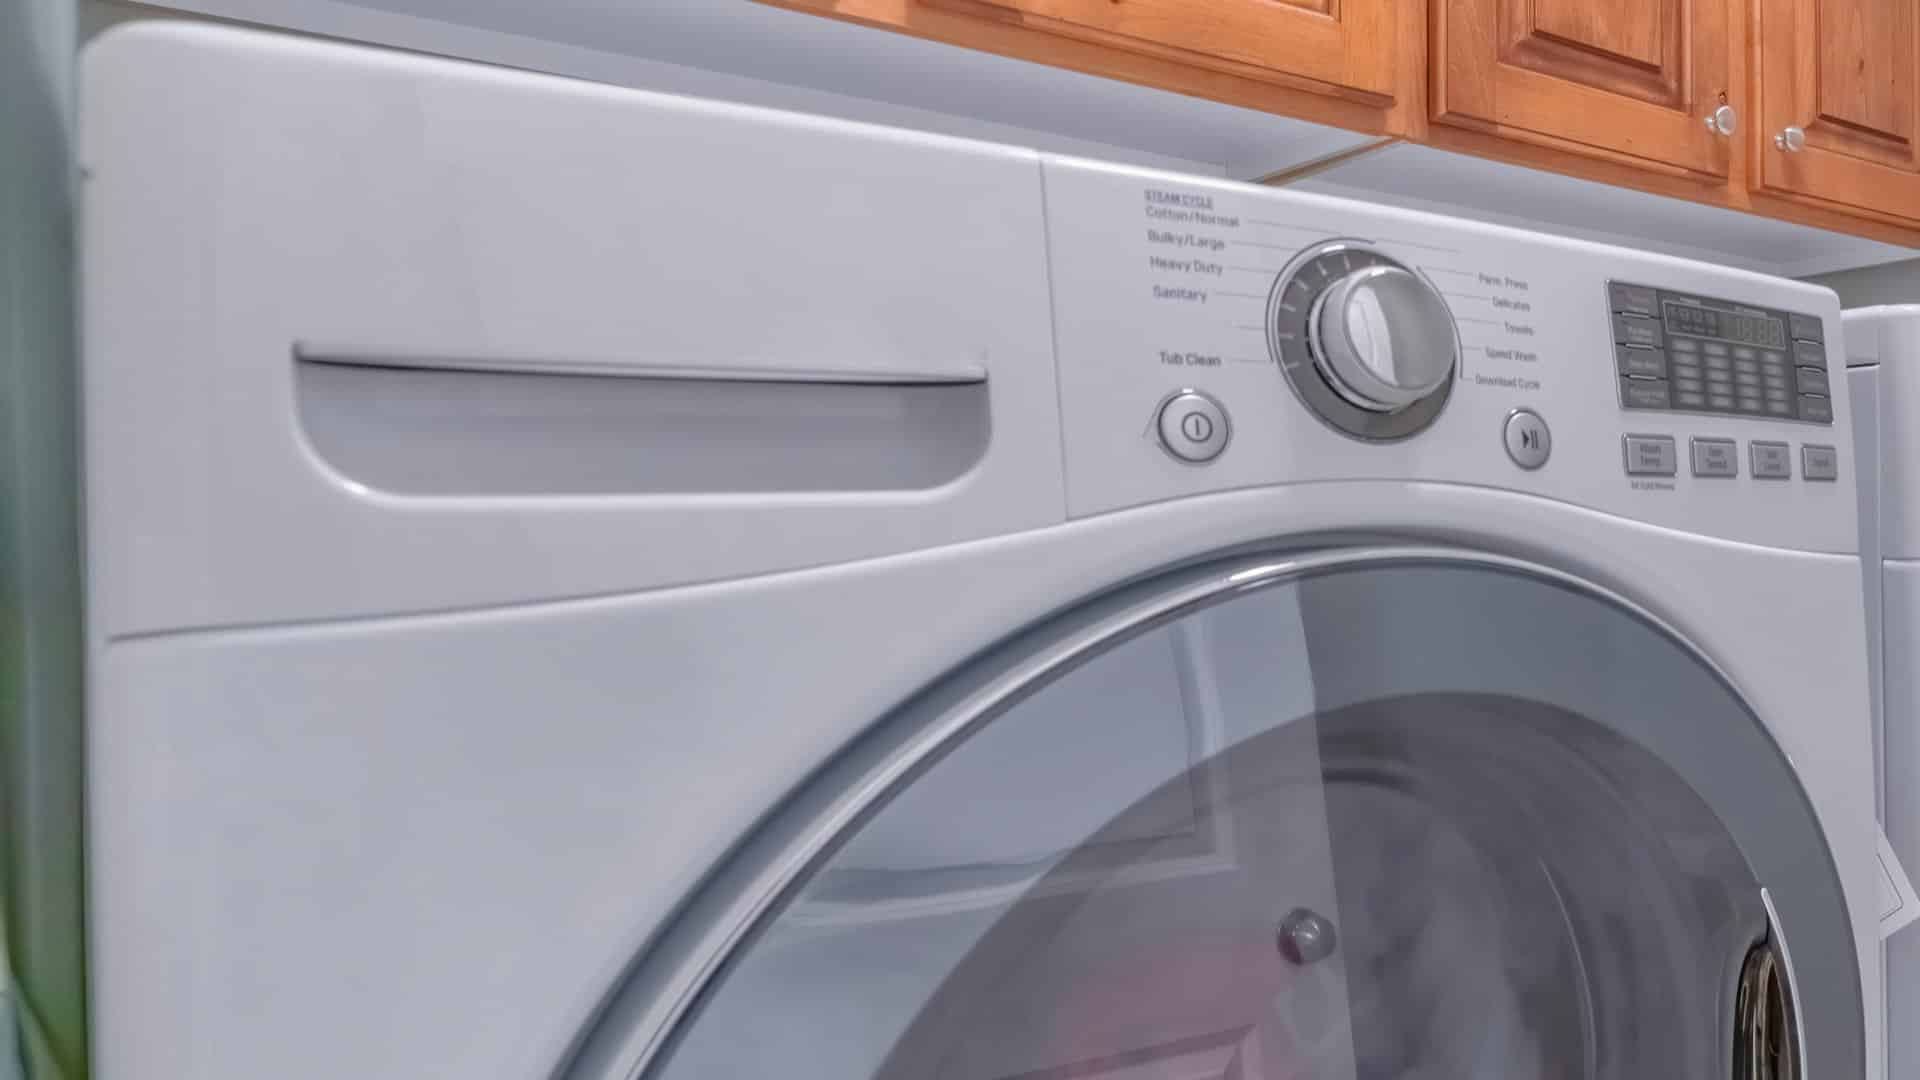
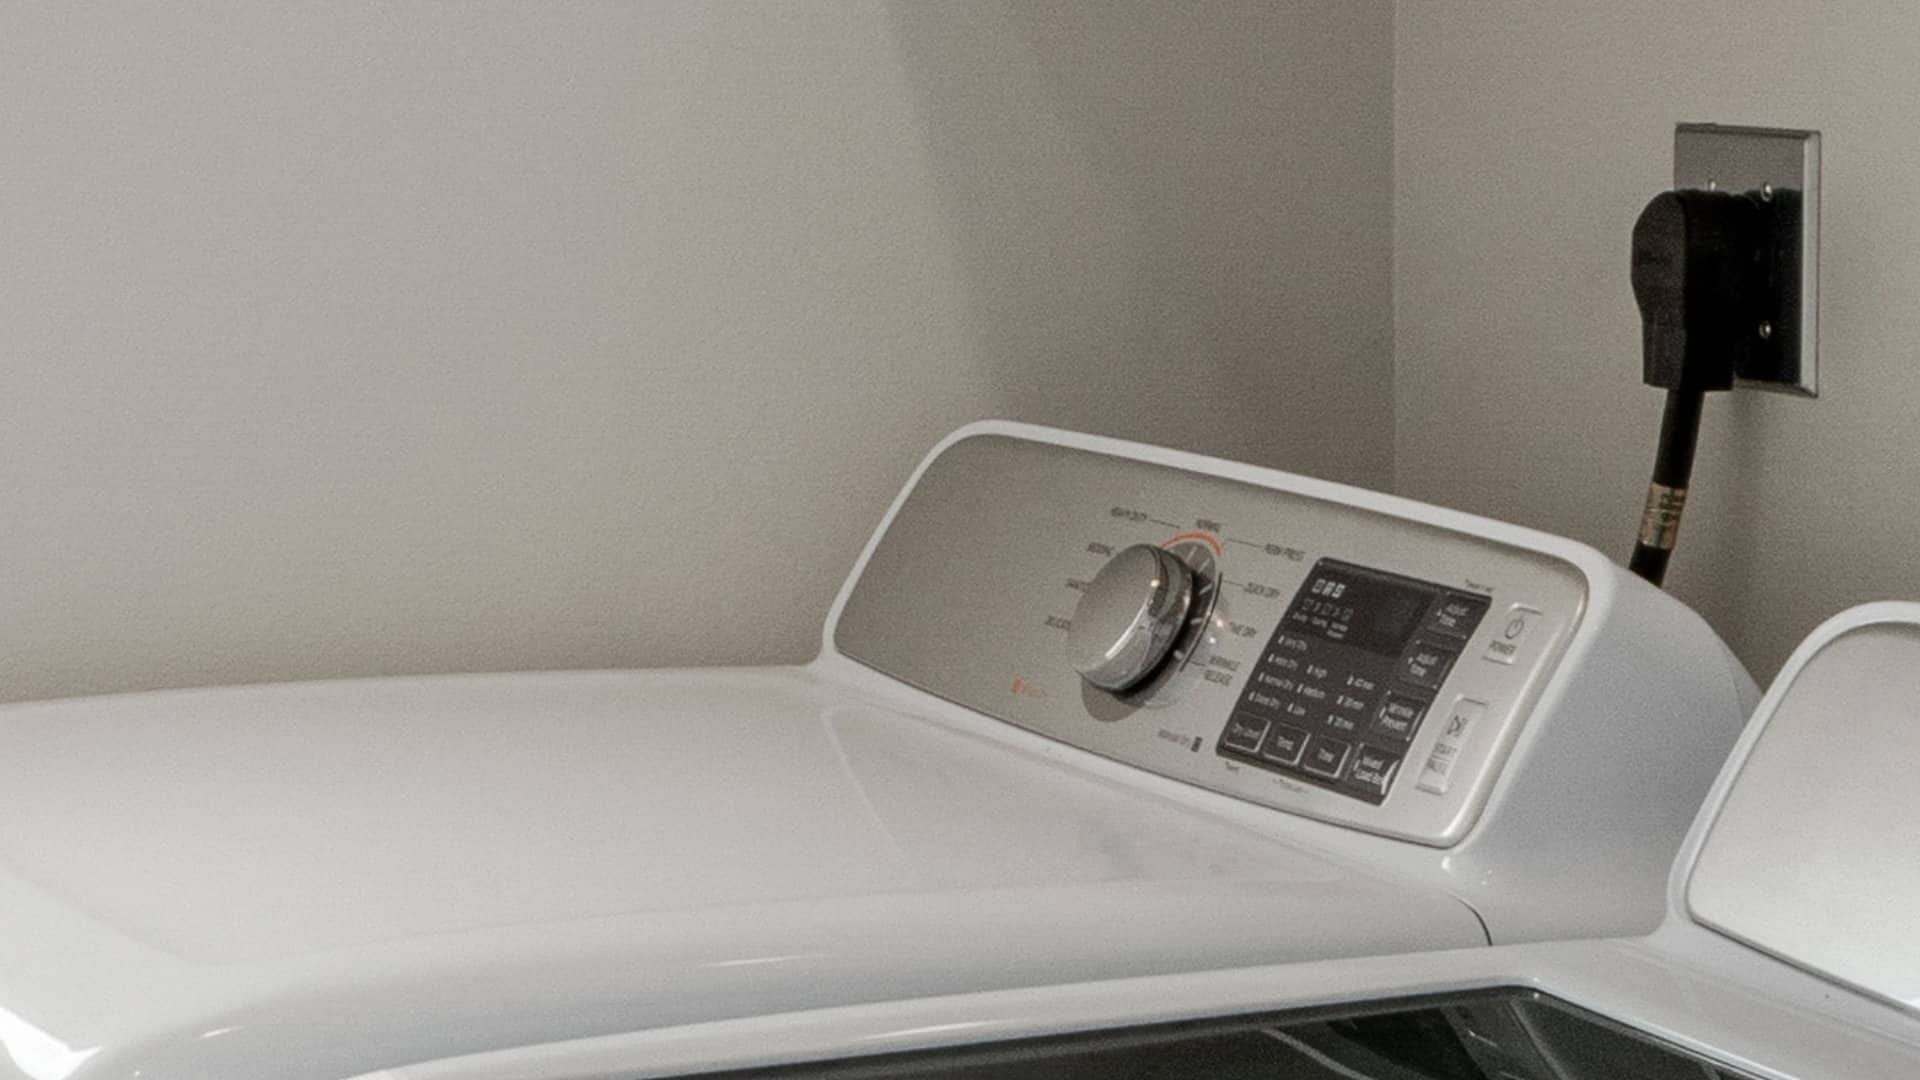
1. Check the settings
Using the incorrect dryer setting for your laundry can significantly increase the time it takes to dry clothes. For example, if you choose the air-dry or gentle cycle for a load of jeans, towels, and sheets, your laundry may come out damp because you chose a setting that is too low. Pay attention to the laundry symbols on your garments to ensure you’re not using too much or too little heat. They’ll tell you which dryer setting is best.
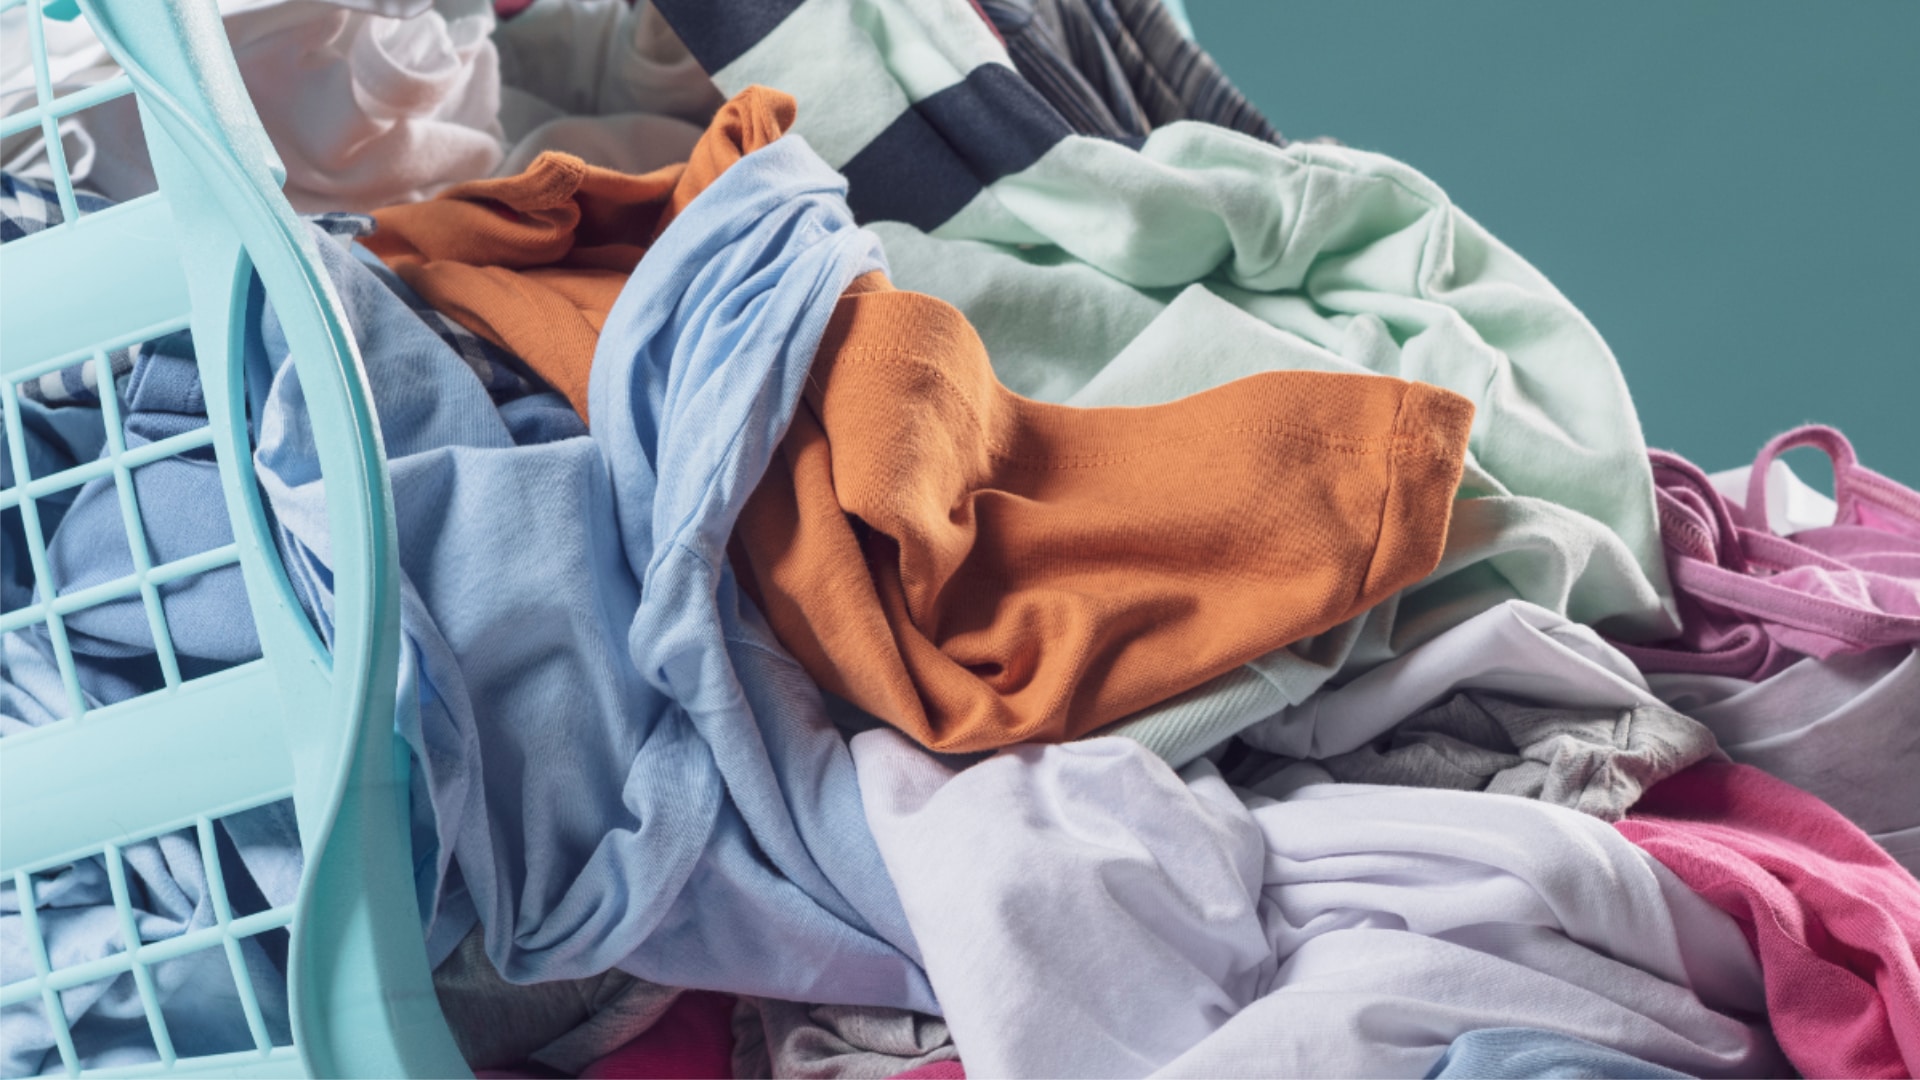
2. Make sure it isn’t overloaded
One of the most common reasons a dryer isn’t drying is also one of the easiest problems to solve—you put far too many items in the dryer. You must make sure not to overload the dryer, as overloading can result in poor drying performance when too much weight is inside the dryer.
Putting too many clothes into the dryer can reduce the airflow required to dry them properly, which could lead to your clothes coming out hot but not dry. Overloading also causes the dryer to work harder, consume more energy, and lengthen the drying time. It’s best not to fill the dryer drum more than three-quarters full.
3. Clean the lint filter
A blocked lint filter can reduce airflow and prevent the dryer from drying clothes efficiently. Cleaning out the lint filter and filter housing thoroughly can solve this issue.
To clean the lint filter
- Remove the lint filter and brush off all of the lint.
- Use an old toothbrush, hot water, and dish detergent to thoroughly clean the filter.
- Make sure the filter is totally dry before replacing it in the dryer.
To clean the filter housing
- After the filter is removed, examine the filter’s plastic housing with a flashlight. There will most likely be a lot of lint at the bottom. This is normal, but it can disrupt airflow and reduce the efficiency of your dryer.
- Take a wire coat hanger and straighten it, or use a length of wire if you have it.
- Make a 1/2-inch, 90-degree bend in the wire with pliers.
- Insert the bent end into the filter housing. With the other hand, hold a flashlight to see what you’re doing. Hook the lint and pull it out slowly.
- Repeat until all of the lint is gone.
After thoroughly cleaning the lint filter and the filter housing, put everything back together and test to see if your dryer is now drying effectively. If it’s still not drying properly, move on to the next step.
4. Check the moisture sensor
If your dryer’s moisture sensor is dirty or damaged, it may be incorrectly sensing that the clothes are dry and stopping the dryer cycle too early. One cause of this is overusing dryer sheets, as they can cause a greasy residue on the moisture sensor. Luckily, cleaning the moisture sensor is an easy and effective way to solve the problem.
- Locate the moisture sensor inside your dryer drum. It consists of two parallel, shiny metal strips about four inches long, which are usually located on the drum side of the plastic filter housing.
- Use a paper towel and rubbing alcohol to clean the metal strips.
After you clean the strips, run a test cycle. You should now find that your dryer is drying clothes again. If it’s still not drying, move on to the next step in our guide.
5. Check and clean out the vent
A blocked dryer vent is a common reason that a dryer isn’t drying clothes. In order to clean out your vent, follow these instructions:
Unplug your dryer
Disconnect your dryer from its power source and move it away from the wall so you can easily access the back of your dryer.
Locate the dryer vent
Is your dryer vented to the outside? Then it will have a vent line attached to the back of the dryer.
Remove the vent line from the back of your dryer
Apply firm but gentle pressure and pull on the pipe until it comes off the back of the machine.
Check for lint inside the dryer
If you see any lint or debris in the opening where the pipe was attached, remove it either with your hand or a clean, dry cloth.
Use a vacuum cleaner to clean the duct pipe
After removing the duct pipe from the back of the dryer as outlined above, disconnect the other end from where it vents to the outside. Then, using a vacuum with a hose attachment, vacuum as far inside the duct as you can reach at either end. This should remove all visible lint.
Put your dryer vent back together, then run a test cycle. Your dryer should be drying clothes efficiently once again.
Apr. 09, 2024
GE Dishwasher With No Power or Lights? Try This Fix
Apr. 09, 2024
Understanding SC Code on Samsung Washer
Apr. 09, 2024
Resolving LG Dryer D80 Error Code
Mar. 06, 2024
Understanding GE Refrigerator Error Codes: A Guide
Mar. 06, 2024
Amana Dryer Not Heating? Try These 5 Fixes
Mar. 06, 2024
Samsung Ice Maker Issues? Here are 5 Fixes
Feb. 05, 2024
Samsung Dryer Not Heating with No Error Code? Here’s Why
Feb. 05, 2024
GE Profile Dishwasher Not Draining? Here’s Why
Feb. 05, 2024
How to Replace the Filter on a Samsung Refrigerator
Jan. 03, 2024