

February 1, 2023
Dryer Repair
If your dryer has stopped heating, it’s likely that the heating element is faulty and needs to be replaced. However, before replacing the heating element, it’s best to rule out all of the simple possible causes of your dryer not working, such as the power supply, and try doing a simple reset. If these steps don’t work, you will need to purchase a new heating element and install it in your appliance.
Simply follow our general step-by-step instructions below. Steps can vary by model and brand.
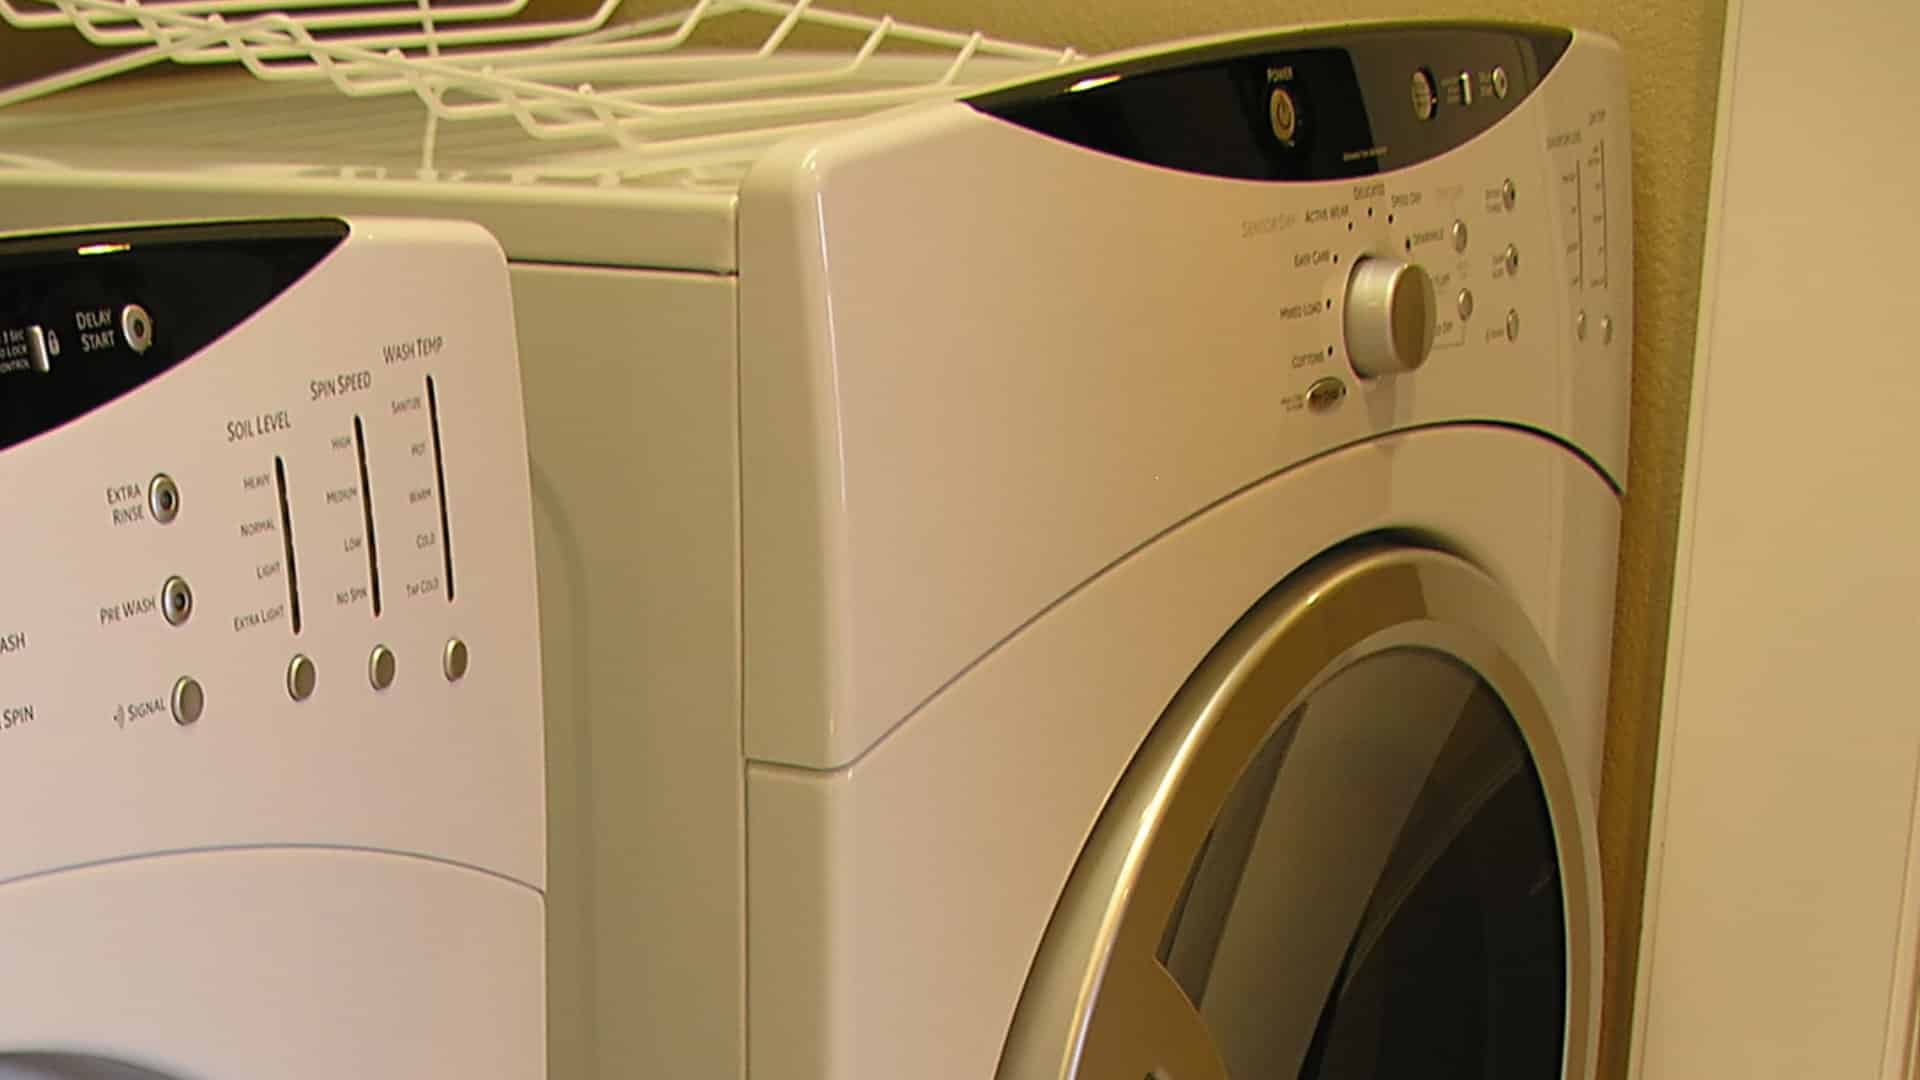
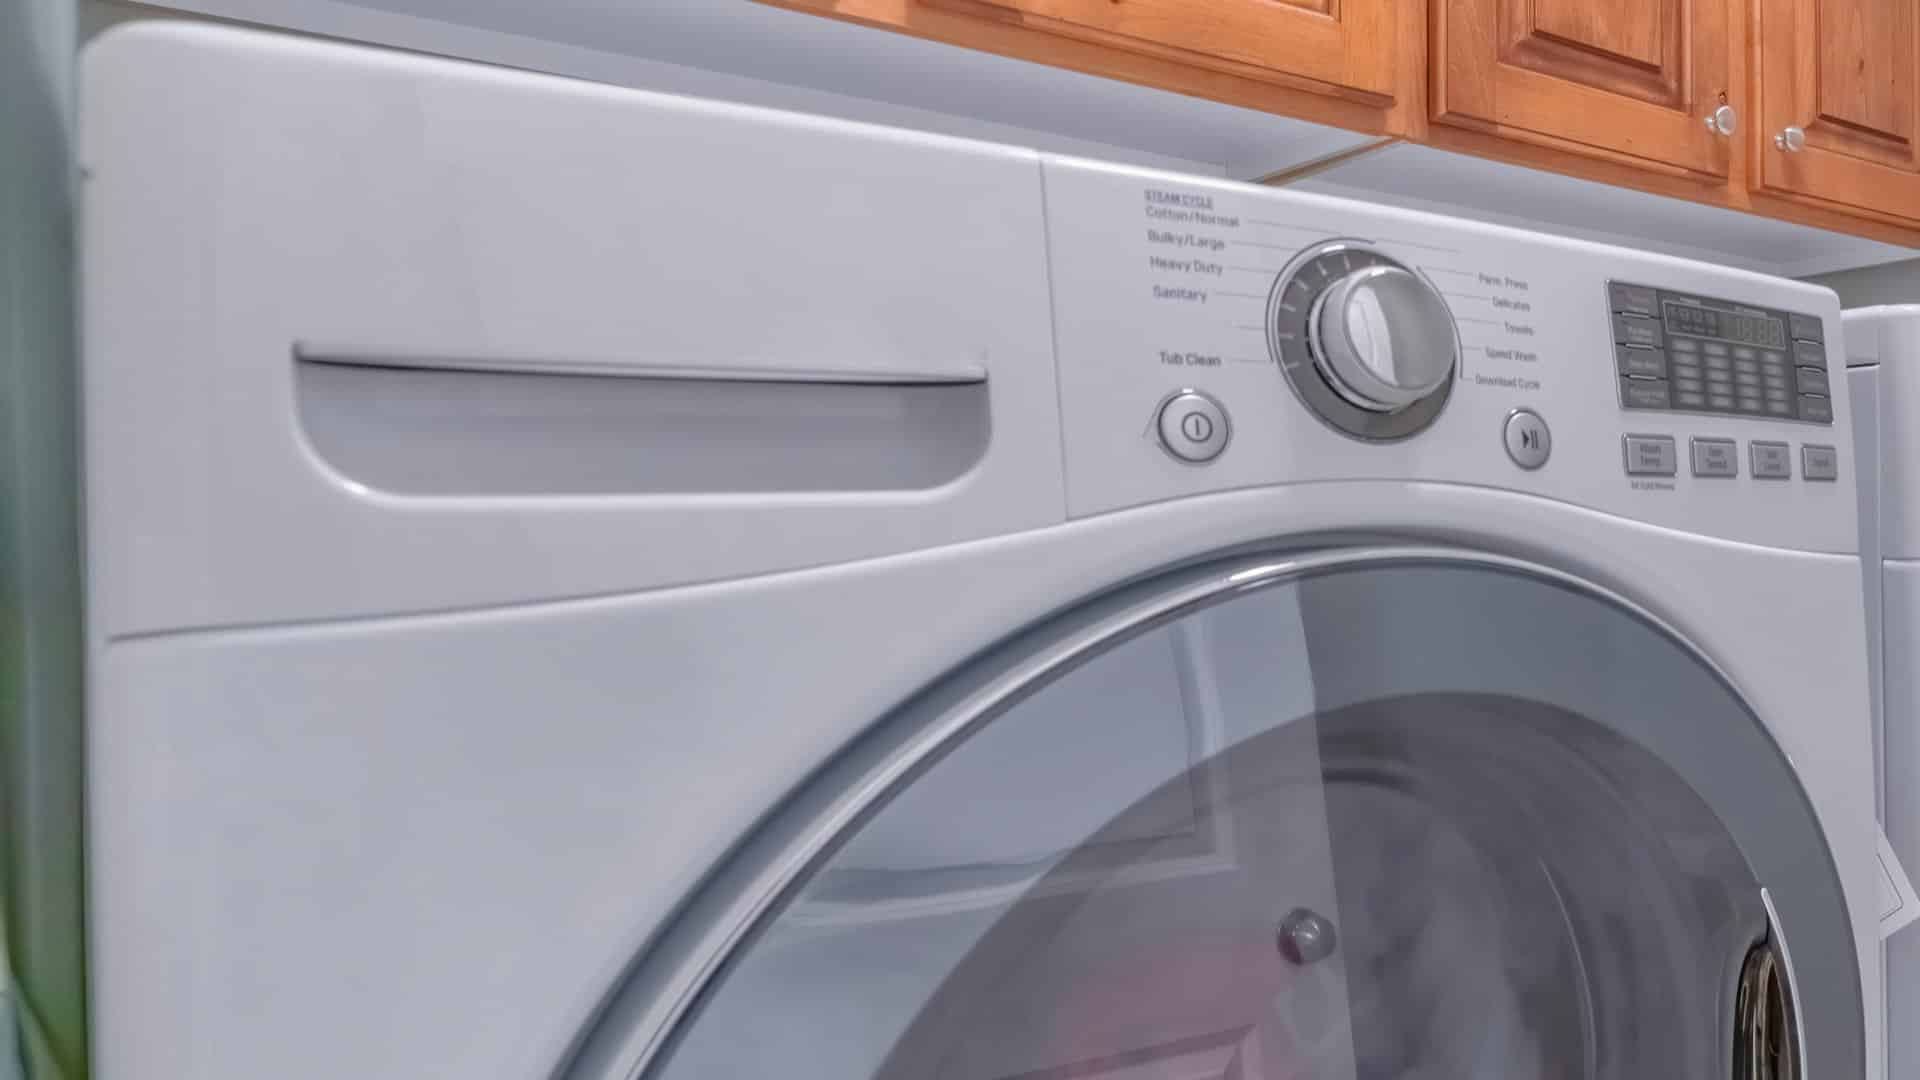
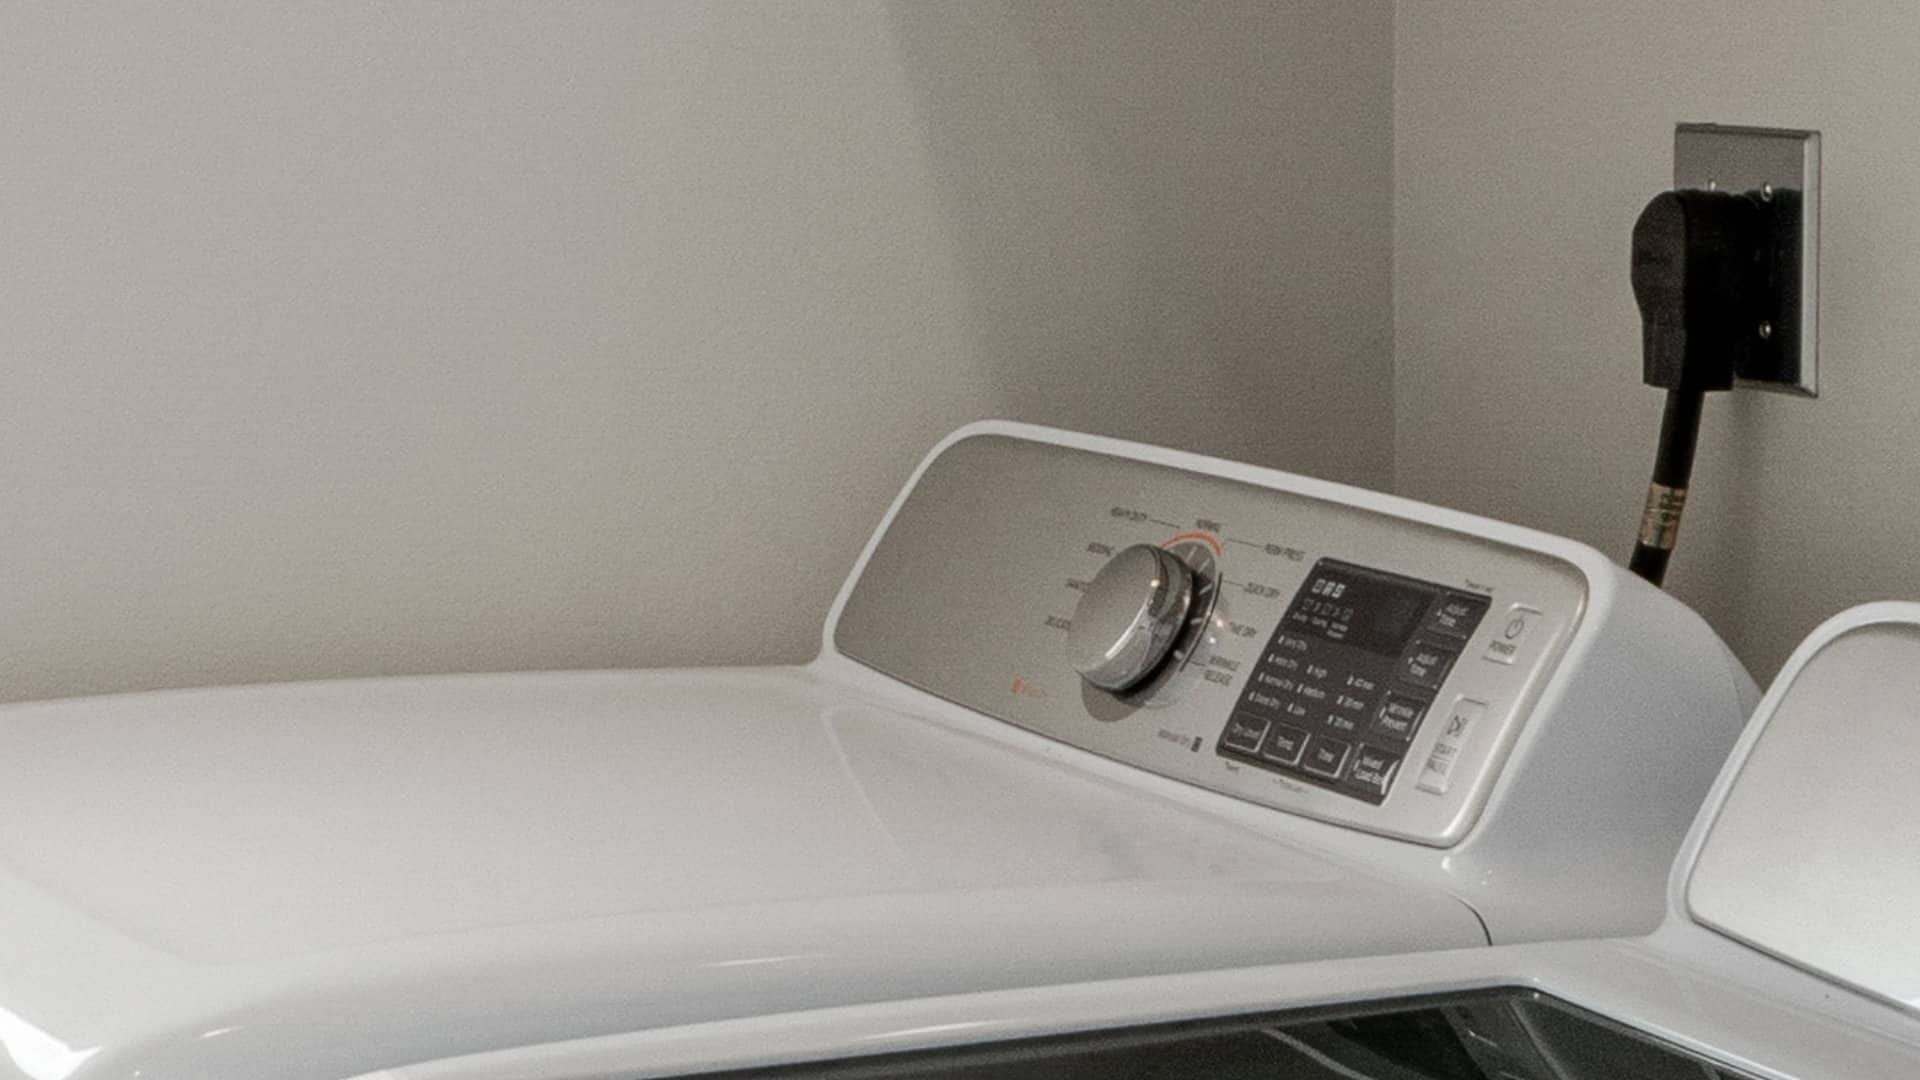
Step 1 – Turn the Power Off
Start by turning the power off to your dryer. Next, you will want to unplug it from the socket so you can move your appliance out of the wall. This will make dismantling it easier. Once unplugged, disconnect the vent (if applicable) and pull it out from the wall.
Step 2 – Gain Access to the Heating Element
Once the power and vent have been unplugged, the next step is dismantling your dryer so you can access the heating element and remove it. The instructions below should apply to most dryer models, but check your user manual if possible. It will have a diagram of the different parts of your dryer.
Follow these instructions to dismantle your dryer:
- Start by taking the back panel off. At the back of your dryer will be several screws that hold it in place. Unthread all these screws, and you should be able to unclip the back panel.
- Next, find the housing unit that protects the heating element. You may need to remove the side panels if you cannot access the housing unit with just the back panel off. This will depend on your specific dryer. As mentioned earlier, check your user manual if you’re unsure.
- Once you locate the housing unit, disconnect the sensor on top of it. All you need to do is disconnect the wire harnesses and unthread the screws that hold it in place. It should then be removable.
- Next, find the second sensor on the housing unit. This one can be found at the bottom of the unit. Remove it by unplugging the wire harnesses and unthreading the screws that hold it in place.
- Once both sensors are disconnected, find the heating fuse and remove that component as well. This can be done by disconnecting the wire harnesses and unthreading the screws that hold them in place.
- Finally, remove the housing unit by unthreading the screws that hold it in place.
Step 3 – Test the Components with a Multimeter
The next step is optional. It will require you to have a multimeter. Before replacing the heating element, it’s a good idea to test all of the sensors, fuses, and the element itself. This will let you know if any of them are faulty and need to be replaced.
Follow these instructions to test the components:
- Test the fuse. Place the multimeter probes on the electrical pins. If the test shows no continuity, the fuse will need to be replaced. If the test does show continuity, the fuse is working correctly.
- Test the sensors. Place the multimeter probes on the electrical pins on the first sensor. The sensor will need to be replaced if the test shows no continuity. If the test does show continuity, the sensor is working correctly. Follow the same instructions for the second sensor.
- Test the heating element. Place the multimeter probes on the electrical pins. If the test shows no continuity, the element will need to be replaced. If the test does show continuity, the element is working correctly. If the heating element is working correctly, you will need to get a technician to come and inspect your dryer to find out why it isn’t working. If the heating element is faulty, proceed to step 4.
Step 4 – Disconnect the Heating Element
Once the components have been tested, and you know which ones to replace, the next step is to disconnect the heating element.
Follow these instructions to disconnect the heating element:
- Unthread the screws that hold the heating element in position.
- Unplug the wire harnesses that are connected to the element unit.
- Remove the heating element.
Step 5 – Install the New Heating Element
Now the old heating element is removed, the last step is to install the new one into your dryer. Before proceeding, ensure you have the right replacement element unit and other components if necessary.
Follow these instructions to install the new heating element:
- Remove all packaging from the new element.
- Place the heating element into position in your dryer. Once in position, reattach the wire harnesses to the element.
- Secure the element in place with the supplied screws (or use the old ones).
- Reattach the fuse unit. Secure it in place with screws.
- Reattach both sensors. Secure them in place with screws.
- Reattach the housing unit that covers the heating element. Secure it in position with screws.
- Reattach the dryer’s back panel (if you removed any other panels, reattach these too). Secure the panel in place with screws.
- Plug the dryer back into the power and reattach the vent.
- Turn your dryer on and check if it’s working correctly.
- If so, you can start using your dryer again. If not, you will need to get a technician to come and inspect your appliance.
Apr. 09, 2024
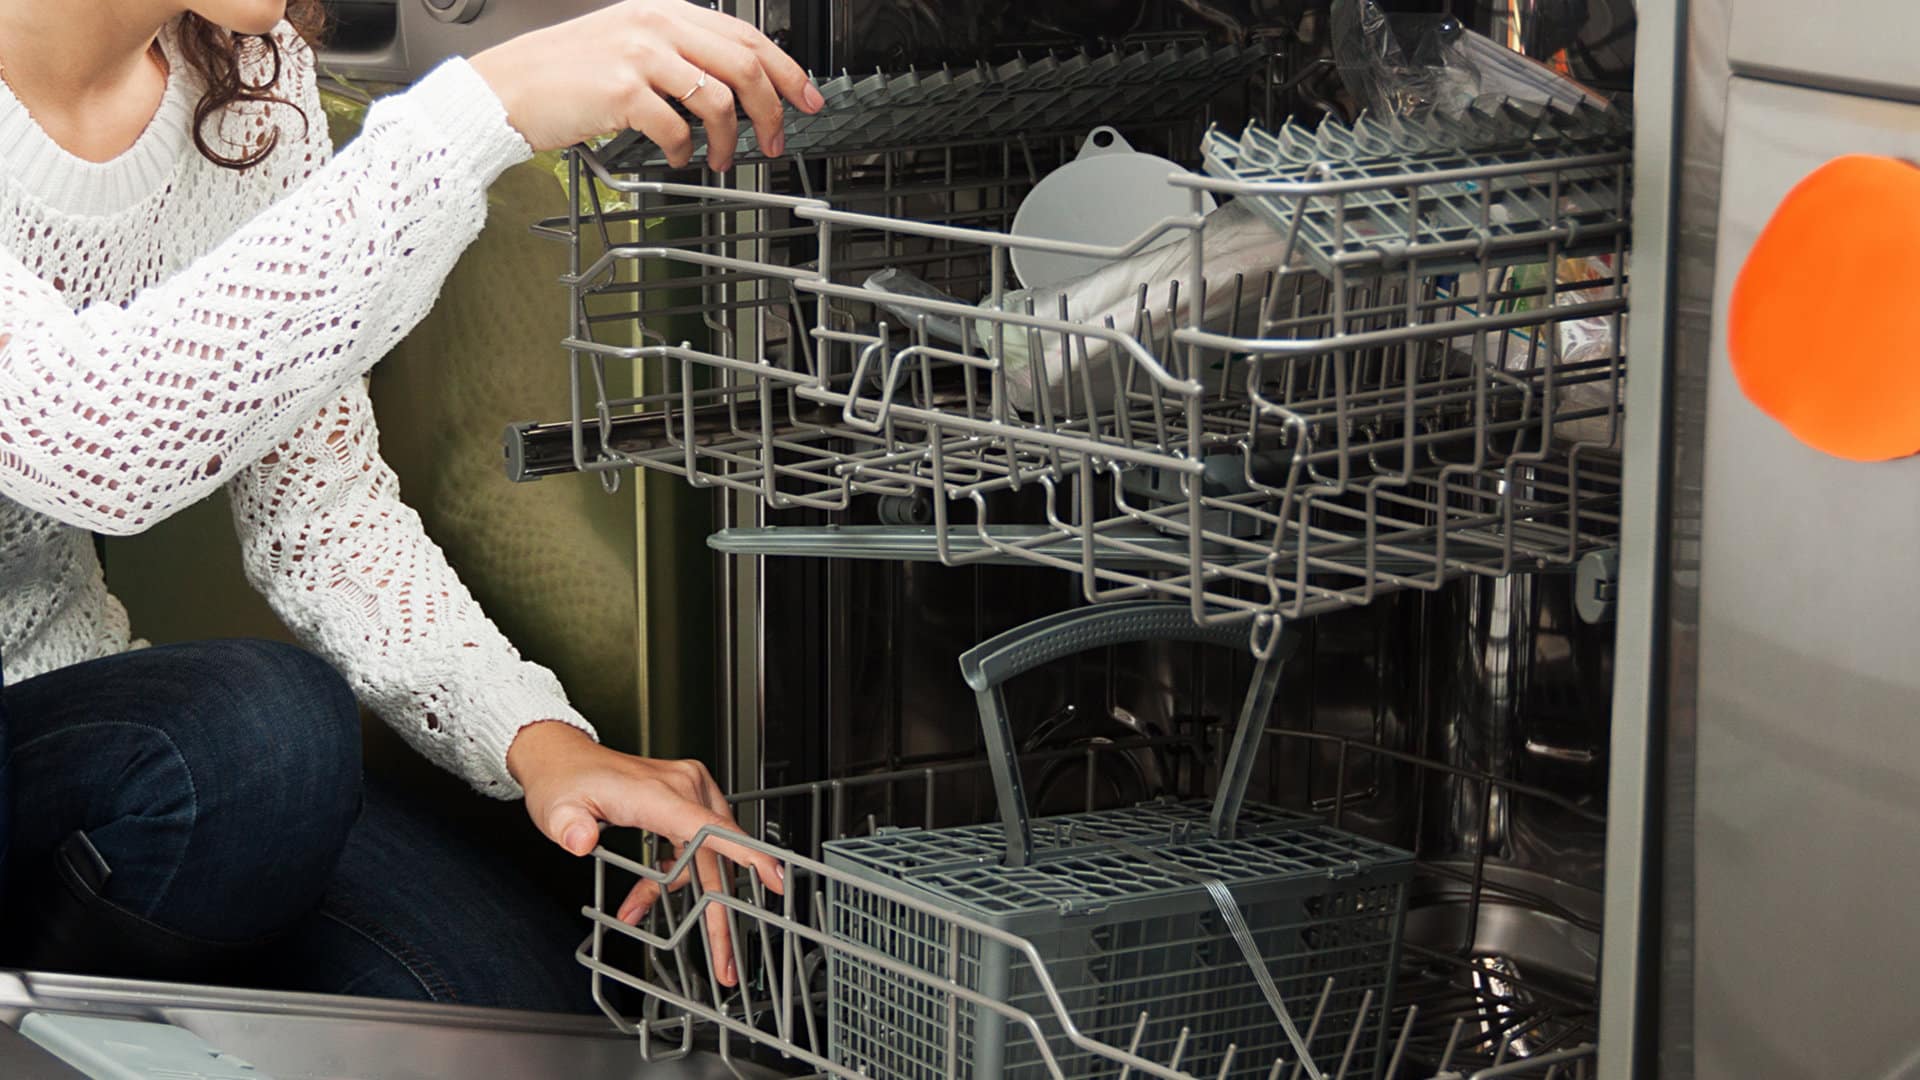
GE Dishwasher With No Power or Lights? Try This Fix
Apr. 09, 2024
Understanding SC Code on Samsung Washer
Apr. 09, 2024
Resolving LG Dryer D80 Error Code
Mar. 06, 2024
Understanding GE Refrigerator Error Codes: A Guide
Mar. 06, 2024
Amana Dryer Not Heating? Try These 5 Fixes
Mar. 06, 2024
Samsung Ice Maker Issues? Here are 5 Fixes
Feb. 05, 2024
Samsung Dryer Not Heating with No Error Code? Here’s Why
Feb. 05, 2024
GE Profile Dishwasher Not Draining? Here’s Why
Feb. 05, 2024
How to Replace the Filter on a Samsung Refrigerator
Jan. 03, 2024