

July 19, 2023
Dryer Repair
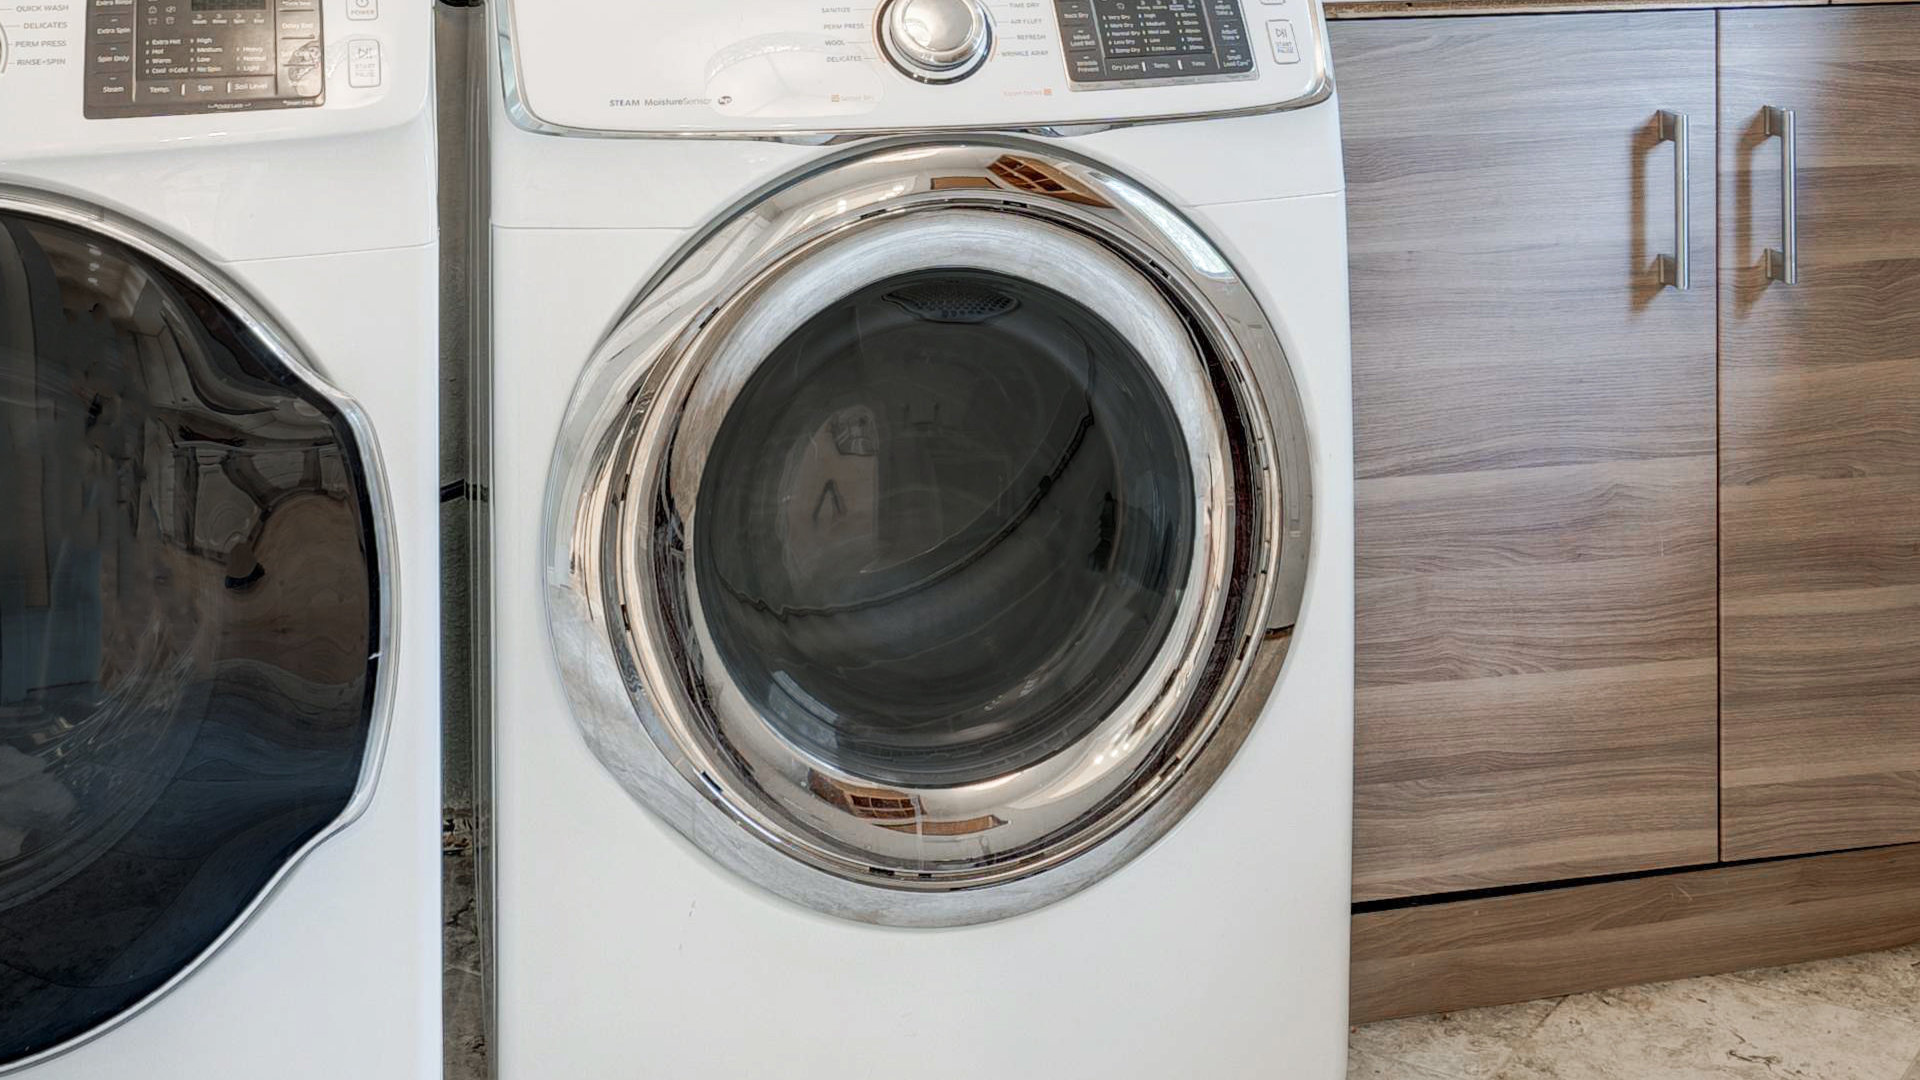
If your Samsung dryer needs a replacement belt, you might assume that’s a job for a professional. Not true! A DIYer can easily replace a dryer belt, and it’s actually an easier job than you might think. We’ll walk you through what to do, step by step. Read on to find out where to start.
This guide applies to all the main models of Samsung dryer, including:
DV203AEWXAA
DV203AGSXAA
DV203AGWXAA
DV206AESXAA
DV206AGSXAA
DV209AEWXAA
DV210AEW/XAA
DV210AEWXAA
DV210AGWXAA
DV218AEBXAA
DV220AEW/XAA
DV330AEW/XAA
DV350AEWXAA
DV419AEWXAA
DV42H5000EW/A3-0000
DV42H5200EP/A3-0000
DV42H5200EW/A3-0000
DV448AEP/XAA
DV448AEPXAA
DV45H7000EW/A2-0000
DV48H7400EW/A2-0000
What is a dryer belt?
A dryer belt is a long, narrow rubber band that wraps around the drum of your Samsung dryer. When the motor rotates, the belt and drum spin, agitating your clothes so they dry evenly.
Over time, the belt can stretch and wear out from use, and your dryer won’t spin properly. You might notice a loud clanking noise when using it, meaning that the dryer belt is not tight enough.
Step 1: Gather your tools
To replace your dryer belt, you’ll need the following:
- A replacement dryer belt (you can order this online)
- A screwdriver
- A putty knife
- Protective gloves
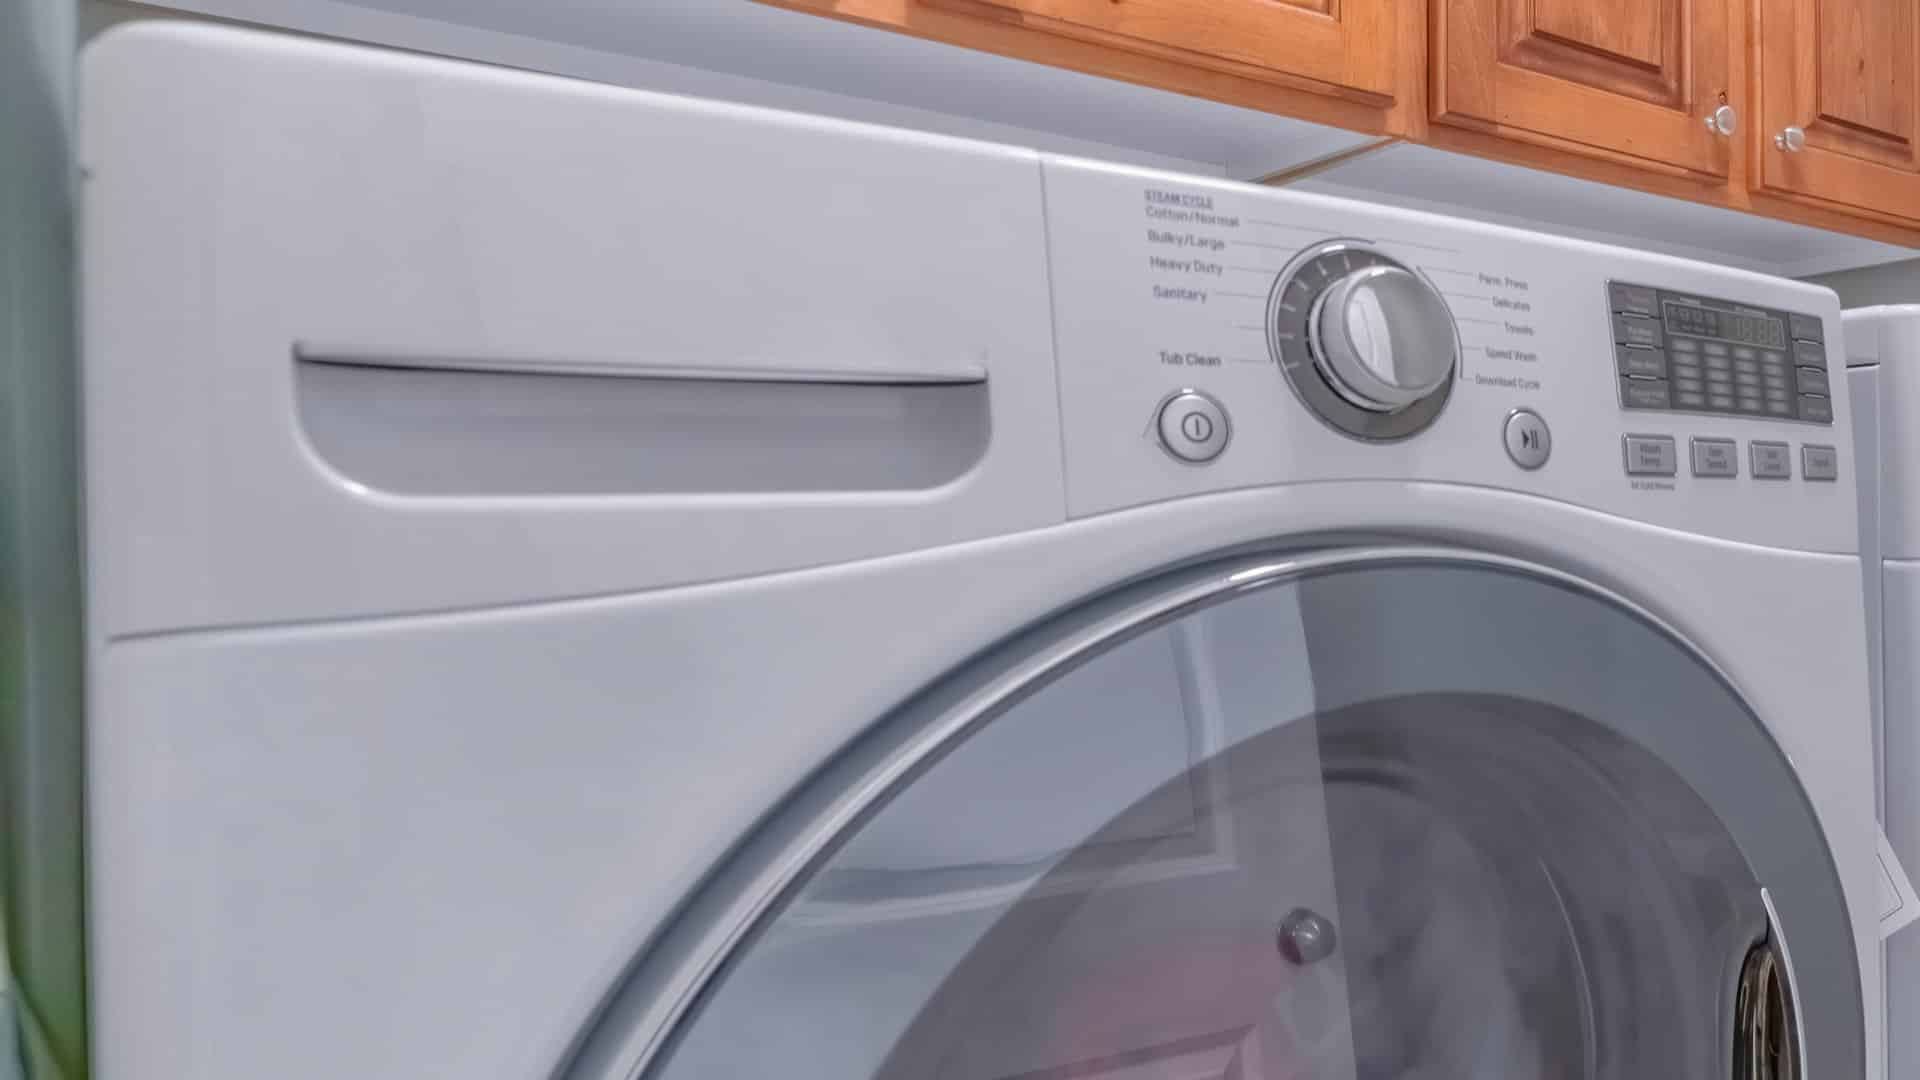
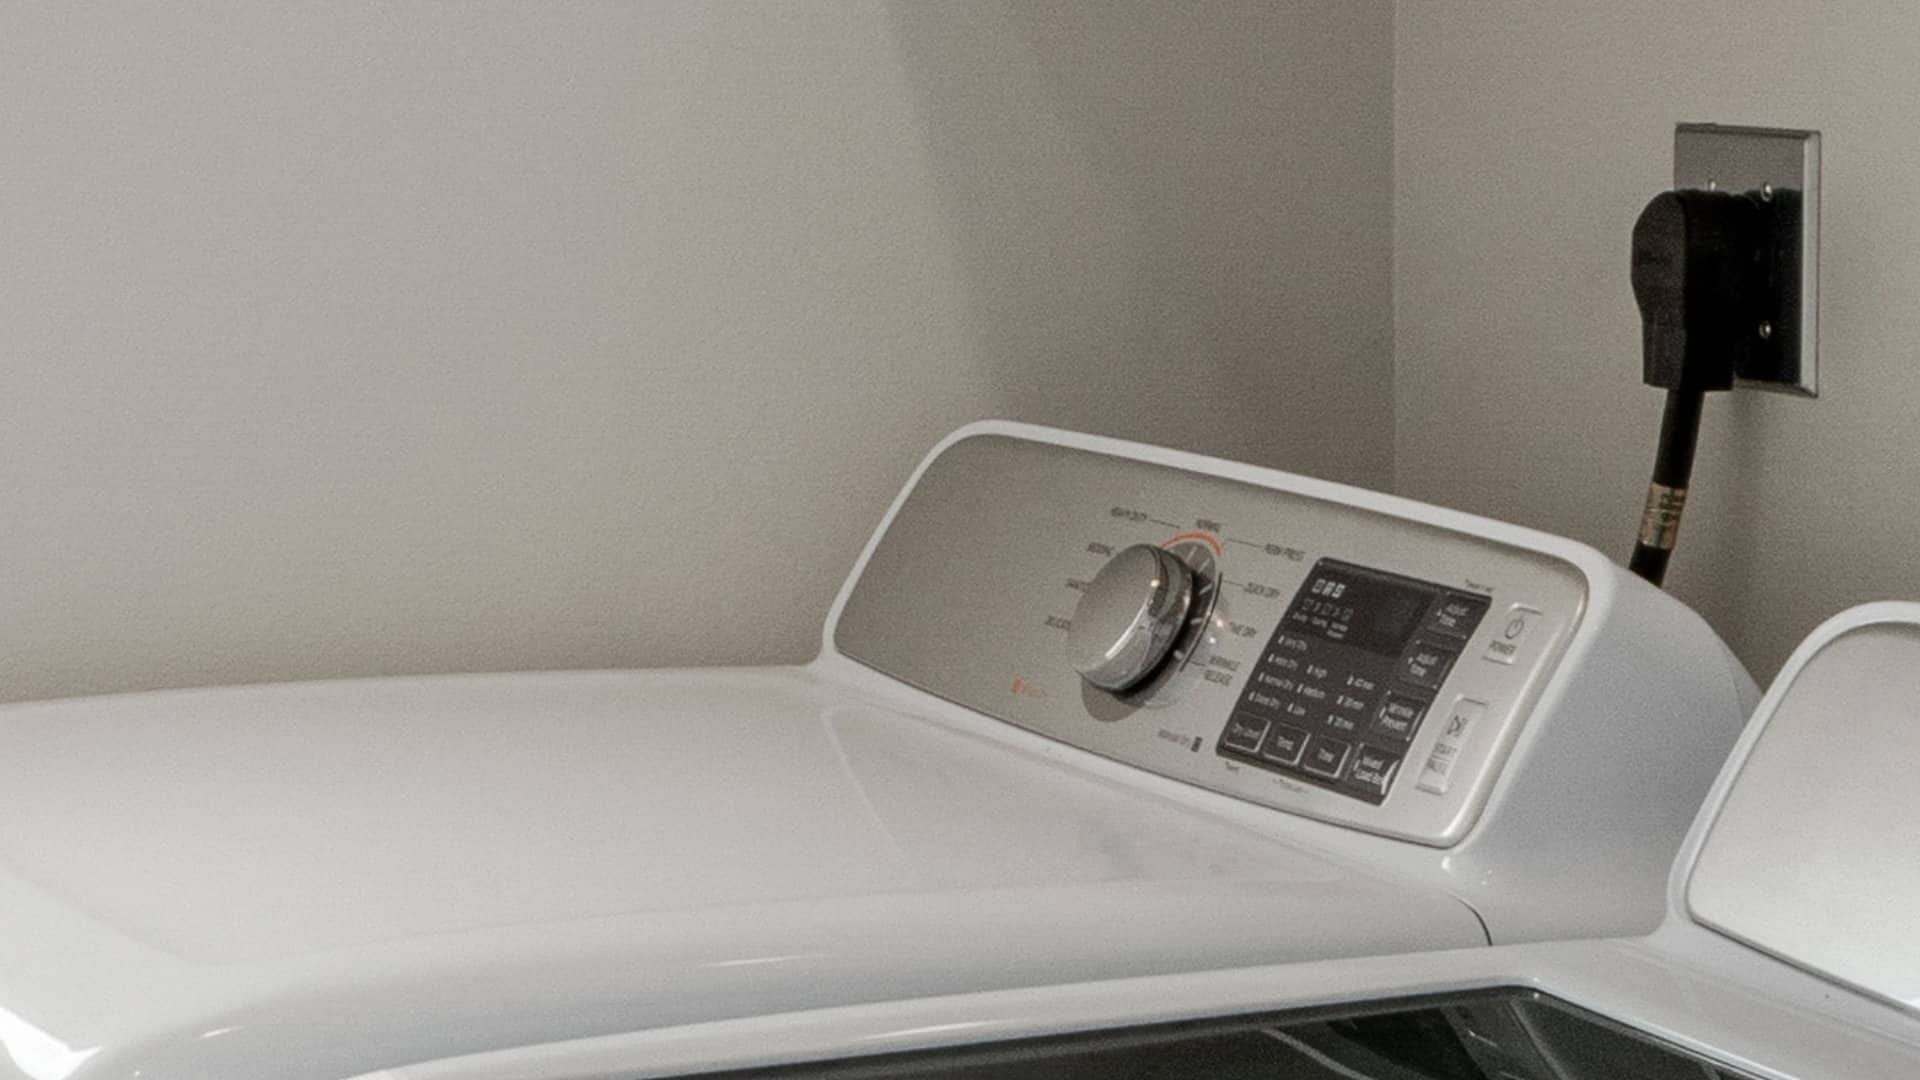
Step 2: Remove the top and front panels
After disconnecting the power supply to your dryer, you’ll need to remove the top and front panels of your Samsung dryer in order to access the belt and drum. To remove the top panel:
- Insert your putty knife into the front corners of your dryer’s top panel.
- Applying gentle pressure to release the clips, pry the front corners up so they’re loose.
- Lift the panel up and move it back to release the back clips, then place it to the side.
To remove the front panel:
- First, you’ll need to remove the control panel. Unscrew the control panel, then lift it away and put it somewhere safe.
- Next, remove the screws that are holding the front panels in place. Make sure you place the screws from the control panel and the front panel somewhere safe—you’ll need them when it comes time to put everything back together again.
- Disconnect the door switch from the front panel, then lift the entire front panel away. You’ll now have access to the drum.
Step 3: Remove the drum
Your next step is to remove the drum from your dryer so you can take off the worn out dryer belt and put the new one in place. To remove the drum:
- Reach underneath the drum, so you can unhook the dryer belt from the pulley and motor shaft.
- Make sure you take note of how the belt is threaded, so you can put it back together easily once the new one is installed. You can take a picture of the assembly so you have something to refer back to.
- Once the dryer belt is disconnected, there’s nothing holding the drum in place, so you can just lift it out.
Step 4: Remove the old belt and replace it with a new one
Now that the drum is removed, you can take off the old belt and replace it with the new one. You’ll notice that the old belt looks stretched out, frayed and worn compared to the new one you’re installing. Thanks to the improved tension in the new belt, it’ll be able to properly rotate your drum. To switch out the belts:
- Slide the old belt off of the drum and throw it away. Make sure you note where it was before you take it off, so you can put the new one in the right place.
- Slide the new belt onto the drum where the old belt was.
- Make sure the ridged side of the belt is facing inward. The ridges create friction and give the belt more purchase on the drum, enabling it to turn with ease.
Step 5: Reinstall the drum
This is the trickiest part—reinstalling the drum and making sure the new belt is properly looped around the pulley and motor shaft. Make sure you refer back to the pictures you took so you can ensure the new belt is installed correctly. To install:
- Slide the drum back into the dryer.
- Reach around behind it and make sure the new dryer belt is looped around the motor shaft and the pulley in a zig zag. You might need to get someone to help you hold the dryer drum steady while you do this.
- Once the dryer belt has been looped properly into place, you won’t need to support the drum anymore, as the tension of the belt will hold it in place.
Step 6: Put the dryer back together
Now you just have to put the rest of the dryer back together. Here’s how to do it:
- Start with the front panel; put it back into place and replace the screws. You’ll also need to make sure to reconnect the door switch.
- Replace the control panel as well, screwing it in tightly.
- Once the front panel is firmly in place, line up the top panel and press down on the corners so that it clicks into place.
Step 7: Run a test cycle
Now is the moment of truth—testing your dryer to see if you installed the belt correctly. Turn on the dryer and run a short drying cycle. If there is a problem, the drum either won’t spin, or it will make loud, clanking noises when it spins. If everything is running smoothly, congratulations! You successfully replaced your dryer belt.
Apr. 09, 2024
GE Dishwasher With No Power or Lights? Try This Fix
Apr. 09, 2024
Understanding SC Code on Samsung Washer
Apr. 09, 2024
Resolving LG Dryer D80 Error Code
Mar. 06, 2024
Understanding GE Refrigerator Error Codes: A Guide
Mar. 06, 2024
Amana Dryer Not Heating? Try These 5 Fixes
Mar. 06, 2024
Samsung Ice Maker Issues? Here are 5 Fixes
Feb. 05, 2024
Samsung Dryer Not Heating with No Error Code? Here’s Why
Feb. 05, 2024
GE Profile Dishwasher Not Draining? Here’s Why
Feb. 05, 2024
How to Replace the Filter on a Samsung Refrigerator
Jan. 03, 2024