

October 2, 2023
Microwave Repair
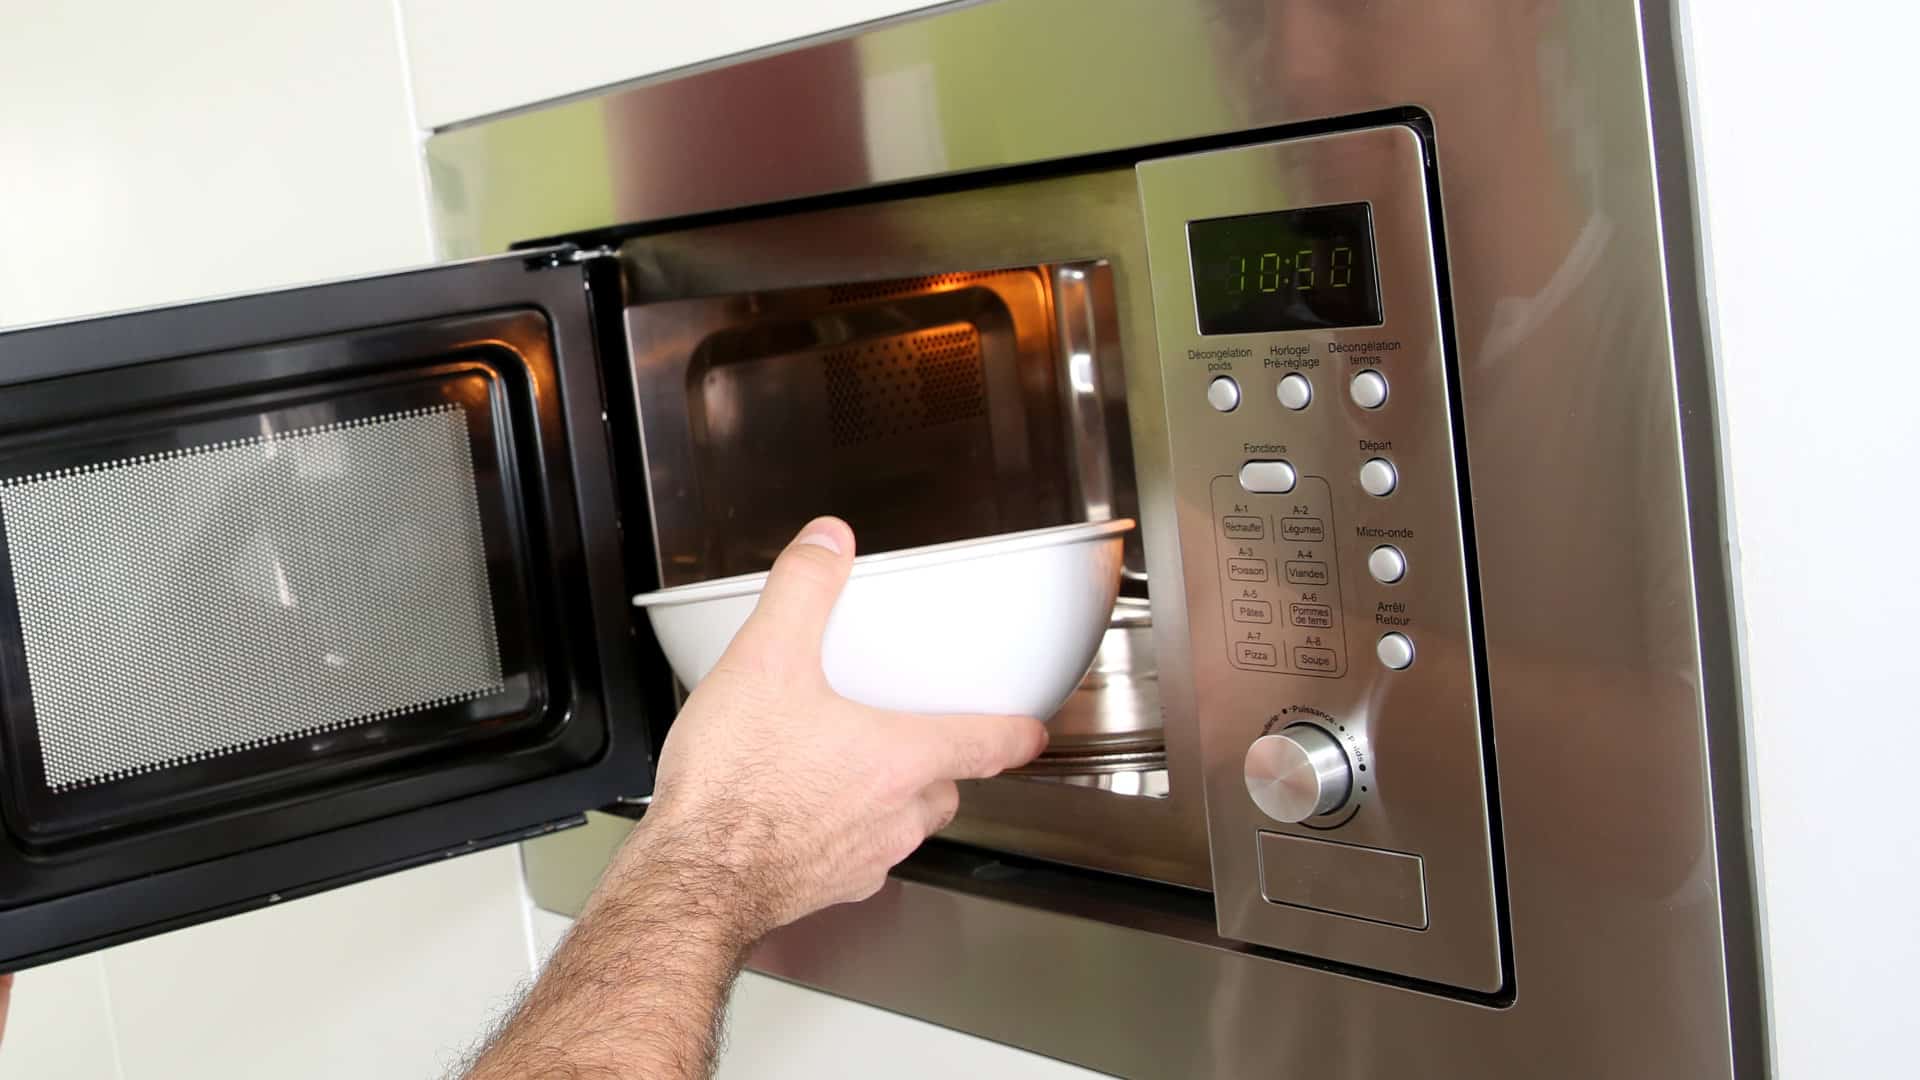
Microwaves are super convenient appliances, especially for busy people. But there’s nothing more frustrating than going to heat up some leftovers and seeing an error code. Your microwave isn’t working, and you have no idea what to do! If you’re seeing the F3 error code on your GE microwave, don’t despair!
This error usually means there is an issue with the control pad. There are a couple of simple fixes you can try, as well as more technical repairs for experienced DIYers. Read on to find out what to do!
This guide refers to all major models of GE microwaves, including:
56-289610-02
56-2899-10
JE101901
JE101902
JE1019H01
JE1019H02
JVM1540DM5WW
JVM1540SM5SS
JVM1790SK01
JVM1860SF001
JVM1870SF001
JVM1870SF02
JVM1950SR1SS
JVM2070SH001
JVM2070SK02
JVM3160DF2WW
JVM7195SF1SS
PVM1870SM1SS
PVM1870SM3SS
PVM1970SR1SS
SCA1001KSS02
Important note:
Microwave repair can be dangerous for the inexperienced. It’s fine for a novice DIYer to try the first two fixes in this guide, but only DIYers with electrical experience should attempt to replace the control board. This will bring you into contact with a part inside the microwave called the capacitor.
Capacitors are capable of storing huge amounts of energy, and they can even store energy when they’re disconnected from the power. There is the possibility of severe electric shocks and even death by electrocution if the capacitor is touched.
Fix 1 – Reset the microwave
This is a simple fix, but it often works! First, try a simple reset following these instructions:
- Open the microwave door.
- Hold down the clear/off button, with the door open, for at least 5 seconds.
- While still holding the button down, close the microwave door.
- Continue to hold the button down for another 5 seconds after closing the door. Your microwave will now be reset and, hopefully, the error will be cleared!
If that hasn’t worked, however, you can try a hard reset. To do this:
- Unplug your microwave, or flip the circuit breaker that provides power to the outlet.
- Leave it turned off for at least 5 minutes.
- Reconnect it to the power and see if this has solved the issue.
Fix 2 – Check for stuck buttons
The control pad consists of buttons trapped between two flexible membranes. Sometimes, as the membranes age and degrade, the buttons can get stuck, which can result in an error message. To fix this:
- Unplug the microwave from the power source.
- Take a clean cloth and some cleaning spray, and carefully clean the pad to remove any grease or grime.
- Gently press and massage each button individually, paying special attention to the corners of the buttons. If any feel stuck, give them a massage to try to free them.
- Once all the buttons can be pressed freely, turn the microwave back on to see if the error code has cleared.
If the buttons are repeatedly getting stuck, it may be worthwhile replacing the control board or getting a new microwave, as it likely means the membranes surrounding the control panel are seriously degraded.
Fix 3 – Replace the control board
If all else fails, you can always try to replace the control board. As mentioned above, this is a task strictly for DIYers who have electrical experience, as it can be difficult and dangerous. Do not attempt this if you are not experienced.
Before you start, you’ll need to order a replacement control panel that fits the model of your GE microwave. You can order this part directly from GE, or an online platform such as Amazon or eBay.
To replace the control board:
- Disconnect the microwave from its power source. Remember, even though it’s disconnected, there can still be charge held in the capacitor, so you’ll need to be careful.
- Take a Phillips head screwdriver and unscrew the two screws that secure the microwave grille in place.
- Open the door to the microwave. You can now remove the grille by sliding it to the left and lifting it up.
- There will be a mounting screw holding the control panel in place. Use your screwdriver to remove the screws. The control panel will now be loose, but it will still be attached to the wires.
- Make a careful note of how the wires are attached to the control board. Take a picture of them with your phone, so that you have a clear record to refer to.
- Carefully disconnect the wires that are attached to the control panel.
- The grounding wire will be held in place with a screw. Use your screwdriver to remove it.
- Once the screw is removed from the grounding wire, you can release the ribbon connector.
- Now you’re ready to take out the main control board. Carefully lift the entire board and panel out of the microwave.
- Take your new control panel out of its packaging. Make sure you also peel off the protective covering.
- Thread the new switch cable through the housing hole in the control board, then place the new control board securely in the housing.
- Secure the control board in place with the mounting screws, and connect the ribbon connector.
- Replace the screw that holds the grounding wire in place, and reconnect the other wires to the control board.
- Now that the wires are all connected, slot the tabs on the control panel into the slots on the housing, and click it into place. Secure it firmly with the mounting screws.
- Put the grille back, ensuring it is firmly clicked into place, and then replace the screws.
- Plug your microwave back into the power. If successful, your microwave will now be working perfectly and the error code will be cleared!
Apr. 09, 2024
GE Dishwasher With No Power or Lights? Try This Fix
Apr. 09, 2024
Understanding SC Code on Samsung Washer
Apr. 09, 2024
Resolving LG Dryer D80 Error Code
Mar. 06, 2024
Understanding GE Refrigerator Error Codes: A Guide
Mar. 06, 2024
Amana Dryer Not Heating? Try These 5 Fixes
Mar. 06, 2024
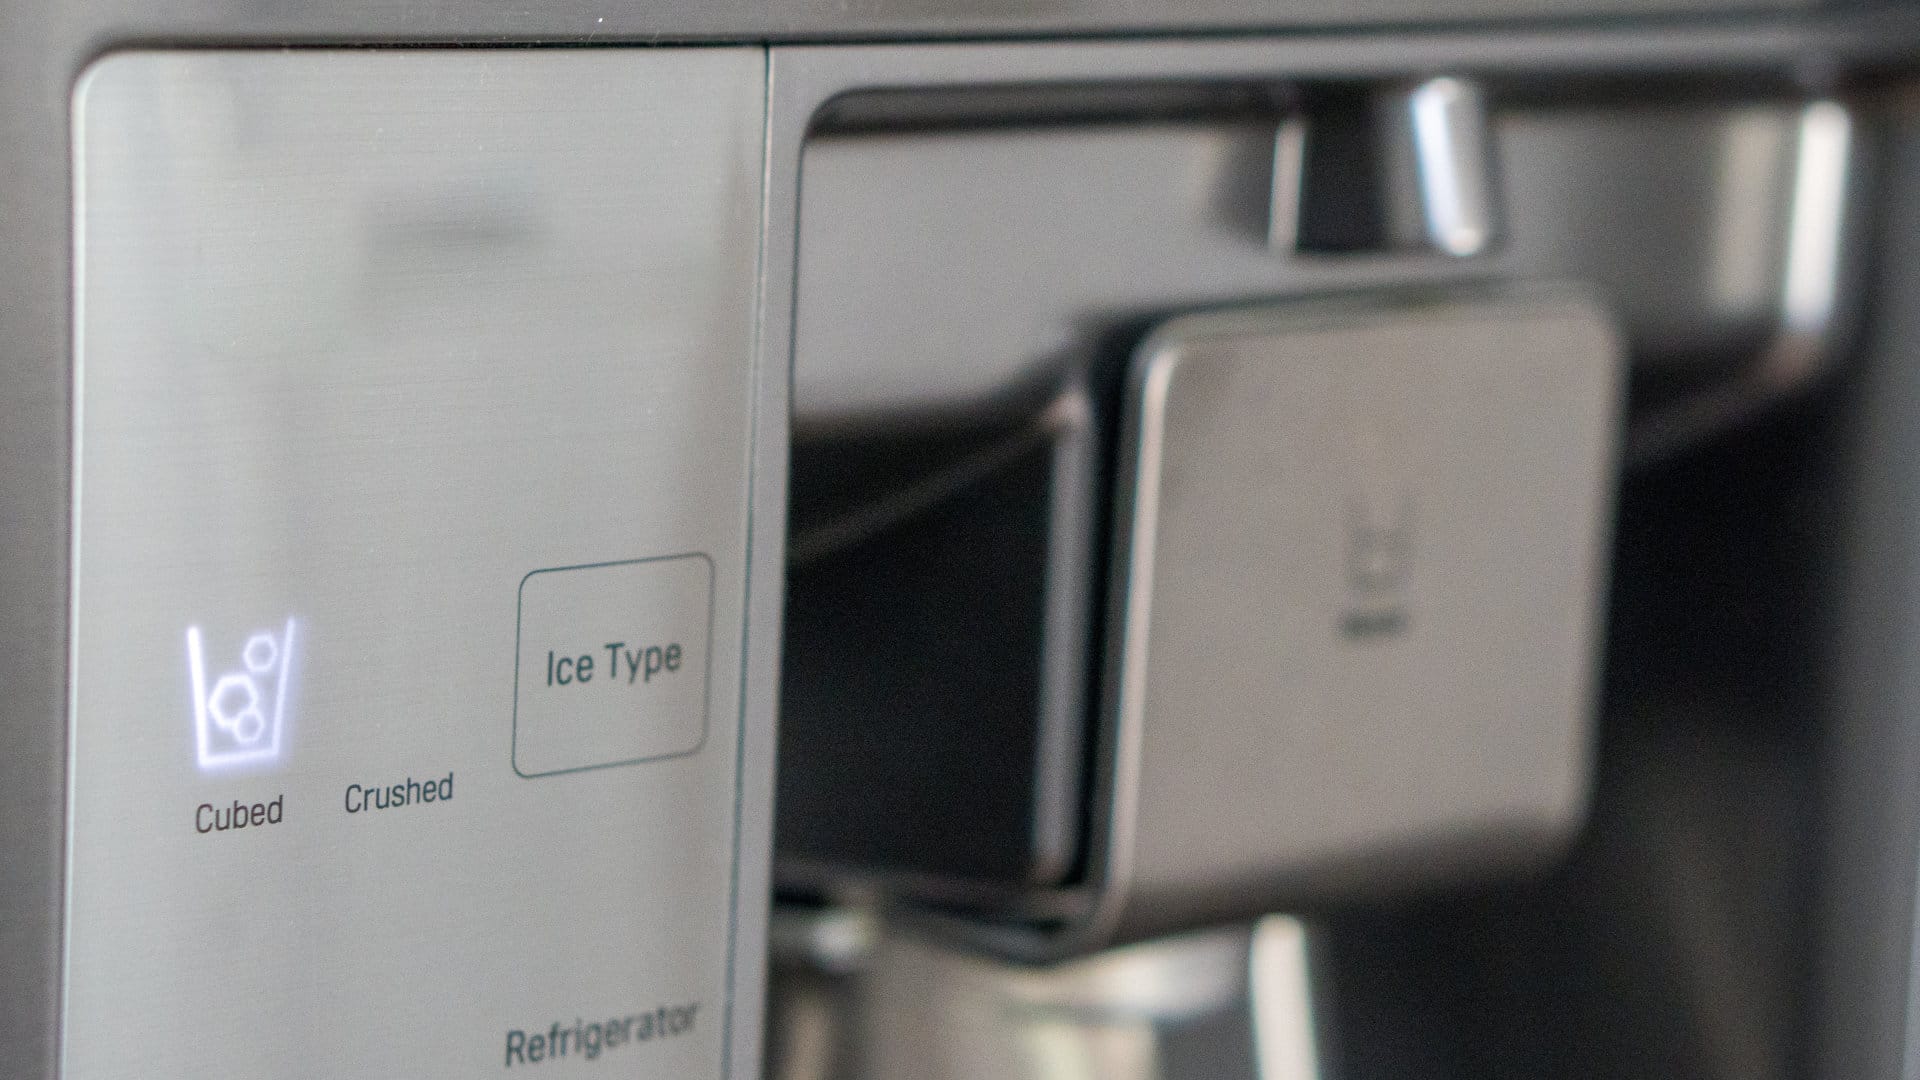
Samsung Ice Maker Issues? Here are 5 Fixes
Feb. 05, 2024
Samsung Dryer Not Heating with No Error Code? Here’s Why
Feb. 05, 2024
GE Profile Dishwasher Not Draining? Here’s Why
Feb. 05, 2024
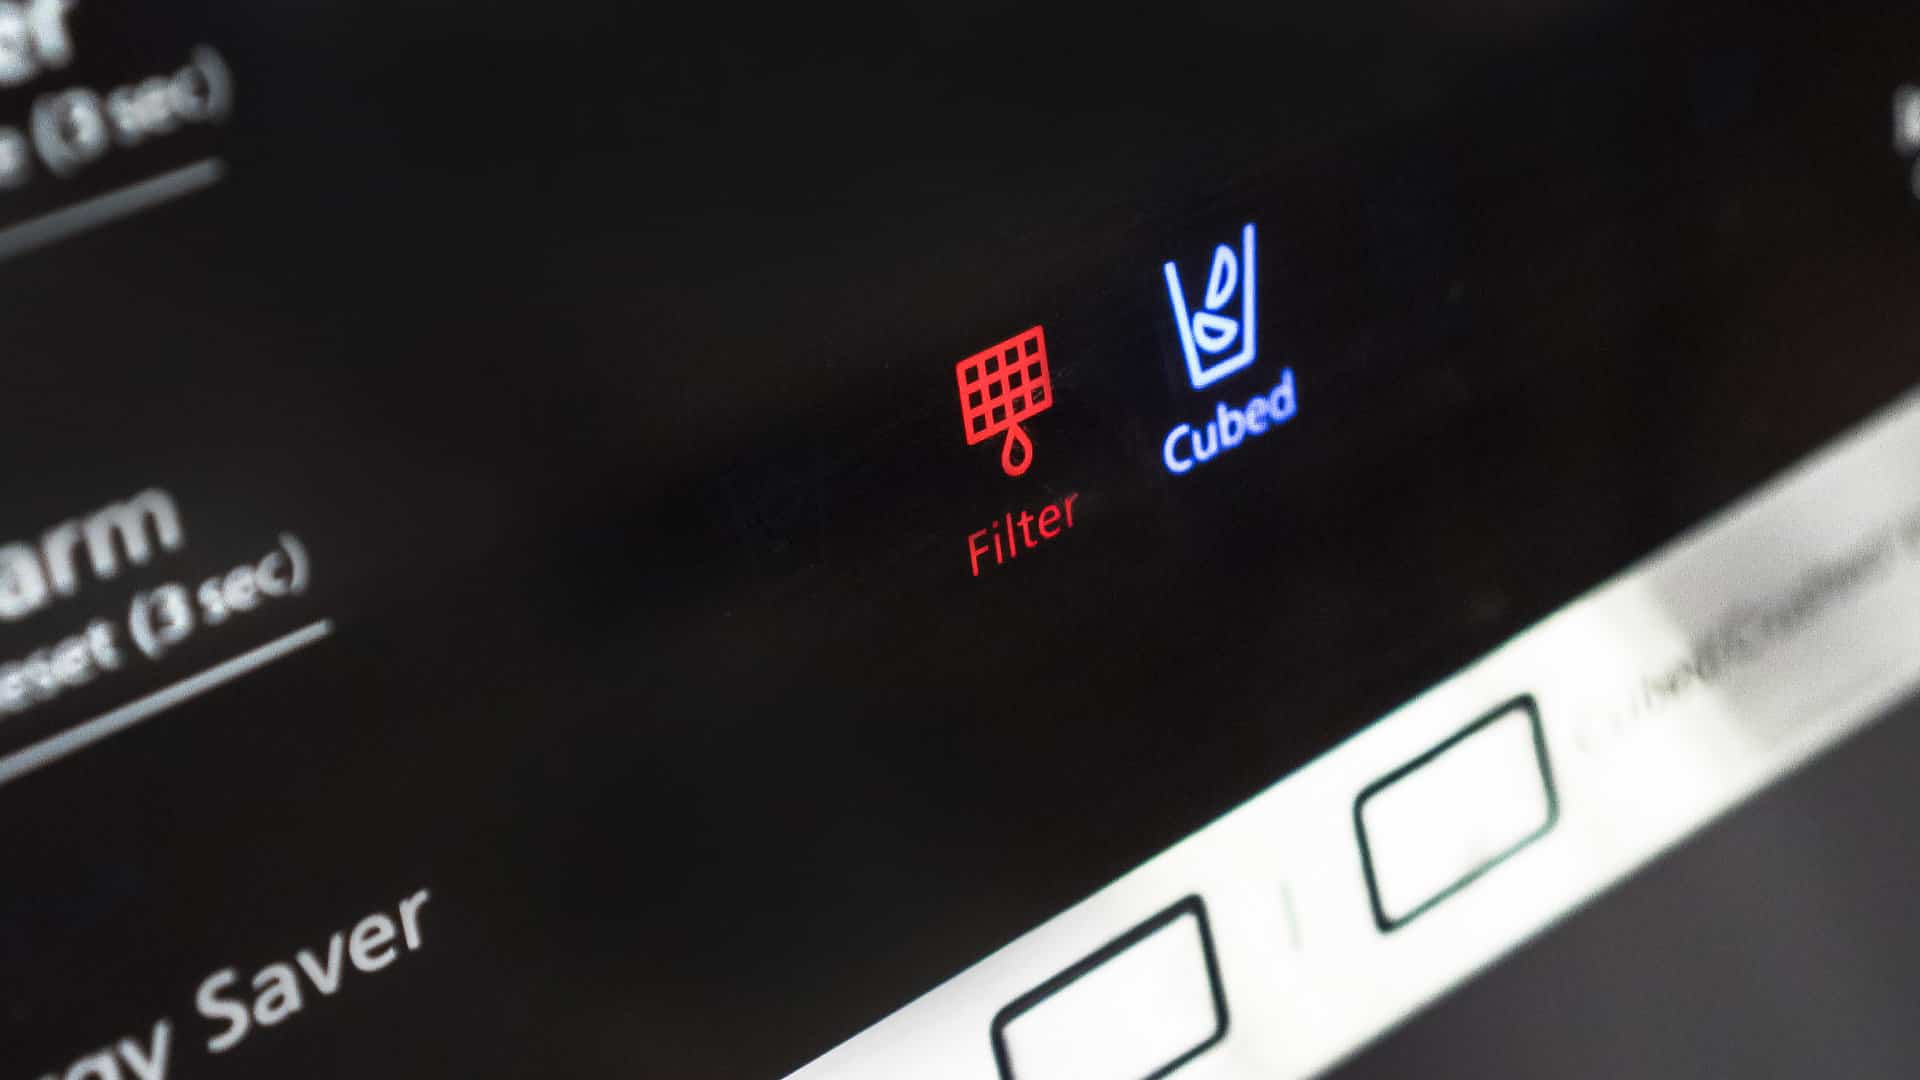
How to Replace the Filter on a Samsung Refrigerator
Jan. 03, 2024