

January 10, 2023
Oven Repair
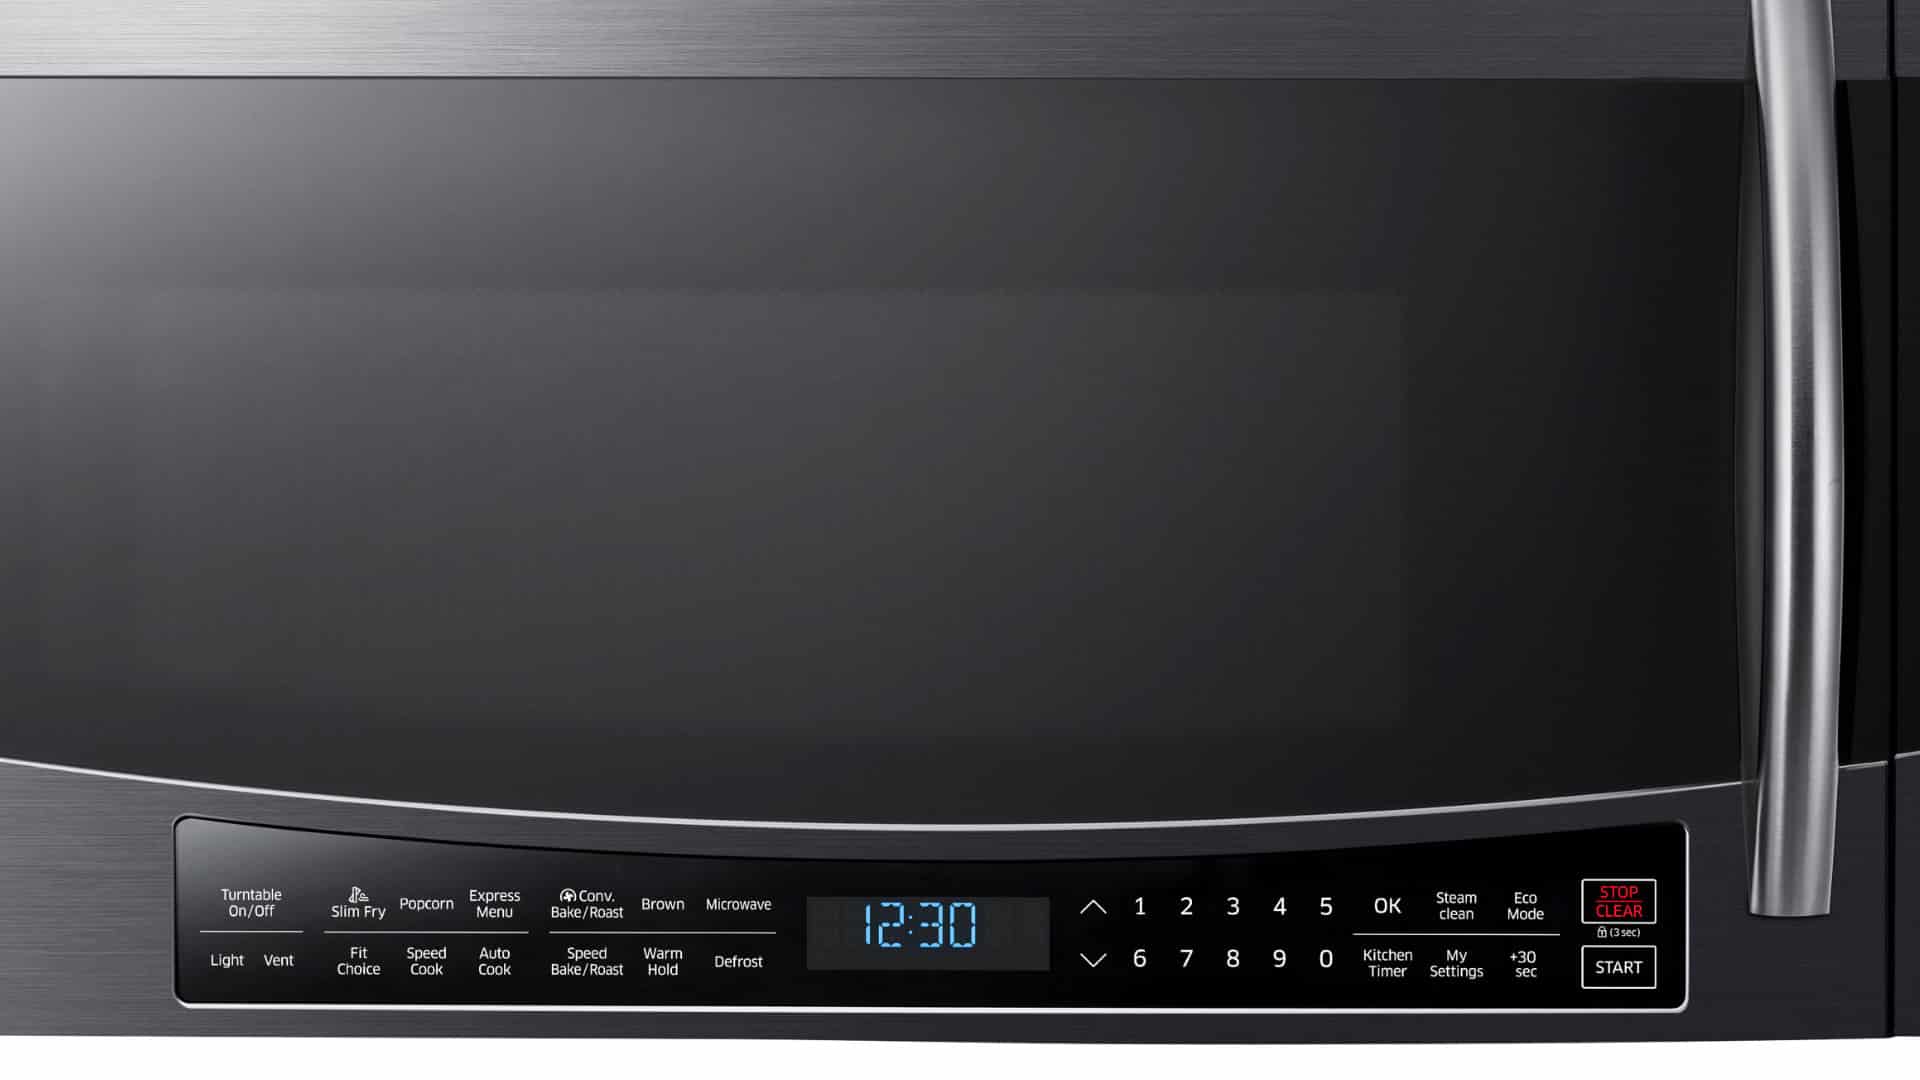
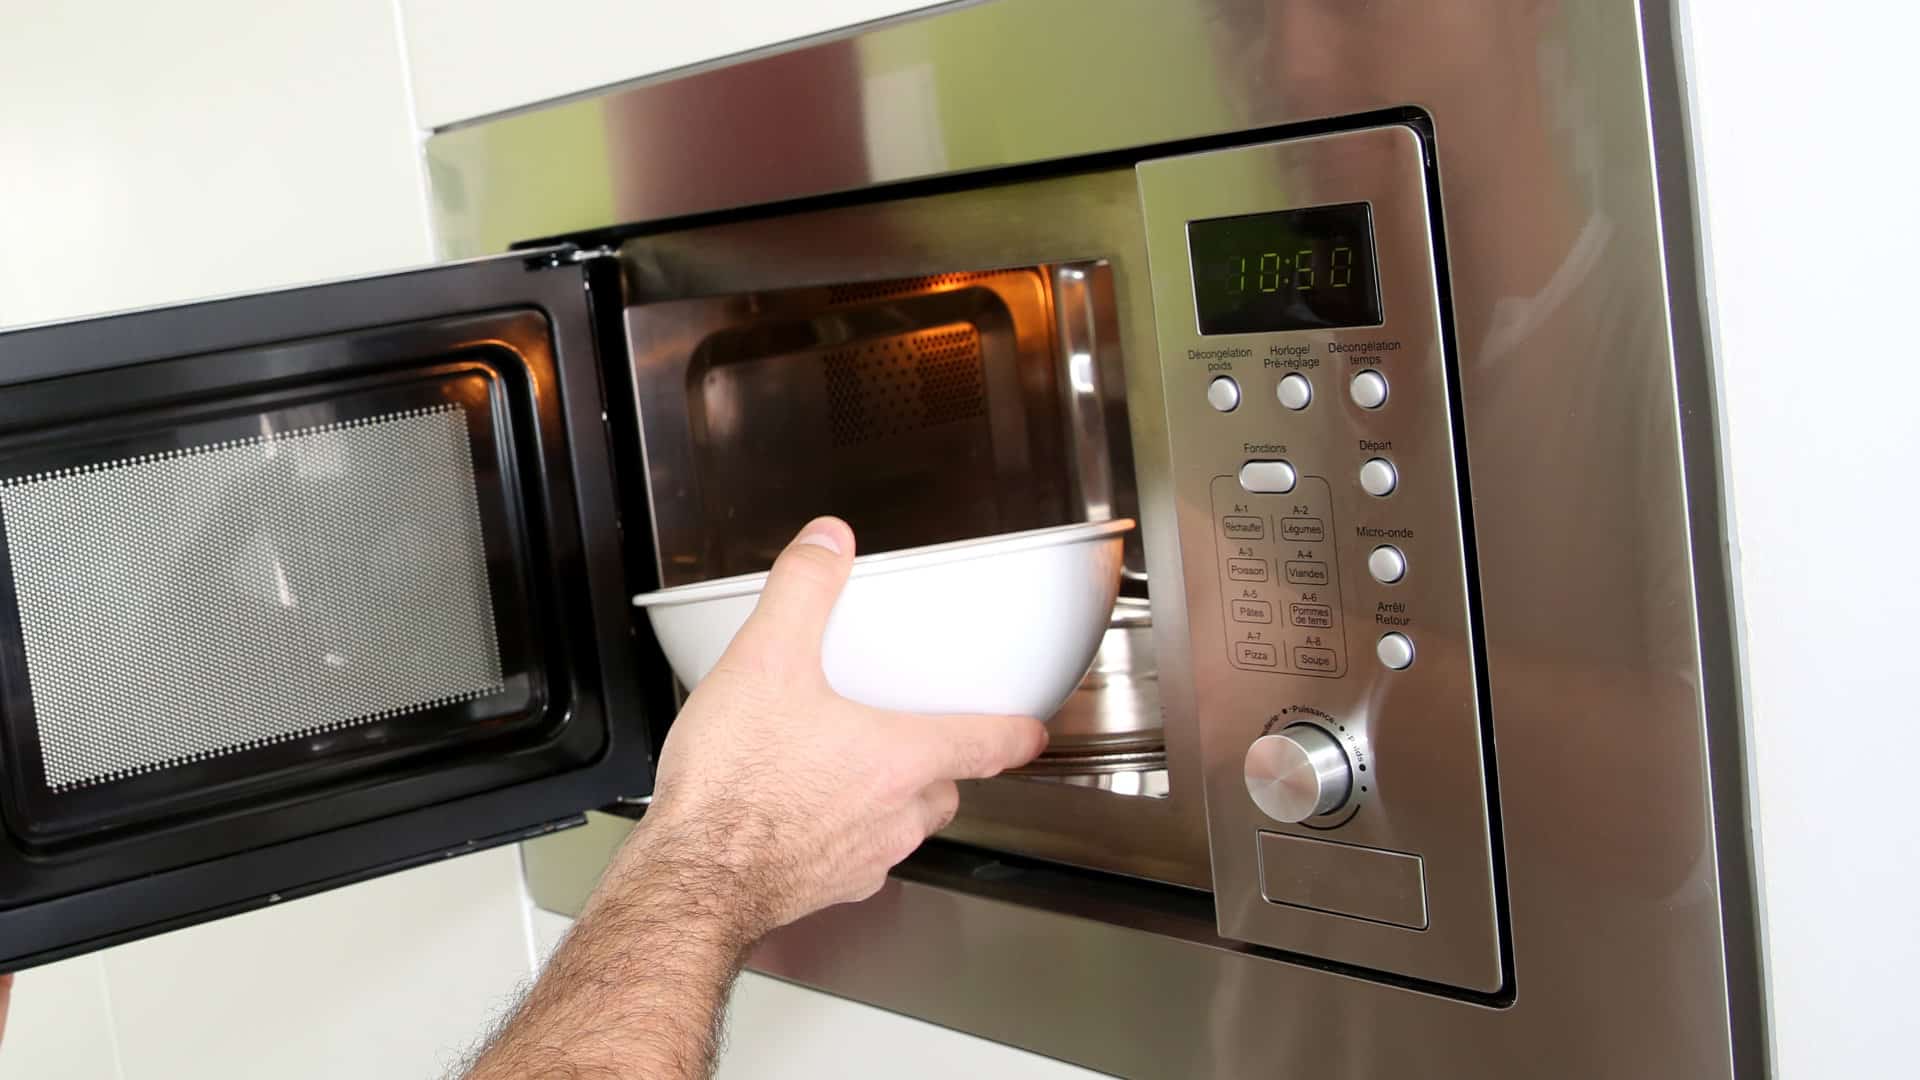
Is your Samsung microwave not heating? No need to stress. You’re in the right place. In this guide, we will give you 5 simple fixes you can apply to get it working again. If they don’t work, you will need to check and, if necessary, repair or replace one or more of the internal components (as long as you have the experience and tools to do so safely).
Before checking the components, try these simple fixes:
- Check the settings. Make sure you haven’t set it to the wrong settings (for example, it’s on a timer) that will prevent it from heating correctly.
- Make sure you aren’t overloading it. If your food is taking too long to heat, you may be putting too much food in it. If so, remove some of the food and see if that solves the problem.
- Check the plate. Sometimes they can come off the rollers, which will prevent them from being able to rotate around.
- Check the power supply. Start by checking the circuit breaker hasn’t flicked off and that the socket is working correctly. To check the socket, plug your microwave into a different socket that you know works.
- Reset the microwave. This can be done by turning your microwave off for 30 seconds before turning it back on again.
If these fixes haven’t worked, start checking the components.
You should only conduct these checks if you have experience working with microwaves. This is because they are very dangerous appliances to work with due to the risk of electric shocks. If you don’t have experience, call a qualified technician, or take your microwave to a repair shop.
This guide covers all major Samsung microwave models, including:
ME16H702SES/AA-0000
ME18H704SFS/AA-0000
MMV1153BAS
MR5471G
MR6471G
MU4270W
MW1010
MW2030U
MW2070U
SMH1713S
SMH1816S
SMH7185STG
SMH7187STG
SMH8165ST
SMH8187STG
SMH9151B
SMH9187B
SMH9187ST
SMH9187W
SMH9207ST
SMK9175ST
Check the door switches
The first component to check is the door switches. The purpose of the switches is to monitor when the door is open and closed to prevent your appliance from starting when the door is open. If one or more of the switches stop working, your microwave won’t start or heat.
Follow these instructions to locate and test the door switches:
- First, and most importantly, switch the power off.
- Remove the microwave cabinet. This can be done by unthreading the screws that hold it in position and then unclipping it.
- Disconnect the control panel.
- Locate the door switches.
- Inspect the door switches to make sure the wires aren’t loose and that they are connected to the door prongs. If loose or disconnected from the prongs, they will need to be repaired or replaced.
- Disconnect the door switches and test them with a multimeter for continuity.
- If the switches pass the test, reattach them and check the next component. If they fail the test, replace them.
- Once new door switches are installed, check if your Samsung microwave can now heat. If not, check the next component.
Check the fuses
Your microwave has several fuses that are mainly there for safety purposes. The thermal fuse, cavity fuse, and thermoprotector cut the power to your microwave when it overheats or during a power surge. If any fuses have blown, your Samsung microwave might not heat.
Follow these instructions to locate, and test the fuses:
- First, and most importantly, switch the power off.
- Remove the microwave cabinet if you haven’t already. This can be done by unthreading the screws that hold it in position and then unclipping it.
- Disconnect the control panel.
- Locate each fuse in your microwave (consult your Samsung microwave user manual to find the location of each fuse).
- Disconnect each fuse and test them with a multimeter for continuity.
- If the fuse passes the test, reattach it. If it fails the test, replace it.
- If all fuses are fine, check the next component. To install new fuses, you will have to purchase the correct replacement parts and then install them into your microwave.
- Once the new fuses are installed, check if your Samsung microwave can now heat. If not, check the next component.
Check the diode
The purpose of the diode is to convert alternating current (AC) to direct current (DC), so your microwave has enough power to heat your food and drinks. When it becomes defective, your Samsung microwave won’t be able to heat.
Follow these instructions to locate, and test the door switches:
- First, and most importantly, switch the power off.
- Remove the microwave cabinet. This can be done by unthreading the screws that hold it in position and then unclipping it.
- Discharge the capacitor. (Be very careful when doing this step as it is very dangerous. Call a technician if you don’t have experience working with microwaves.)
- Locate the diode and remove it from your appliance.
- Inspect the diode for signs of damage. If damaged, replace it.
- Test the disconnected diode with a multimeter and a 9-volt battery for continuity.
- If the diode passes the test, reattach it and check the next component. If the diode fails the test, replace it. Given the cost of replacing the diode, you may want to consider purchasing a new microwave.
- Once the new diode is installed, check if your Samsung microwave can now heat. If not, check the next component.
Check the magnetron
The magnetron is the component in your Samsung microwave that creates the frequencies that heat your food and drinks when you use your appliance. When the magnetron becomes defective, your microwave won’t be able to heat.
Follow these instructions to locate and test the magnetron:
- First, and most importantly, switch the power off.
- Remove the microwave cabinet. This can be done by unthreading the screws that hold it in position and then unclipping it.
- Discharge the capacitor. (Be very careful when doing this step as it is very dangerous. Call a technician if you don’t have experience working with microwaves.)
- Locate the magnetron and remove it from your appliance.
- Test the disconnected magnetron with a multimeter for continuity.
- If the magnetron passes the test, reattach it and check the next component. If the magnetron fails the test, replace it. Given the cost of replacing the magnetron, you may want to consider purchasing a new microwave.
- Once the new magnetron is installed, check if your Samsung microwave can now heat. If not, check the next component.
Check the defective high-voltage capacitor
The purpose of the high-voltage capacitor is to assist the diode in converting AC to DC. When it becomes defective, your microwave won’t have enough power to heat your food and drinks.
Follow these instructions to locate and test the high-voltage capacitor:
- First, and most importantly, switch the power off.
- Remove the microwave cabinet. This can be done by unthreading the screws that hold it in position and then unclipping it.
- Discharge the capacitor. (Be very careful when doing this step as it is very dangerous. Call a technician if you don’t have experience working with microwaves.)
- Locate the high-voltage capacitor and remove it from your microwave.
- Test the disconnected capacitor with a VOM meter (set it to capacitance testing mode).
- If the capacitor passes the test, reattach it and check the next component. If the capacitor fails the test, replace it. Given the cost of replacing the capacitor, you may want to consider purchasing a new microwave.
- Once the new capacitor is installed, check if your Samsung microwave can now heat. If not, check the next component.
Check the high-voltage transformer
The final component to check is the high-voltage transformer. If there is a burning smell coming from your microwave, it’s likely the transformer is defective and will need to be replaced.
Follow these instructions to locate and test the high-voltage transformer:
- First, and most importantly, switch the power off.
- Remove the microwave cabinet. This can be done by unthreading the screws that hold it in position and then unclipping it.
- Discharge the capacitor. (Be very careful when doing this step as it is very dangerous. Call a technician if you don’t have experience working with microwaves.)
- Locate the transformer and remove it from your appliance.
- Test the disconnected transformer with a multimeter for continuity.
- If the transformer fails the test, replace it. Given the cost of replacing the transformer, you may want to consider purchasing a new microwave.
- If the transformer passes the multimeter test or if replacing it doesn’t solve the problem, you will need to get a technician to inspect your microwave to see if they can fix it.
Apr. 09, 2024
GE Dishwasher With No Power or Lights? Try This Fix
Apr. 09, 2024
Understanding SC Code on Samsung Washer
Apr. 09, 2024
Resolving LG Dryer D80 Error Code
Mar. 06, 2024
Understanding GE Refrigerator Error Codes: A Guide
Mar. 06, 2024
Amana Dryer Not Heating? Try These 5 Fixes
Mar. 06, 2024
Samsung Ice Maker Issues? Here are 5 Fixes
Feb. 05, 2024
Samsung Dryer Not Heating with No Error Code? Here’s Why
Feb. 05, 2024
GE Profile Dishwasher Not Draining? Here’s Why
Feb. 05, 2024
How to Replace the Filter on a Samsung Refrigerator
Jan. 03, 2024