


February 1, 2023
Oven Repair
If your heating element is defective and needs to be replaced; this guide will help you do it quickly and accurately. To replace the heating element, you need to purchase the correct replacement, remove the old one, and then install the new one. Once installed, your oven should start working again. If you’re unsure if the element is completely defective, it’s a good idea to test it first with a multimeter.
To carry out this repair, you will need a set of screwdrivers, safety glasses, safety gloves, and the replacement element. Once you have those, you should be good to go.
Although each oven brand is built slightly differently, this guide should cover all major electric ovens made by manufacturers such as GE, Samsung, Whirlpool, and Bosch.
Step 1 – Test the Element
If you have a multimeter, you should test the old element to ensure it’s defective and unrepairable. Sometimes the element doesn’t work, but the cause is faulty wiring or another defective component. Testing means you can rule out other causes.
Follow these instructions to test the element:
- Turn the power off.
- Open your oven door and locate the heating element.
- Remove the cover of the element (if it has one).
- Examine the element for any signs of damage. If it’s damaged, it needs to be replaced.
- If the element isn’t damaged, you should test it with a multimeter.
- To test the element, remove it from the oven. You can do this by removing the screws in the clips that hold the oven in place and disconnecting the wires.
- Once replaced, test the element with your multimeter.
- If the element doesn’t have continuity, it’s defective and needs to be replaced. If it has continuity, it’s working correctly. This means you will need to check other potential causes of your heating element not working.
Step 2 – Purchase a Replacement Heating Element
To purchase a new heating element, you will need to go to an online or offline retailer and find the correct replacement part. All major retailers will stock replacement elements for major oven manufacturers like LG, Bosch, Samsung, and GE.
Step 3 – Get Your Oven Ready
Before replacing the heating element in your oven, there are a few things you need to do to prepare.
- Turn the power off. This can be done by unplugging your oven or turning the circuit breaker off.
- Remove the racks from the oven and any trays.
- Remove the cover from the element.
- Wear a pair of safety glasses and gloves (optional).
- Let the element completely cool down.
Step 4 – Remove the Old Heating Element
Now that you have the oven ready and have the correct replacement part, the next step is to remove the old heating element.
Here’s what to do:
- Remove the clips that hold the element in place. This can be done by unthreading the screws that secure them to the oven. Once removed, keep the screws and clips in a safe place, ready for when you install the new element.
- Carefully pull the element out from the wall. Once out slightly, disconnect the wires from the element. Ensure the wires don’t go into the back of the oven, as they can be difficult to get out.
- Once the wires are disconnected, remove the old heating element.
Step 5 – Install the New Heating Element
Once the old heating element has been successfully removed, the next step is to install the new one. This can be done by reversing the steps taken when removing the defective element.
Here’s what to do:
- Remove all packaging from the new element.
- Place the element in your oven.
- Attach the wires to the new heating element.
- Once attached, move the element into the correct position (where the old one was).
- Place the clips over the element and secure them in position with the screws you removed earlier.
- Make sure the element is securely in place.
Step 6 – Make Sure the New Element Works
Now that you have successfully installed the new heating element into your oven, the final step is checking it’s working correctly.
Here’s what to do:
- Switch the power back on.
- Turn your oven to a high temperature (on bake or fan bake).
- Once hot, make sure the element is glowing red. Don’t be alarmed if a small amount of smoke is coming off the element. This is due to the protective coating and will stop eventually.
- If the new heating element is bright red, it’s working correctly. You will need to check the wiring if the new element isn’t working. If you don’t know how to do this, you will need a technician to inspect your oven.
- If the element works, place the cover back over it (when it cools down) and put all the racks back into your appliance.
- You can now start using your oven again!
Apr. 09, 2024
GE Dishwasher With No Power or Lights? Try This Fix
Apr. 09, 2024
Understanding SC Code on Samsung Washer
Apr. 09, 2024
Resolving LG Dryer D80 Error Code
Mar. 06, 2024
Understanding GE Refrigerator Error Codes: A Guide
Mar. 06, 2024
Amana Dryer Not Heating? Try These 5 Fixes
Mar. 06, 2024
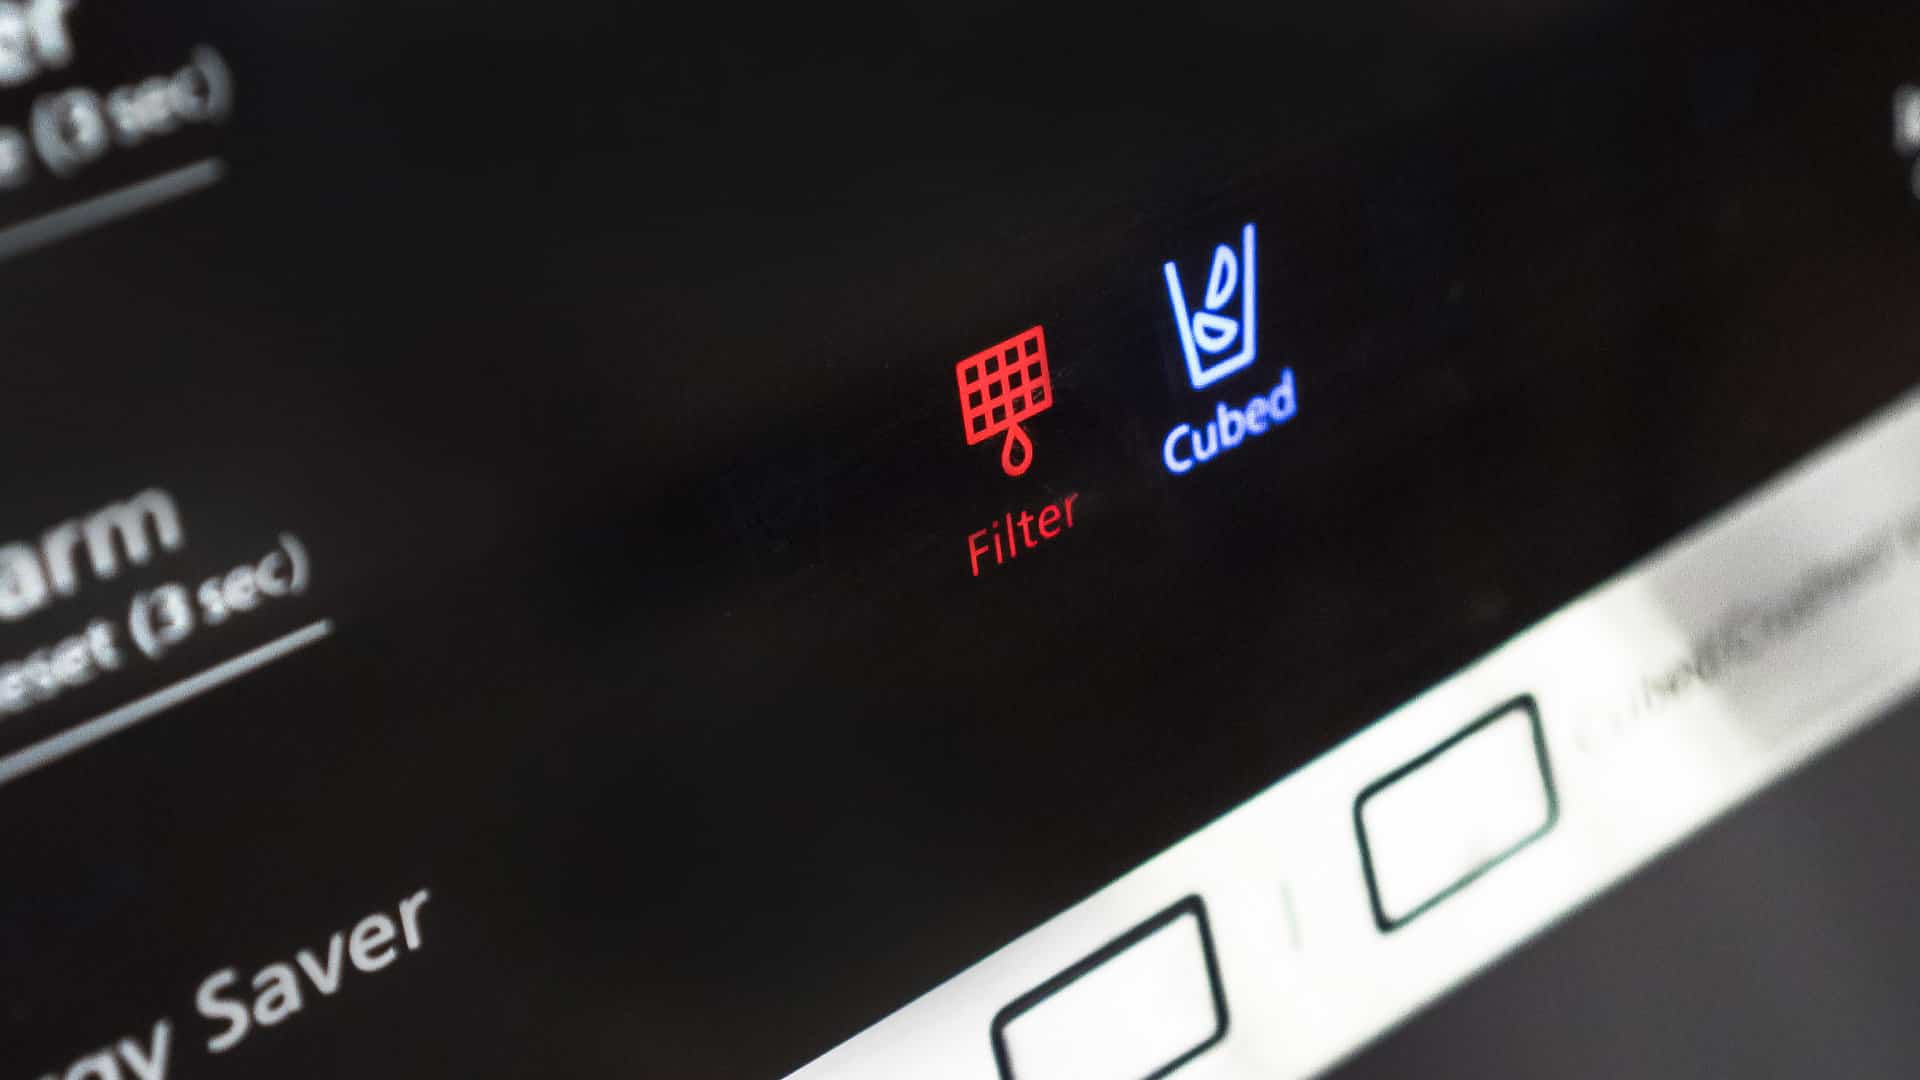
Samsung Ice Maker Issues? Here are 5 Fixes
Feb. 05, 2024
Samsung Dryer Not Heating with No Error Code? Here’s Why

Feb. 05, 2024
GE Profile Dishwasher Not Draining? Here’s Why

Feb. 05, 2024
How to Replace the Filter on a Samsung Refrigerator
Jan. 03, 2024