

January 3, 2024
Refrigerator Repair
A refrigerator is not only a necessity in every household, but also an essential part of our daily lives. It keeps our food fresh and, if well-maintained, lasting longer than expected. Samsung refrigerators are known for their quality, durability, and superior technology.
Cleaning is a must to keep them functioning efficiently.
This article will guide you through the process of cleaning your Samsung refrigerator.
First Steps
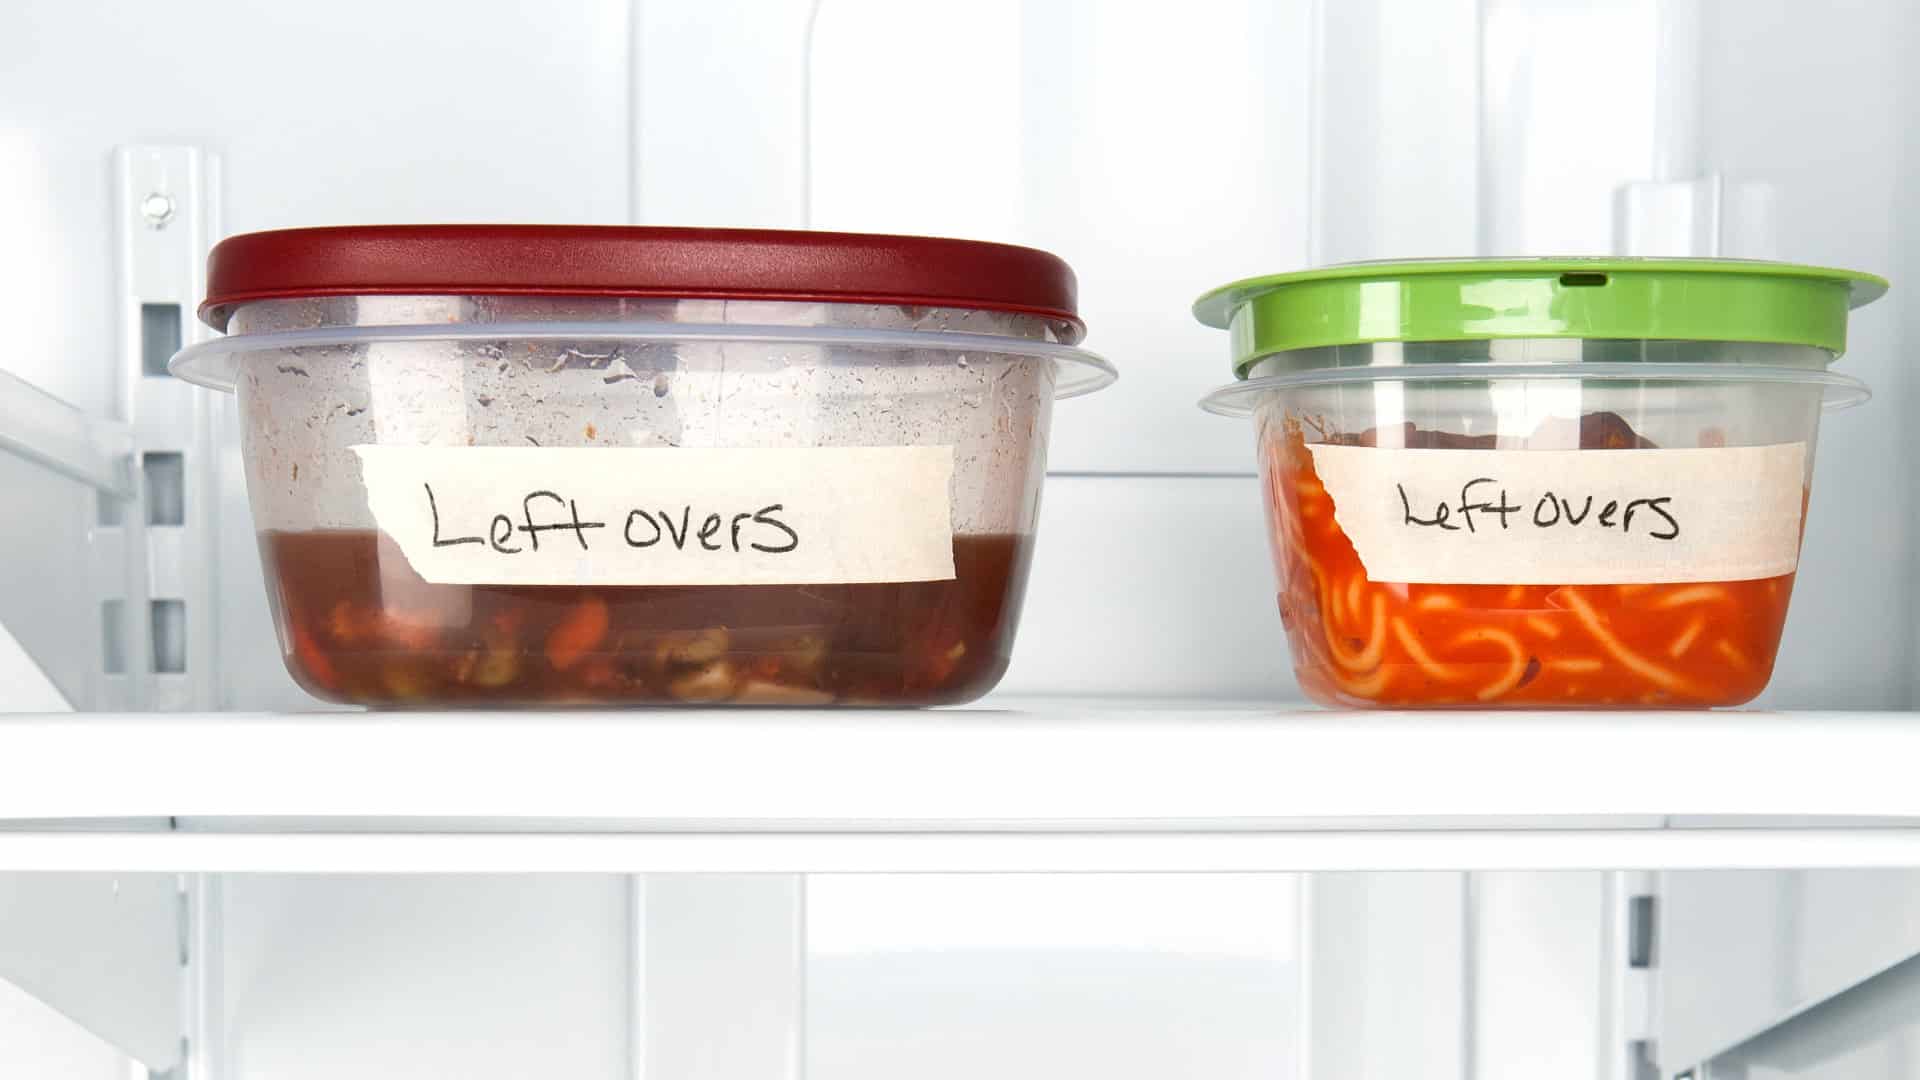
Before cleaning your Samsung refrigerator, ensure that it is unplugged from the power source. Remove all the food from the refrigerator, including the drawers and shelves. Place them somewhere clean, preferably in a second refrigerator, where you can easily access them once you have finished cleaning.
Clean the Exterior
With the daily hustle and bustle in the kitchen, it’s no surprise that dirt, dust, and fingerprints find their way onto your refrigerator’s surface. But don’t worry! Tackling the everyday exterior stains is a breeze. The best tool for the job? A soft, damp cloth. It’s gentle yet effective and perfect for removing everyday grime without causing any damage.
Before you start, make sure to steer clear of harsh chemicals or abrasive materials. These can be too rough on your refrigerator’s surface, potentially causing scratches or even discoloration. Stick with gentle cleaning tools and solutions to maintain the pristine condition of your refrigerator’s exterior.
Now, what about those stubborn stains that refuse to budge? That’s where a mixture of water and a mild detergent comes into play. This simple solution can work wonders on tough stains. Just mix a bit of mild detergent with warm water, dampen your cloth with this mixture, and gently scrub the stain. Remember to rinse the area with a fresh cloth to remove any soap residue.
Clean the Interior
Cleaning the interior of your refrigerator is a crucial step, after all, this is where your food is stored!
All you really need is some warm, soapy water and a soft cloth. The warm water helps to dissolve any sticky spills or hardened food particles, while the soap helps to lift and remove grime. The soft cloth is your best tool for scrubbing without scratching the surfaces.
Begin by removing all the contents from your fridge. Yes, it’s a bit of work, but it’s the best way to ensure every nook and cranny gets a thorough cleaning. Now, focus on the shelves and drawers. Dip your cloth in the warm, soapy water, and gently wipe each shelf and drawer. Don’t forget the walls of the fridge as well.
Now, don’t overlook the rubber seals of the refrigerator door. These are often neglected during cleaning but can harbor dust and dirt. Use your damp cloth to carefully clean these areas, paying extra attention to the crevices where grime tends to accumulate.
Remember, the key to a successful clean is patience. Take your time to ensure that every part of the interior is well-cleaned. This is not just about making your fridge look good – it’s also about ensuring it functions at its best and keeps your food safe and fresh.
Once you’re done, replace the items you removed.
Clean the back of the Refrigerator.
When it comes to cleaning your refrigerator, there’s an area that often slips under the radar: the back of the appliance. It might be out of sight, but it should never be out of mind! This is where the condenser coils, which play a crucial role in the functioning of your refrigerator, are located.
Over time, these coils can become a magnet for dust and debris, which can affect their performance and the efficiency of your fridge.
So, how do we keep this area clean? All you need is a vacuum cleaner or a duster. If you’re using a vacuum cleaner, use the brush vacuum attachment to gently remove dust and debris from the coils. Alternatively, a long-handled duster can also do the trick. Be gentle and avoid damaging the coils.
Now, while you’re back there, take a moment to inspect the coils. If you notice any damage—like kinks or cracks—it’s important to address this as soon as possible. Damaged coils can lead to a less efficient refrigerator, which means higher energy bills and a shorter lifespan for your fridge. So don’t hesitate to call in a professional to repair or replace them if needed.
Cleaning the Freezer
Giving your freezer a good scrub down may seem daunting, but it’s really not much different from cleaning the refrigerator. Start this cleaning adventure by taking out all the food items. Yes, every single one. You might just rediscover that frozen pizza you lost a few months ago!
Now, let the freezer defrost. Prop the door open, lay down a towel, and let the freezer defrost for several hours. When the frost has melted and the larger chunks of ice have loosened, roll up your sleeves and get ready to show those shelves and drawers some love.
Your tools for this mission? Our old friends, warm, soapy water and a soft cloth. The warmth of the water will help loosen any hardened spills, while the soap will take care of the grime. Gently wipe each shelf and drawer, making sure to reach all the corners.
But wait, what about those stubborn stains that refuse to budge or those mysterious odors that linger? Here’s a secret weapon: a mixture of water and vinegar. This powerful duo can work miracles on tough spots and funky smells. Simply combine a few teaspoons of vinegar with two cups of water, dip your cloth into this solution and scrub away!
Once everything is clean, dry it quickly with a towel and replace the food in the freezer. It will take a little while for the freezer to get back to its optimal temperature.
Cleaning your Samsung refrigerator is great for its longevity and the best way to ensure that you keep a healthy and safe environment for your food. By following the above procedures, you can be sure that your refrigerator is well-cleaned. Remember to clean your Samsung refrigerator at least once every few months, and if you notice any faults or broken parts, contact a repair professional for assistance.
Apr. 09, 2024
GE Dishwasher With No Power or Lights? Try This Fix
Apr. 09, 2024
Understanding SC Code on Samsung Washer
Apr. 09, 2024
Resolving LG Dryer D80 Error Code
Mar. 06, 2024
Understanding GE Refrigerator Error Codes: A Guide
Mar. 06, 2024
Amana Dryer Not Heating? Try These 5 Fixes
Mar. 06, 2024
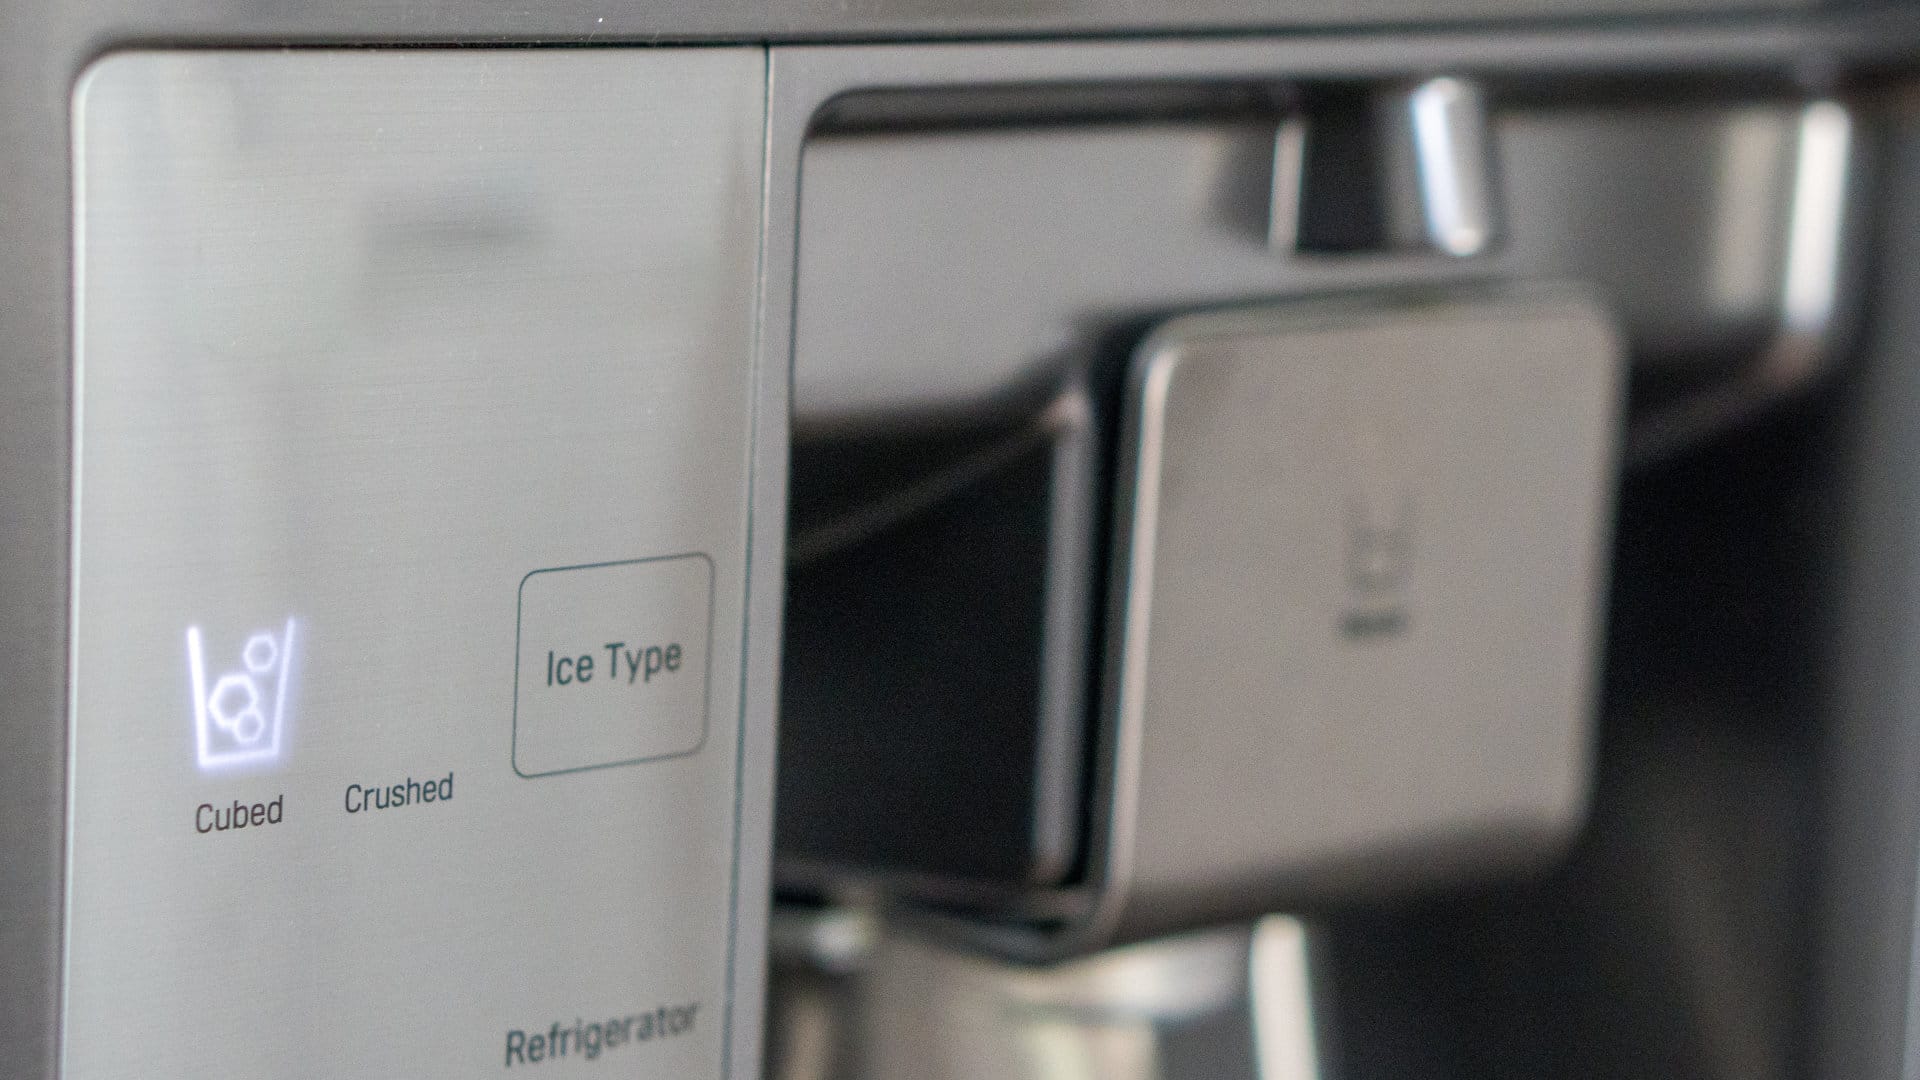
Samsung Ice Maker Issues? Here are 5 Fixes
Feb. 05, 2024
Samsung Dryer Not Heating with No Error Code? Here’s Why
Feb. 05, 2024
GE Profile Dishwasher Not Draining? Here’s Why

Feb. 05, 2024
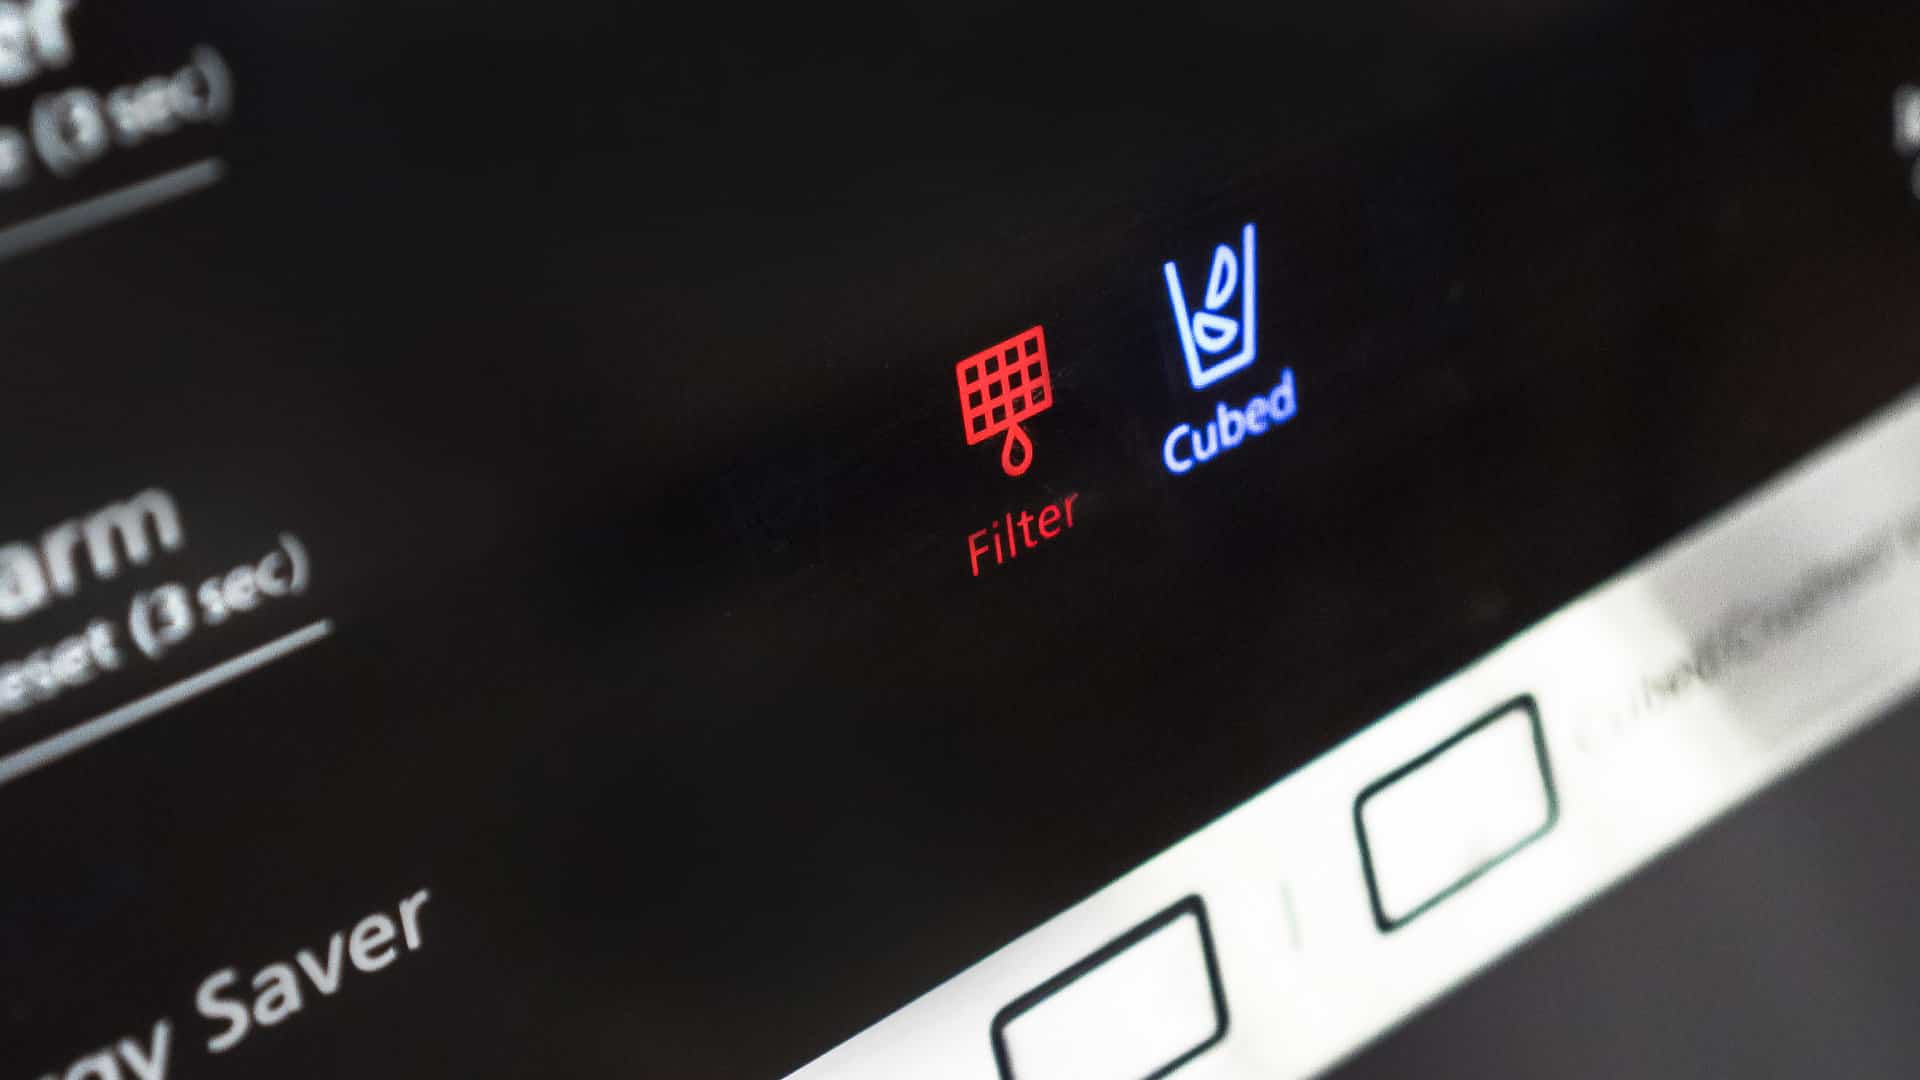
How to Replace the Filter on a Samsung Refrigerator

Jan. 03, 2024