

June 13, 2023
Washer Repair
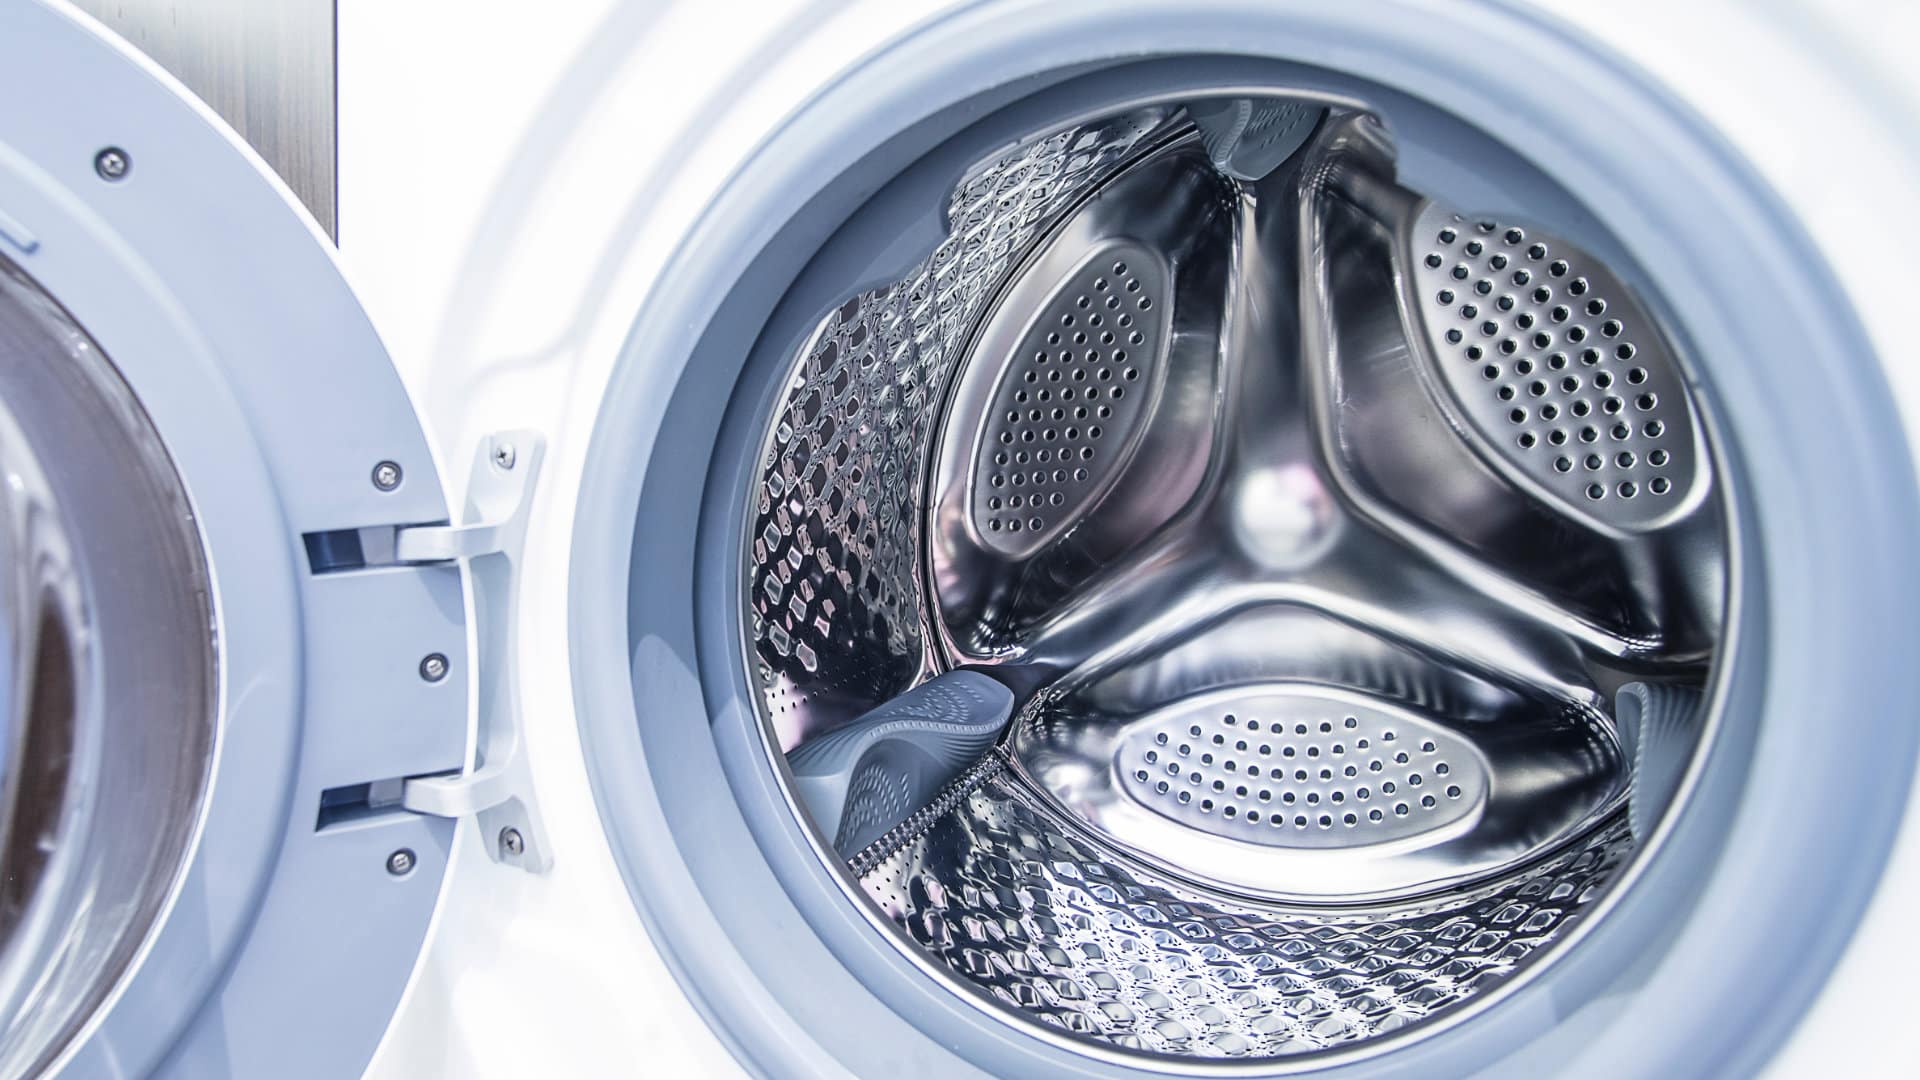
Washing machines are a staple in most households and are used frequently to keep our clothes clean. However, sometimes washing machines can develop problems that may cause the washing drum to become unbalanced. An unbalanced drum may lead to loud noises and vibrations, which can be frustrating for homeowners. In this blog, we’ll provide you with a step-by-step guide on how to balance a washing machine drum and keep your machine running smoothly.
Signs that your washing machine is unbalanced
You can tell if the drum is unbalanced if the machine vibrates excessively during the spin cycle or makes a loud banging noise. This usually indicates that the clothes inside the drum have created an uneven load. But it can also be an indicator of an unbalanced drum. Follow the steps below to check the cause of your unbalanced washing machine and learn how to fix it.
Step 1: Remove unbalanced items
Once you have confirmed that the washing machine drum is unbalanced, turn off the machine, and remove all the unbalanced items inside the drum. Repeating this process whenever you use the machine will further contribute to the longevity of your washing machine unit.
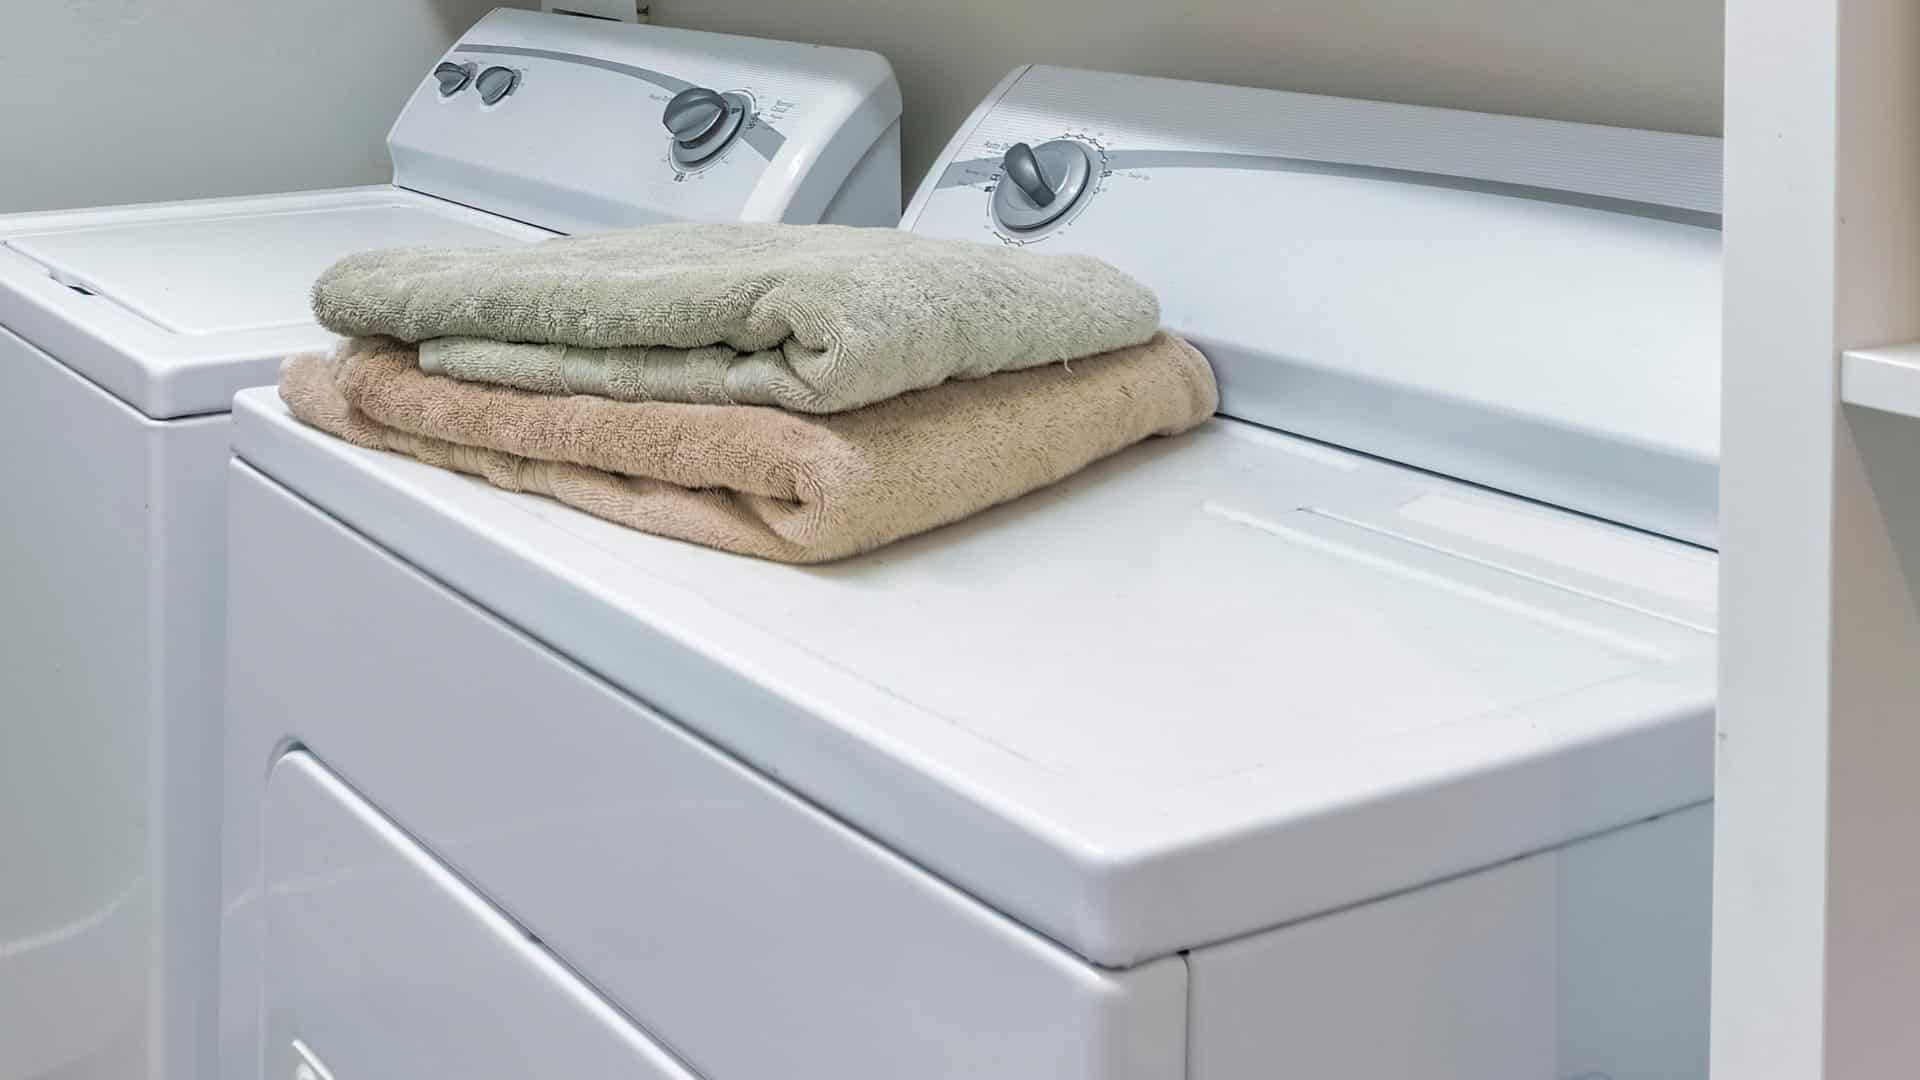
You can avoid unbalancing the drum by not fixing loads and washing heavy items, like jeans, towels, and bedding, in their own separate loads.
Step 2: Rearrange clothes in the washing machine
After removing the unbalanced items, the next step is to arrange your clothes in the washing machine. To balance the drum, distribute the clothes evenly throughout the drum. A helpful tip is to put larger items, such as towels, at the base of the drum, and smaller items, such as socks, at the top.
Step 3: Test the washing machine
You can check whether you have correctly balanced the washing machine drum by starting a spin cycle. If the machine still vibrates excessively or makes strange noises, turn off the machine, unplug it, and go back to step four to rearrange the clothes in the washing machine properly.
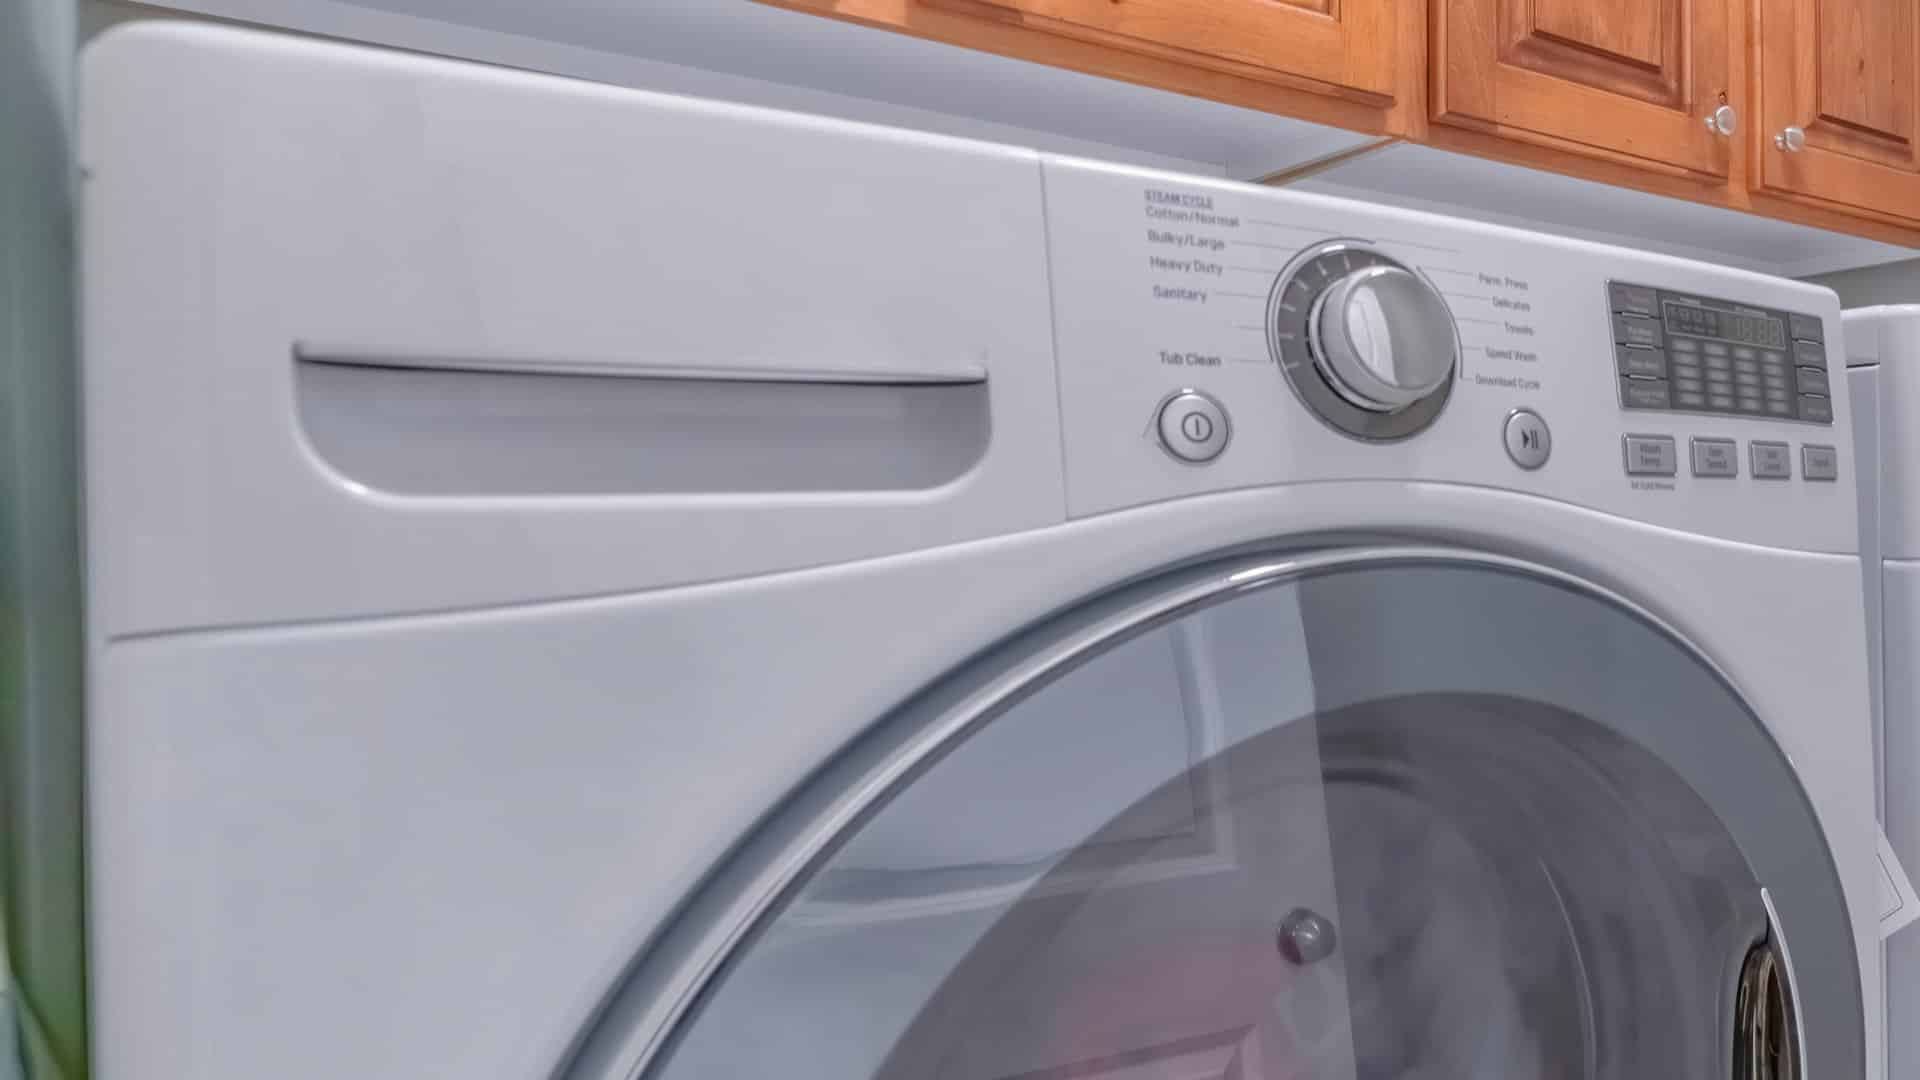
Step 4: Check the level of the machine
If your washing machine is still unbalanced after rearranging the clothes and separating out the larger, heavier items, check if it is level. Do this by turning off the washing machine and placing a level on the top of the machine.
If it isn’t level, adjust the feet of the washing machine until it is. You can adjust the feet by turning them clockwise or counterclockwise to raise or lower the washing machine, respectively. This is easier to do if you can lift the front of the washing machine. Have another person help you, or use something stable, like a mini jack or crowbar, as leverage.
The next steps will involve disassembling your washing machine. If you are not confident with this level of DIY, contact a repair professional to help fix your washing machine.
Step 5: Check for shipping bolts
If your washer is new or has been shipped recently and is unbalanced, excessively loud, or frighteningly vibrating, the shipping bolts may be the problem. These bolts help secure the drum during transit so the vibrations and bumps of travel do not damage the drum. Check your manual for instructions on how to remove the shipping bolts.
If your washer does not have shipping bolts or the shipping bolts have already been removed, continue to the next step.
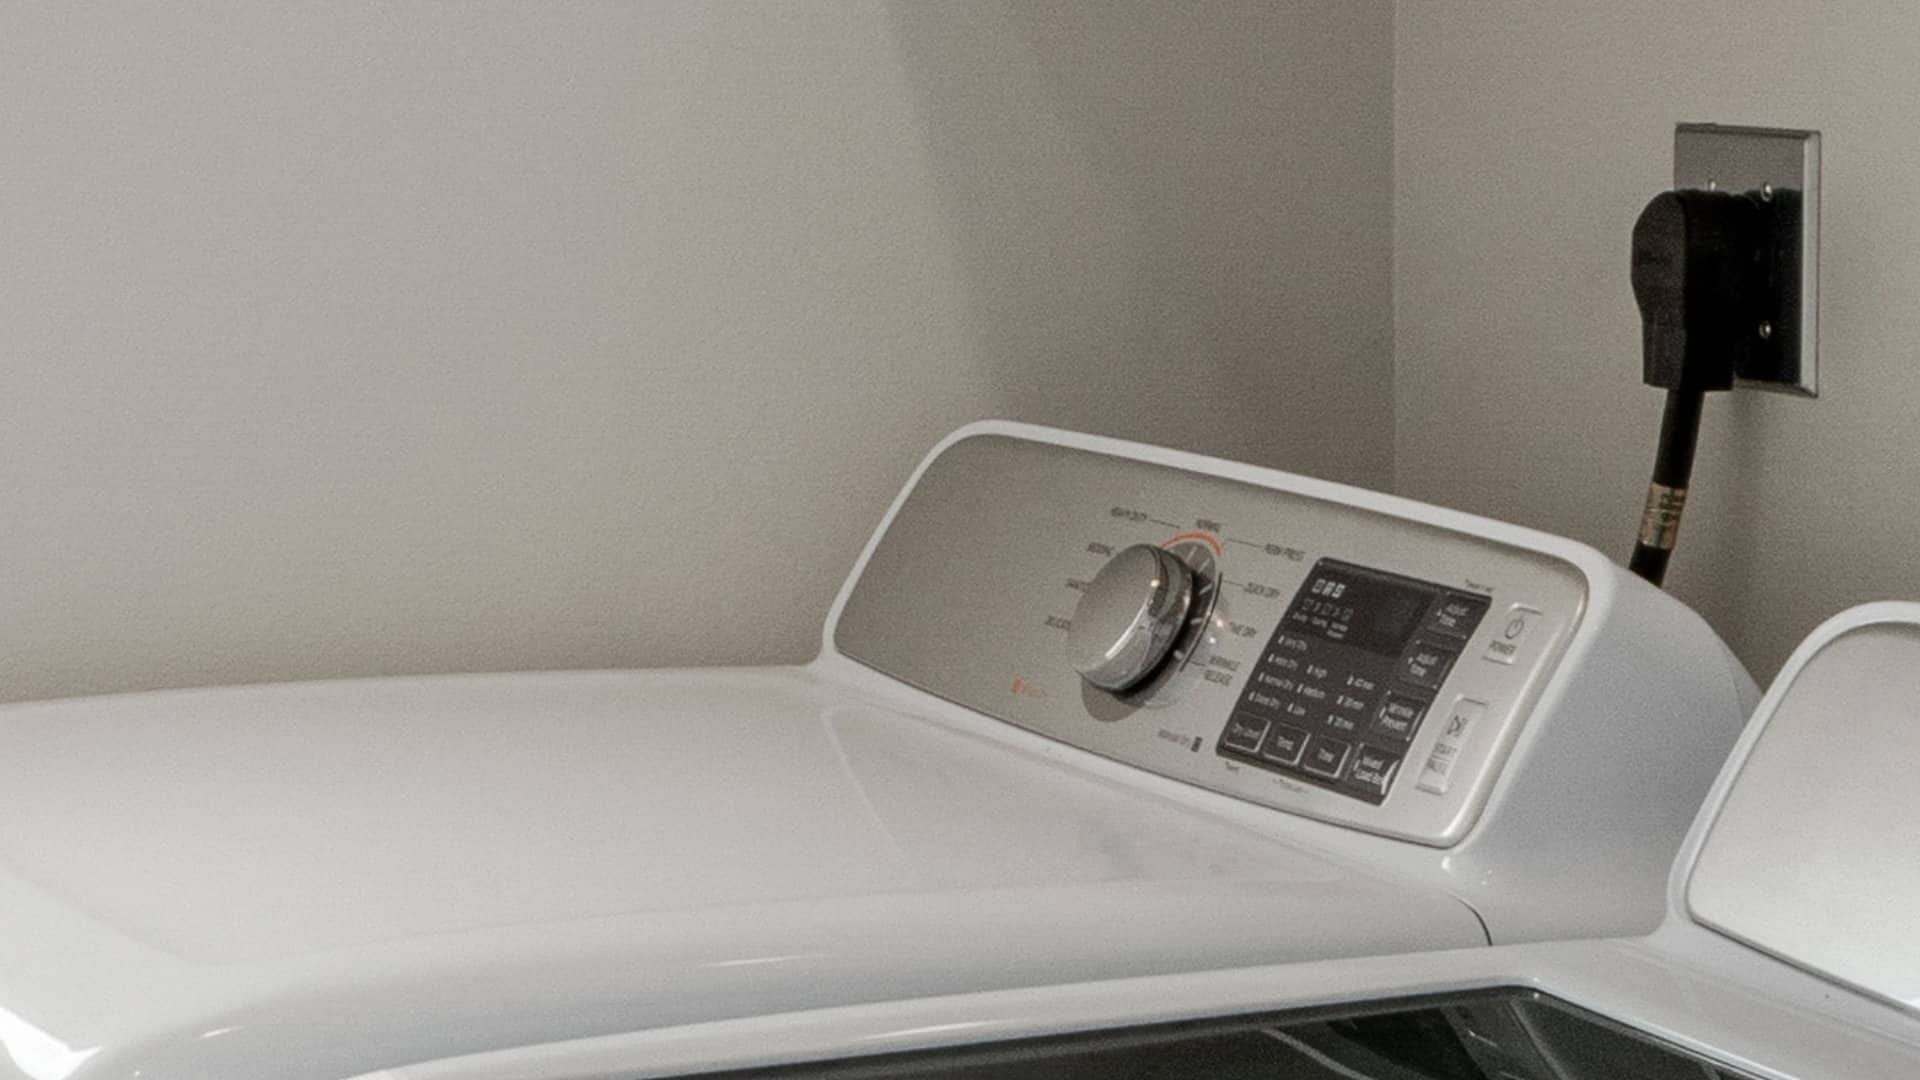
For the following steps, empty and unplug the washing machine.
Step 6: Access the interior of the washing machine
To access the interior of the washing machine, you will need a screwdriver and nut driver or hexagonal wrench set.
For Top Loaders: Access through the back.
Pull the washing machine away from the wall, and use your screwdriver to undo the screws holding the back panel in place.
Once you can see the interior of the washing machine, check the following components:
The Snubber Ring—The snubber ring is a cushion made of plastic or felt that protects the tub from hitting the metal base while the machine is in operation. Over time, the snubber ring wears out, which can cause clumps on a felt one or dust on a plastic one. If you see any of these signs, it’s time to replace the snubber ring.
The Dampening Straps—If you’re inside a top-loading washing machine, chances are you can see four rubber straps holding the tub in place. These dampening straps are essential to holding the drum in place as it rotates, keeping it aligned and upright.
Unfortunately, if even one of these straps fails, it can throw the entire machine off balance, leading to noisy spinning cycles and potentially costly repairs. If one strap has failed, all four will need to be replaced.
The Suspension Springs—Whether you have a top loader or a front loader, these springs play a crucial role in reducing vibrations and ensuring a smooth wash cycle. To keep things running smoothly, make sure to check each spring to ensure that they are all connected and not distended. If you need to replace one, don’t hesitate to replace them all.
For Front Loaders: Access through the back.
Using a screwdriver or nut driver, undo the screws at the back of the washing machine. Remove the back panel and set aside. Once you have access to the interior of the washing machine, look at the following components:
The Suspension Springs—See above in the Top Loaders section. The suspension springs in a front loader hold the drum away from the top of the machine.
The Shock Absorbers—There will be one or more shock absorbers connected between the outer tub and base frame. These shock absorbers play an important role in preventing your machine from bouncing, vibrating excessively, or making a lot of noise during a wash cycle.
Check that they are all connected at both ends and that none of them are leaking fluid. If one is leaking, it’s best to replace all the shock absorbers, not just the damaged ones.
The Driver Bearings—The unbalance, noise, and vibrating when using your washing machine could be a result of displaced ball bearings between the tub spindle and motor shaft. Unfortunately, this isn’t a quick fix, and you will need to call a professional to do the repair.
To test if the ball bearings are displaced, open the door and spin the drum. If there is a clattering noise, the bearings will need to be replaced. The second way to test the ball bearings is to hold the drum by the bottom rim and attempt to move it. If it slides forward, the ball bearings will need to be replaced.
Step 7: Replace the back panel and retest the machine
Rescrew on the back panel and run the washing machine on a short spin cycle to test the balance of the drum. If the balance issues persist, call a repair technician.
In summary, checking the balance of a washing machine drum is not a complicated task and can be done with a few easy steps. Ensuring that your washing machine is balanced properly can increase the lifespan of the machine and help you avoid expensive repairs down the line.
If your washing machine continues to vibrate or make loud noises after following these simple steps, it may be time to call in a professional to diagnose and fix the issue. We hope that this guide has been helpful to you and that you can use these tips to keep your washing machine running smoothly.
Apr. 09, 2024
GE Dishwasher With No Power or Lights? Try This Fix
Apr. 09, 2024
Understanding SC Code on Samsung Washer
Apr. 09, 2024
Resolving LG Dryer D80 Error Code

Mar. 06, 2024
Understanding GE Refrigerator Error Codes: A Guide
Mar. 06, 2024
Amana Dryer Not Heating? Try These 5 Fixes
Mar. 06, 2024
Samsung Ice Maker Issues? Here are 5 Fixes
Feb. 05, 2024
Samsung Dryer Not Heating with No Error Code? Here’s Why
Feb. 05, 2024
GE Profile Dishwasher Not Draining? Here’s Why
Feb. 05, 2024
How to Replace the Filter on a Samsung Refrigerator

Jan. 03, 2024