

July 19, 2023
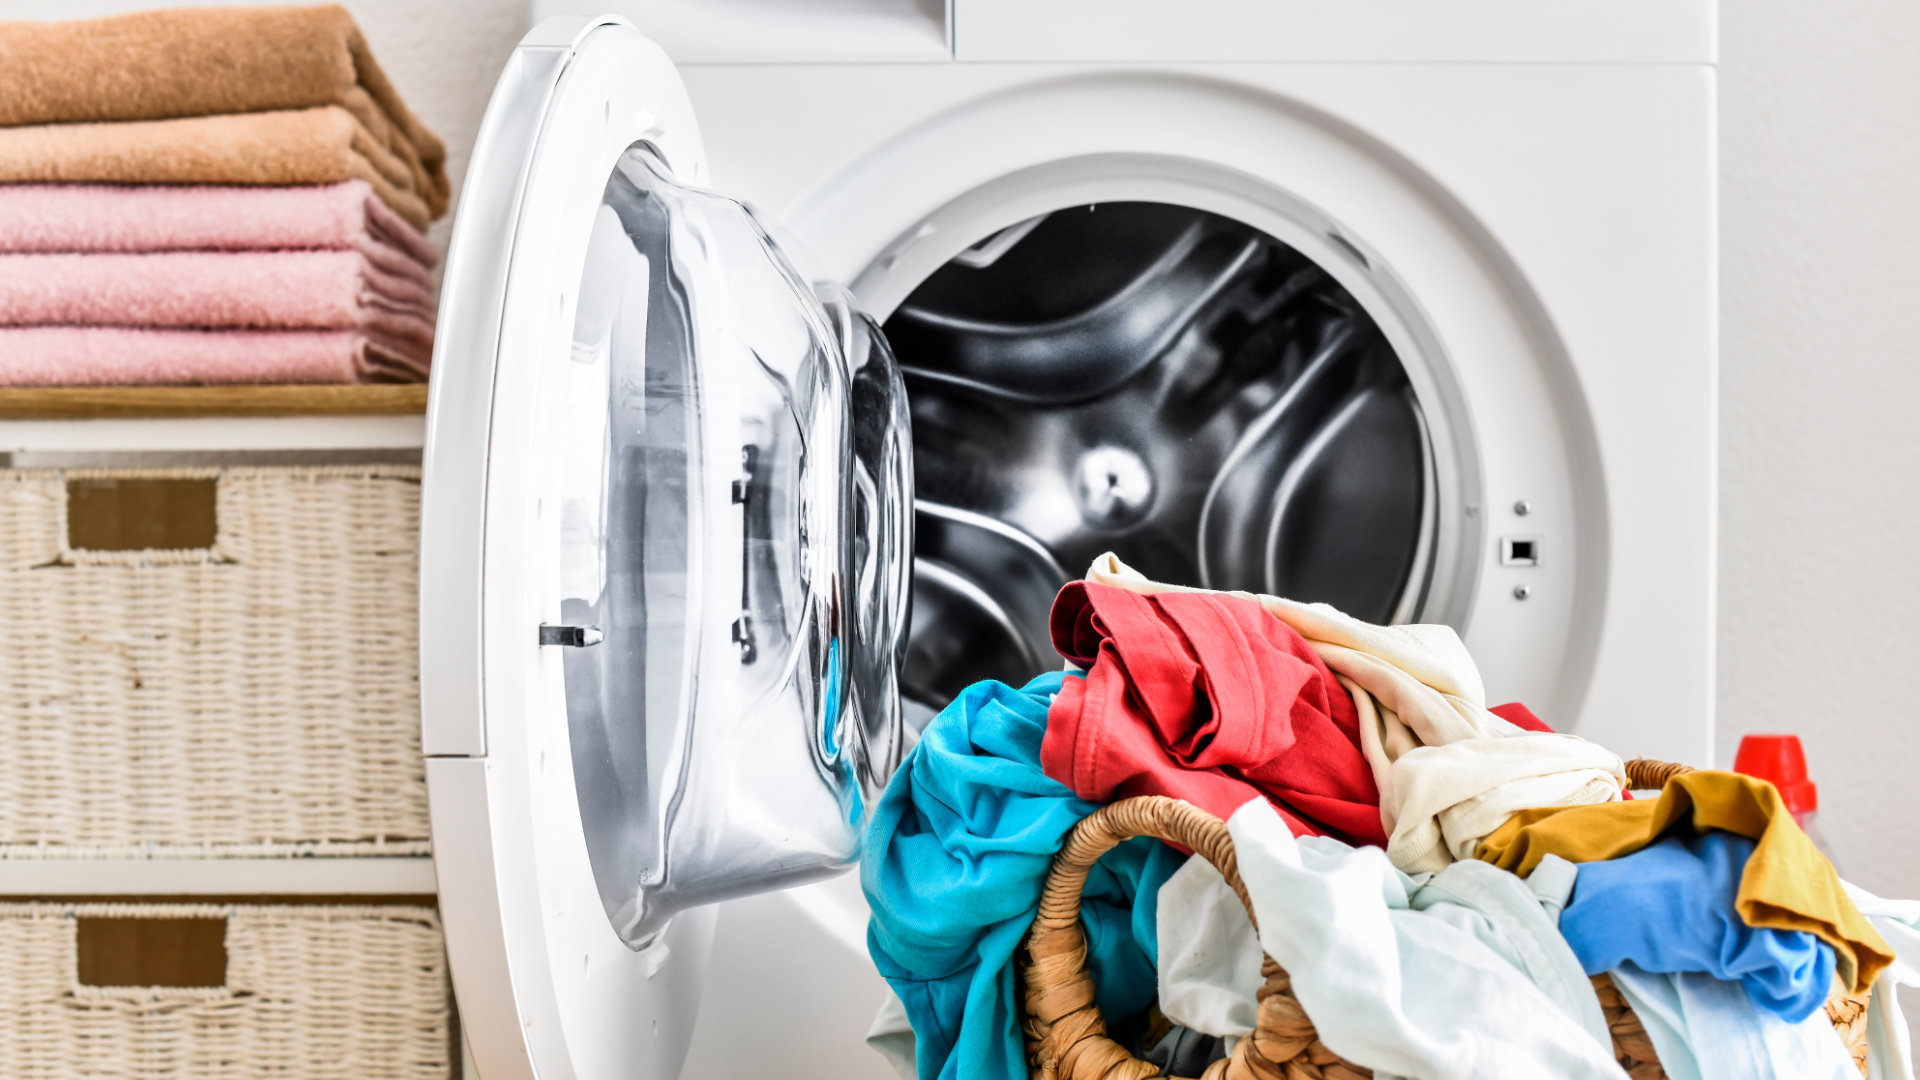
Washer Repair
If your washer leaks from the bottom, fixing the underlying cause as quickly as possible is crucial to prevent damage to your floor. Hopefully, the leak is caused by something simple like a defective drain hose, which you can fix yourself. However, sometimes it might result from a faulty component like a drain pump, requiring a technician if you don’t have the expertise to fix it yourself.
In this guide, we will start with the simple fixes and then explain how to fix internal components if you’re unable to find and fix the source of the leak. This guide applies to front and top-loading washers and all major makes and models.
Step 1 – Check the drain hose
The best place to start is to ensure the drain hose hasn’t got a leak. It’s not uncommon for the drain hose to get damaged when the washer is positioned hard up against a wall or cabinet. When this happens, the hose can bend, which can cause a small hole to develop.
Checking the drain hose requires you to:
- Gently pull your washer out so you can access the back of it.
- Locate the drain hose and ensure it is not loose or has holes and cracks.
- If the hose is loose, tighten it. If the hose is damaged, replace it. If the hose isn’t damaged or loose, go to step 2.
- Once the hose is repaired or replaced, turn your washer on and make sure the leak has stopped. If the leak hasn’t stopped, go to step 2.
Step 2 – Check the internal drain hose
A defective internal drain hose can also cause a washer to leak from the bottom. These hoses can get damaged if you accidentally end up with small sharp objects in your washer, like pins, paper clips, or pieces of glass.
Checking the internal drain hose requires you to:
- Start by switching the power and water supply off.
- Depending on your specific washer, you will need to remove the access panel or other panels to gain access to the internal hoses. Your owner’s manual will have this information in it.
- Once you have removed the necessary panels, locate the tub-to-pump and drain hose. You will find them connected to the drain pump.
- Once located, thoroughly inspect both hoses to ensure they are not loose or damaged. You may need a torch to provide light.
- If loose, tighten the hose. If damaged, replace the hose. If the hoses aren’t loose or damaged, move on to step 3.
Step 3 – Check the washer seals
Both front and top loader washing machines have seals around the tub. The purpose of the seals is to prevent water from leaking. To rule out the seals as the source of the leak, inspect them thoroughly for any signs of damage. If damaged, the seal will need to be replaced. If the seals are not damaged, move on to the next step.
Step 4 – Check the water inlet valve
The water inlet valve controls the water entering your washing machine. If the valve becomes broken, water might leak down the back of your washer and come out the bottom onto the floor. To rule out the water inlet valve as the source of the leak, locate the valve and inspect it for any signs of damage. If damaged, the valve will need to be replaced. If you don’t find any damage, move on to the next step.
Step 5 – Check the drain pump
The final step in our guide for how to fix a washer leaking from the bottom is to check the drain pump. The drain pump turns on when your washer needs to drain dirty water during and at the end of a wash cycle. Sometimes, the pump can get damaged due to debris in the washing machine, leading to a leak. Checking the drain pump requires you to use a multimeter. You will need a technician to inspect your appliance if you don’t have a multimeter.
Checking the drain pump requires you to carry out the following steps:
- Start by switching the power and water supply off.
- Depending on your specific washer, you will need to remove the access panel or other panels to gain access to the drain pump. Your owner’s manual will have this information in it.
- Once you have removed the necessary panels, locate the drain pump.
- Once located, thoroughly inspect the drain pump for damage. You can also move the impeller around to ensure it can rotate freely.
- If the drain pump is damaged, replace it.
- Test the motor with a multimeter for continuity if the drain pump has no apparent damage, but before doing so, disconnect it from your washing machine. No continuity means the drain pump motor is broken and must be replaced. If it has continuity, reconnect the drain pump and move on to the next step.
Apr. 09, 2024
GE Dishwasher With No Power or Lights? Try This Fix
Apr. 09, 2024
Understanding SC Code on Samsung Washer
Apr. 09, 2024
Resolving LG Dryer D80 Error Code
Mar. 06, 2024
Understanding GE Refrigerator Error Codes: A Guide
Mar. 06, 2024
Amana Dryer Not Heating? Try These 5 Fixes
Mar. 06, 2024
Samsung Ice Maker Issues? Here are 5 Fixes
Feb. 05, 2024
Samsung Dryer Not Heating with No Error Code? Here’s Why
Feb. 05, 2024
GE Profile Dishwasher Not Draining? Here’s Why
Feb. 05, 2024
How to Replace the Filter on a Samsung Refrigerator
Jan. 03, 2024